

Make the Perfect No-Sew Trick or Treat Bag with a Halloween Bow
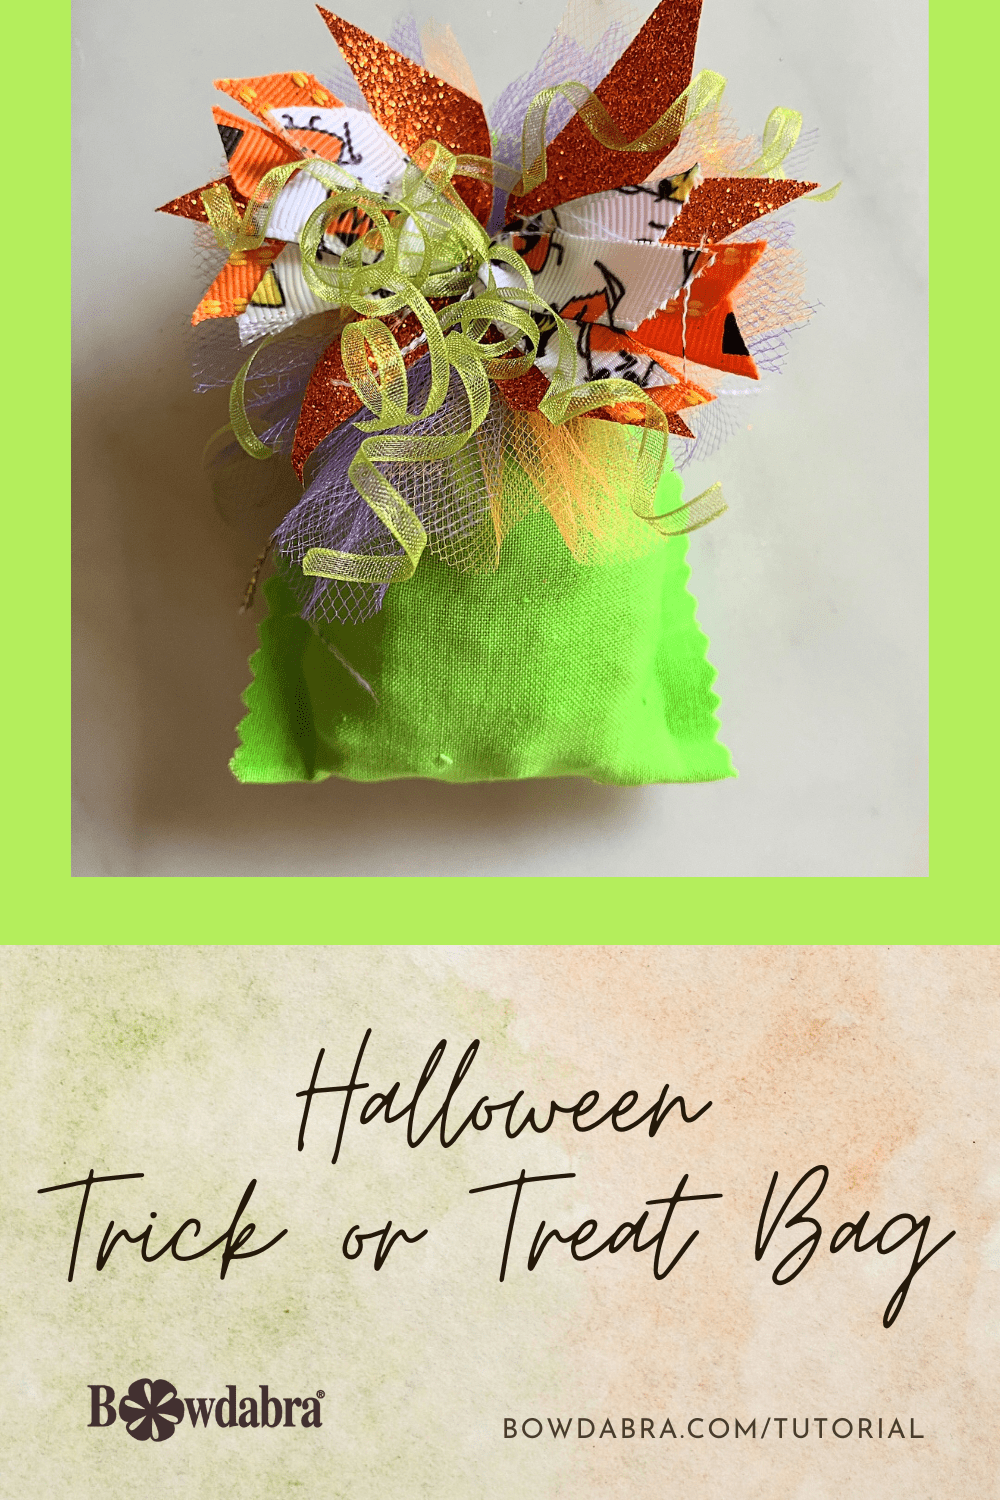
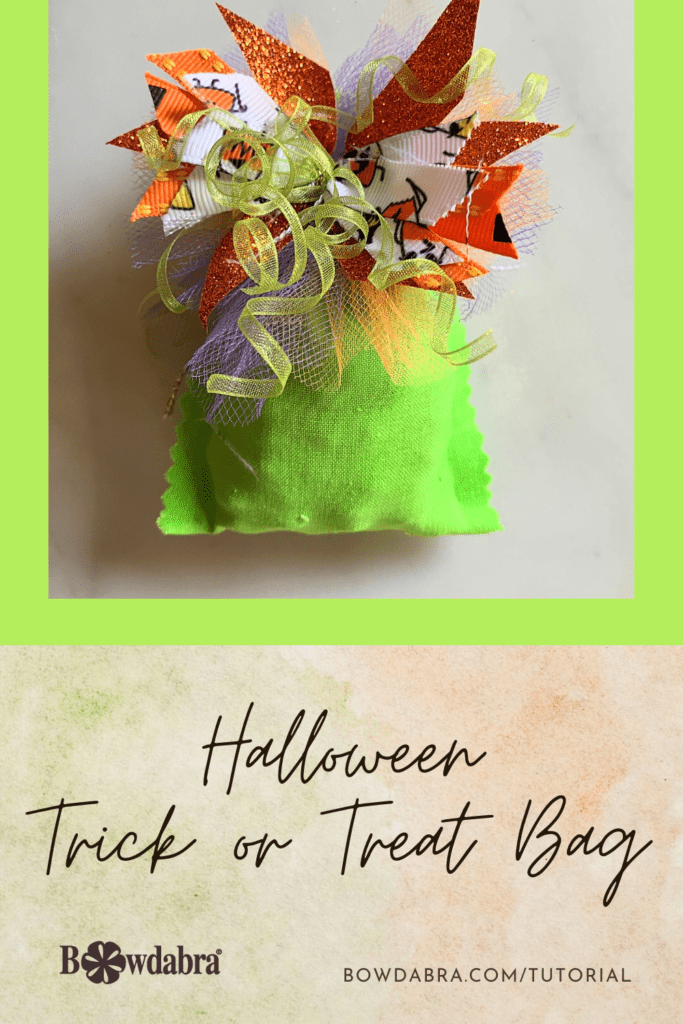
This Halloween trick or treat bag brings the best of crafting together—it’s playful, colorful, and just a little bit whimsical. With its bold green base, glittery orange accents, and a bow bursting with Halloween charm, it’s the kind of handmade detail that instantly elevates party favors or small gifts. Whether you’re prepping for a classroom celebration, a neighborhood gathering, or simply love adding a personal touch to your seasonal treats, this project brings together simple materials and eye‑catching textures for a delightfully festive result. You’ll be able to customize colors, ribbons, and embellishments to match your Halloween theme, making each bag uniquely yours.
Gather these supplies for your trick or treat bag:
- One 9” x 3½” cotton fabric rectangle
- Three orange and three purple 6” x 3” lengths of tulle
- Nine assorted Halloween theme ribbons about 3” in length (they don’t all have to be different)
- Three 3” lengths of corkscrew ribbon
- Mini Bowdabra
- 18” length of Bowdabra bow wire
- Liquid glue
First, let’s make the corkscrew ribbons:
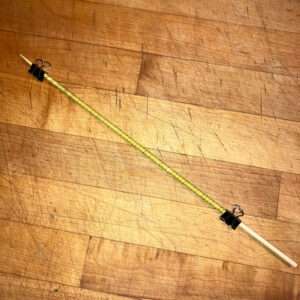
- Wrap a 4’ to 5’ length of ⅛” ribbon around a thin skewer or knitting needle.
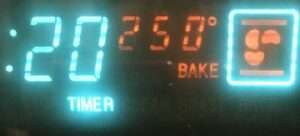
- Mist the ribbon generously with water. Heat in a 250°F oven for 20 minutes. Let the ribbon cool completely.
- Cut the coiled ribbon into 3” to 3½” lengths. Set aside until we make the bow.
Now, let’s construct the treat bag:
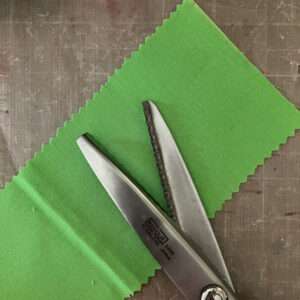
- Cut your fabric to size. For a bit of added interest, you can use pinking shears. Fold the fabric in half for the finished 4½” x 3½” bag.
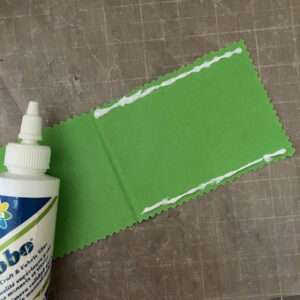
- Apply a bead of glue to the 4½” edges on half of the treat bag. Fold the other half over, and press along the glued edge to seal. Set aside until the glue is thoroughly dried.
Let’s make the bow:
- Place the bow wire in the Mini Bowdabra. You can tuck the ends under the Mini Bowdabra to keep them securely out of the way.
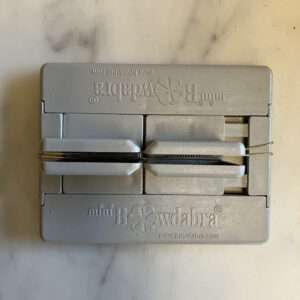
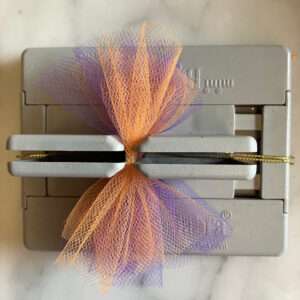
- Scrunch the 3” side of the tulle into the Mini Bowdabra, alternating colors.
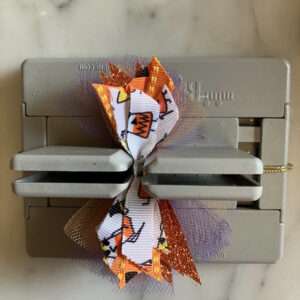
- Next, layer the Halloween ribbons on top of the tulle.
- Finally, add the corkscrew ribbons.
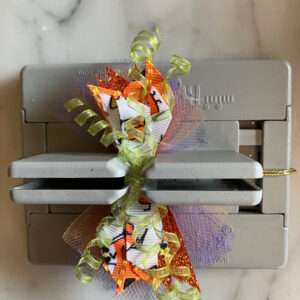
- Compress the ribbons with the Bowdabra wand.
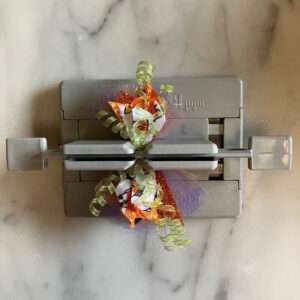
- With the ribbons still in the Mini Bowdabra, pass the wire ends through the loop. Tighten the wire, and tie in a secure knot on the reverse side of the bow. Leave the wire ends uncut.
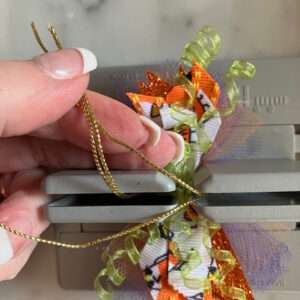
- Fluff the bow and arrange individual ribbons.
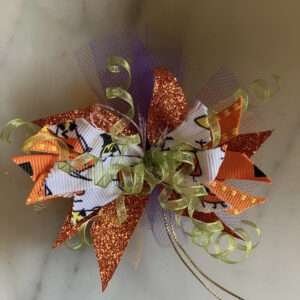
Final steps:
- Fill the treat bag about two-thirds full with your favorite Halloween give-away.
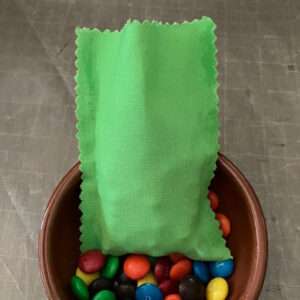
- Seal the treat bag by tying the bow wire around the top.
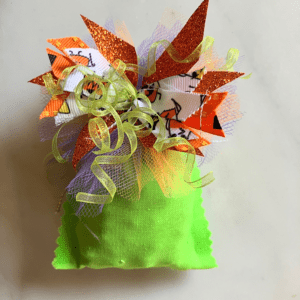
This Halloween trick or treat bag is proof that a few thoughtful details—a scalloped edge, a pop of glitter, and a layered bow—can transform even the simplest treat into something memorable. Once you’ve made one, you’ll find yourself reaching for your ribbon stash and creating a whole batch for friends, coworkers, or trick‑or‑treaters. It’s a quick, cheerful craft that adds a handmade spark to any spooky celebration. Have fun experimenting with colors and textures, and enjoy gifting these little bursts of Halloween joy.
Share this article
Products Used
Create Beautiful Bows
 Sale!
Sale!
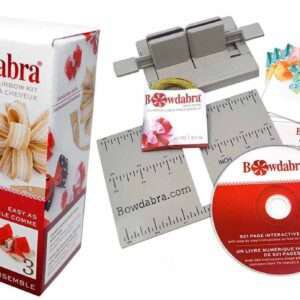
Mini Bowdabra® and the Hair Bow Tool and Ruler Kit - BOW2300
Related Articles
Create Beautiful Bows
Video DIY – how to make a fantastic holiday deco mesh wreath
Nicole Reed of The Crafty Farm Girl / Reed Family Farm, part of the…

How to make a Quick and easy fall table centerpiece – DIY
Learn How to Make a Gorgeous DIY Fall Table Centerpiece with Bowdabra®! 🍁Do you…
How to make an inexpensive $3 fall bow with Bowdabra
Hi, I’m Joette from the Bowdabra Design Team! Today, I’m showing you how…
How to make a new eye-catching bow that will steal the show
Nick from Nick’s Seasonal Decor is showing us how to create a beautiful, eye-catching bow using the Bowdabra®! This vibrant orange polka-dot ribbon bow makes a statement and is perfect for wreaths, gifts, seasonal decorating, and more. Materials: Large Bowdabra® Bowdabra® Bow Wire 4 yards of 1½-inch-wide wired ribbon Instructions:…
How to make an adorable ribbon candy garland with Bowdabra
Transform your holiday decor with a handmade ribbon candy garland with Bowdabra bows.…
Video How to make an inexpensive no-sew pinwheel hairbow
Learn how to make a pinwheel hairbow in this quick and easy video DIY.…

Video how to – Make this epic fall grapevine wreath with Bowdabra
Bring autumn flair to your front door with this beautiful fall grapevine wreath featuring…
DIY Thanksgiving Wreath with Dimensional Leaves and a Special Bow
Thanksgiving décor has a special kind of magic—rich textures, warm colors, and handmade details…