
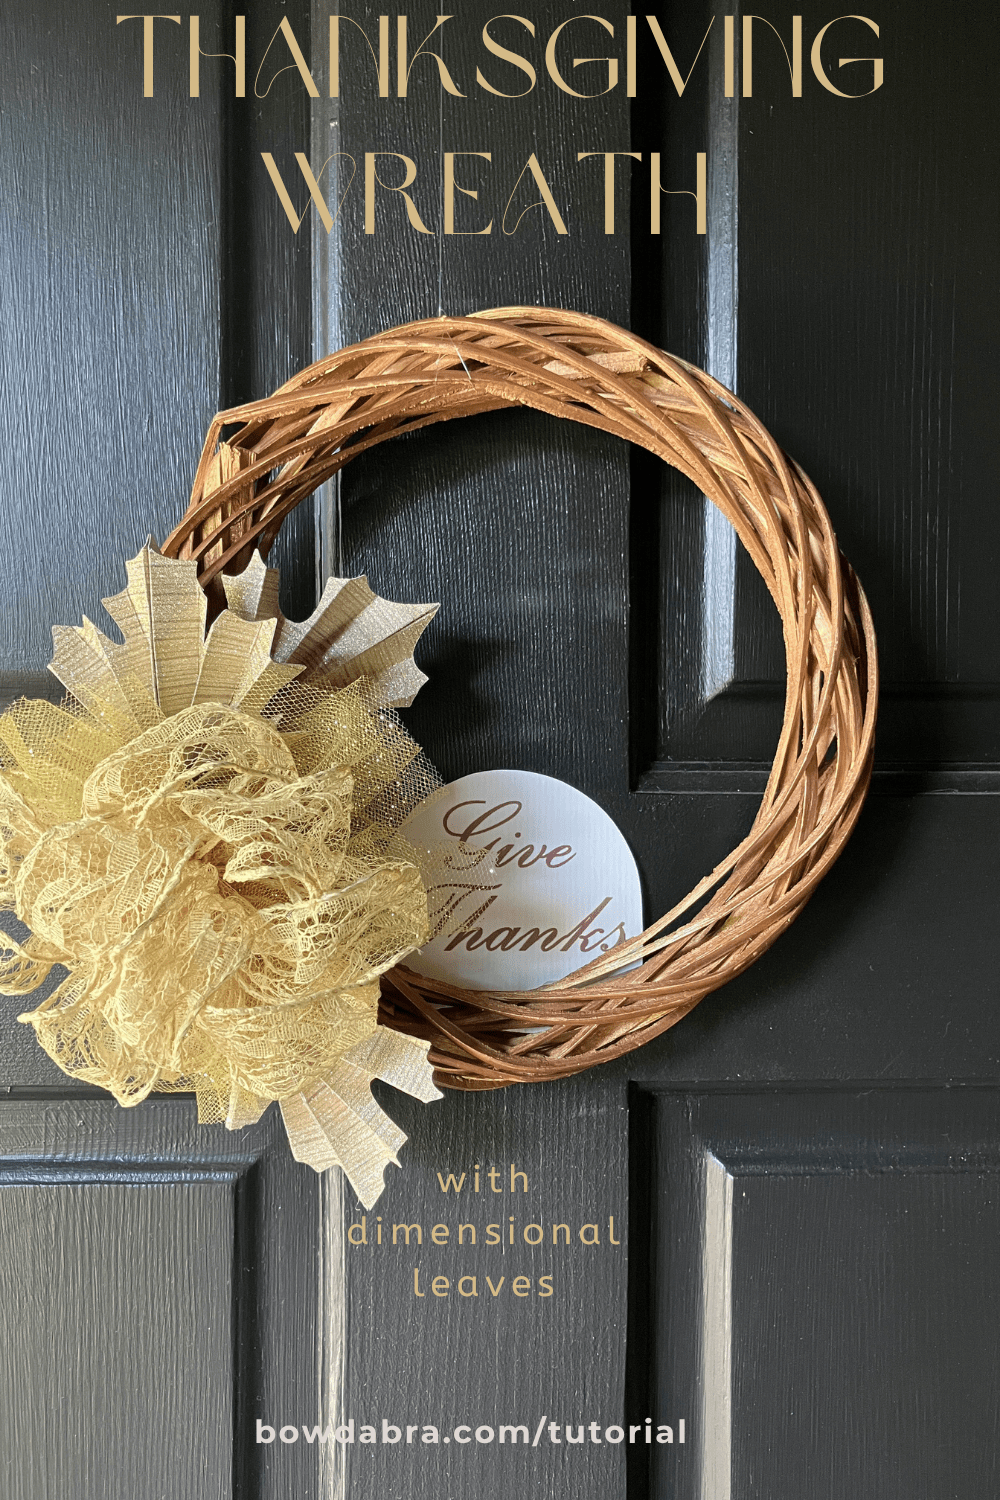






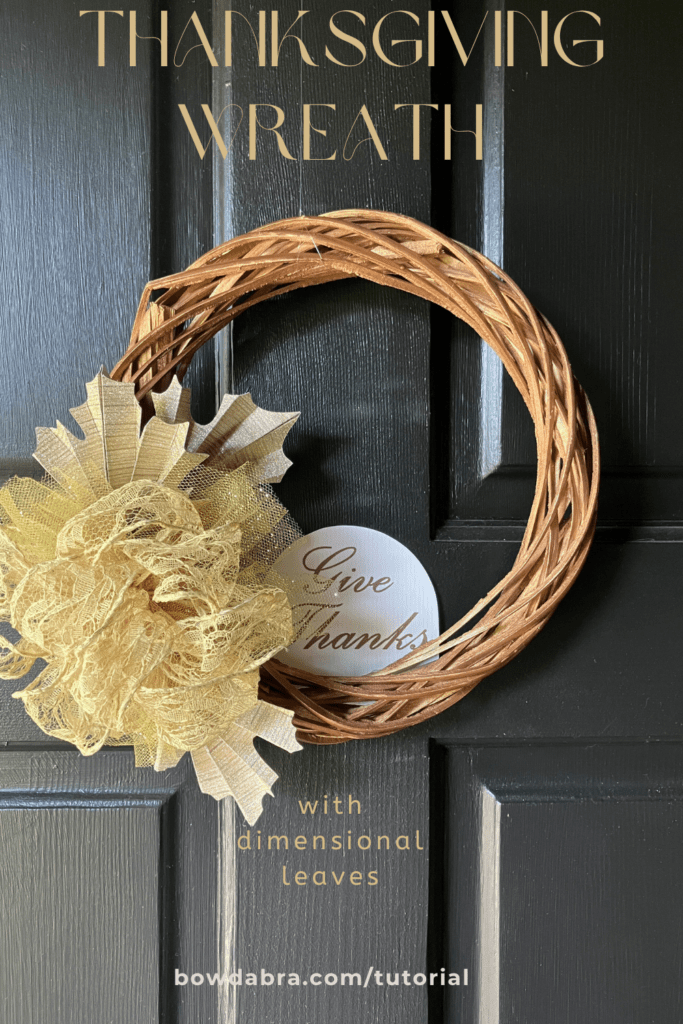
DIY Thanksgiving Wreath with Dimensional Leaves and a Special Bow
Thanksgiving décor has a special kind of magic—rich textures, warm colors, and handmade details that make a home feel welcoming the moment guests step through the door. This wreath brings all of that charm together in one beautiful project. Built on a natural willow twig base, it features DIY dimensional leaves that add sculptural depth and movement, along with a show‑stopping bow created using the Bowdabra bow‑making tool for crisp, professional loops every time.
Whether you’re decorating for a family gathering or refreshing your front door for the season, this wreath is a perfect blend of rustic elegance and handmade personality. Below, you’ll find the full step‑by‑step instructions to create your own Thanksgiving centerpiece that celebrates gratitude, craftsmanship, and the beauty of fall.
Let’s get started:
Select a natural wreath base made of straw, grapevine, dried twig, or rattan in your choice of size. Then, we’ll embellish this base for the perfect Thanksgiving wreath.
Gather these supplies for dimensional leaves:
- Fall-themed pattern paper or cardstock
- Ruler
- Pencil
- Scoring tool (an old ballpoint pen with no ink)
- Hot glue and glue gun
- Leaf Templates
Let’s make the leaves:
- Download and print the Leaf Templates. Cut out the templates, and trace onto your pattern paper or cardstock. Cut out your leaves.
- Fold the leaf in half as shown in the photo.
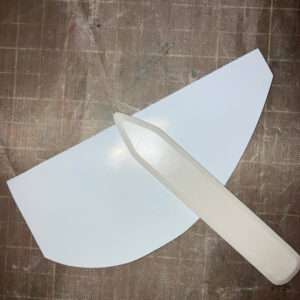
- Unfold the leaf. Then, on the reverse side of your paper measure and mark a line ½” from the bottom of the leaf. Draw lines every ½”.
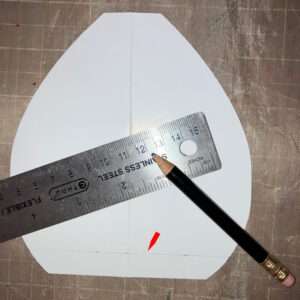
- Score on the marked lines. A scoring tool is handy, but not necessary. A dried up ballpoint pen works, too.
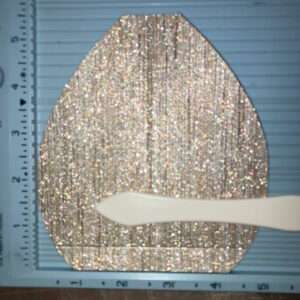
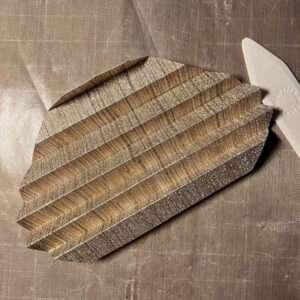
- Accordion fold the leaf on the scored lines.
- Fold the long sides together.
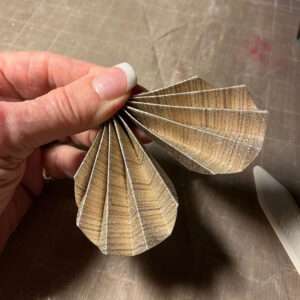
- Hot glue these long sides together.
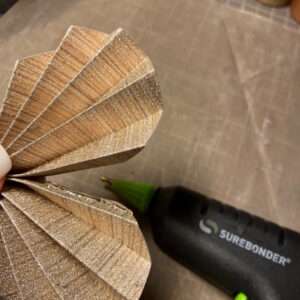
- Add a dab of hot glue at the base of the leaf to hold the first fold in place.
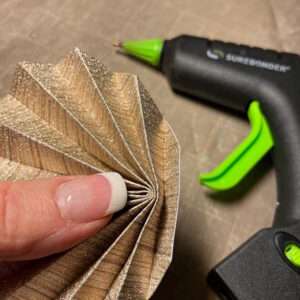
- Set your leaves aside while we make the bow for the wreath.
You’ll need these supplies for the bow:
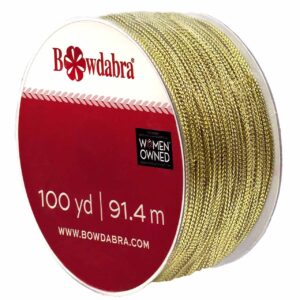
- 20″ length of Bowdabra bow wire
- Two lengths of tulle 6″ x 12″
- 6′ length 1½” wired lace
- Bowdabra Bow Making & Design Tool
Now, let’s make the bow for the DIY Thanksgiving wreath:
- Fold an 20″ length of bow wire in half, and place it in the Bowdabra.
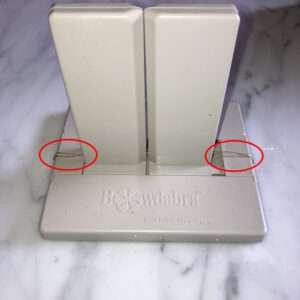
- Scrunch each piece of tulle into the Bowdabra individually.
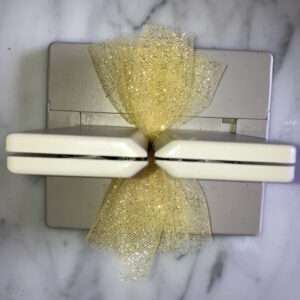
- Next, layer the wired lace ribbon into the Bowdabra forming six loops on each side of the central pillar.
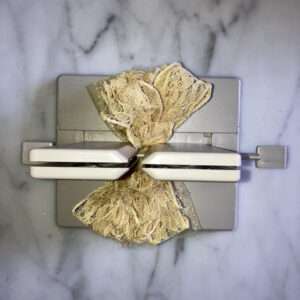
- Compress the tulle and ribbon with the Bowdabra wand.
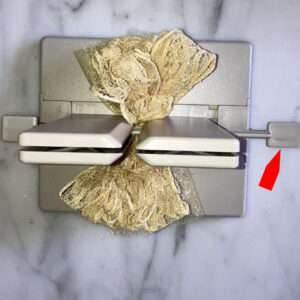
- With the tulle and ribbons still in the Bowdabra, pass the wire ends through the loop and pull up tightly and tie a secure knot on the reverse side of the bow. Leave the wire ends uncut.
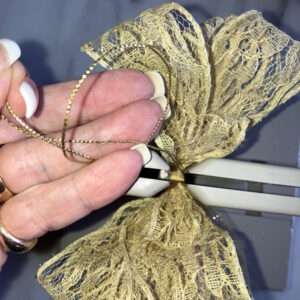
- Fluff the bow and arrange the individual loops.
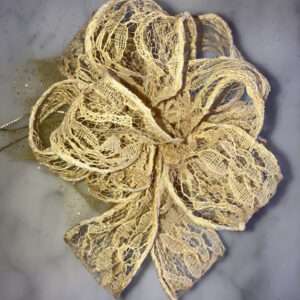
Assembly time for your DIY Thanksgiving wreath:
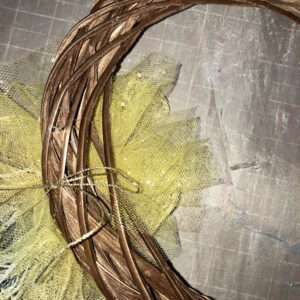
- Use the bow wire ends to tie the bow onto the wreath base with a basic shoelace bow. You can fold and tuck the wire ends out of sight. Tying the Bowdabra bow in place this way allows you to deconstruct the wreath, and give it a new life with a different bow and theme.
- Download and print the Give Thanks sign for the wreath. The template gives ample space under the words, and you may need to trim your signage to fit your wreath.
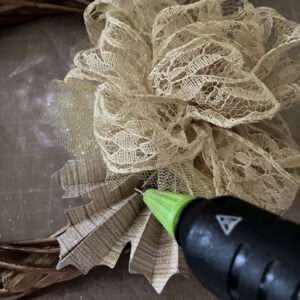
- Hot glue your dimensional leaves and “give thanks” signage to the wreath.
Handmade holiday décor has a way of turning simple materials into lasting memories, and this Thanksgiving wreath is no exception. The dimensional leaves bring a touch of artistry, the Bowdabra bow adds polished flair, and the finished piece becomes a heartfelt reminder to “Give Thanks” all season long.
Once you’ve made your wreath, display it proudly—on your front door, above a mantel, or as part of a festive vignette. And if you’re crafting multiples for gifts or a holiday market, this design is both repeatable and customizable, making it a seasonal favorite year after year.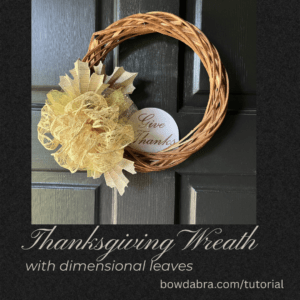
Share this article
Products Used
Create Beautiful Bows

Related Articles
Create Beautiful Bows

Large Beautiful Bowdabra® Bow | Pretty Palace Porches
Olivia of Pretty Palace Porches creates a large, beautiful Bowdabra holiday bow using a…

How to make a unique breast cancer awareness wreath
October is Breast Cancer Awareness Month. Show your support with this unique breast cancer…

How to make the most gorgeous pumpkin print bow
Hi everyone! It’s Nicole from Reed Family Farm and the Bowdabra® Design Team! Today,…

The best video DIY – How to make a fun fall wreath bow
“Hi, I’m Sandy Sandler, the creator of the Bowdabra® Bow Maker. Today, I’m…

How to make a Beautiful Fall Bow with Long Tails
Hi everyone! I’m Nicole from Reed Family Farm and a member of the Bowdabra® Design Team. Today, I’m excited to show you how to make this beautiful fall bow using the Bowdabra®. Let’s get started! Materials: Large Bowdabra® Bowdabra® Bow Wire 3 yards of 2.5” wide plaid wired…

Video DIY – how to make a spooky Halloween lantern swag
In this super-easy DIY, Bowdabra creator, Sandy Sandler, shows you the easy steps to…

Video DIY – how to make this quick and easy football spirit bow
Hi, I’m Joette from the Bowdabra® Design Team! Today, I’m showing you how to…
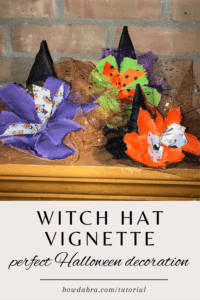
DIY Felt Witch Hats with Halloween Bows: Easy Décor for Your Seasonal Display
There’s something irresistible about miniature witch hats—especially when they’re dressed up in bright Halloween…