





How to make the most beautiful autumn lantern bow – Video DIY
Make a Gorgeous autumn Lantern Bow in Minutes with Bowdabra®! Do you want to give your lantern a beautiful fall makeover without spending a fortune? In this easy DIY tutorial, Sandy Sandler shows you how to create a gorgeous, designer-style fall lantern bow using the Bowdabra® Bow Making Tool! It’s an easy way to add a warm, elegant autumn touch to your home in just minutes! So let’s get started:
Materials:
Fall wired ribbon
Decorative fall pick
Lantern
Instructions:
First, cut a piece of Bowdabra bow wire long enough to have enough leftover wire to tie it to your lantern. Then, fold it in half and insert it into the Bowdabra. You will have a loop on one side and two loose wires on the other side. This will serve as your slipknot. Tuck the ends under to stay out of the way while you are making your bow.
Next, lay the fall pick directly into the Bowdabra.
Then, place the pre-dovetailed tails into the Bowdabra. To dovetail, fold the ribbon in half and cut at an angle away from the fold.
Now, twist the ribbon and place it in the Bowdabra about an inch. Then make a fold and twist bow. Twist and then, bring the ribbon across and scrunch down, twist, and repeat. Continue making loops back and forth, twisting and scrunching down into the Bowdabra. Make sure the wrong sides are always on the inside of the bow.
Now scrunch everything down with the Bowdabra wand. Then, insert the loose wires through the loop and pull tight while the bow is still in the Bowdabra. Then, remove the bow from the Bowdabra, separate the ends, turn to the back, and tie a knot. Tie a double knot for extra security.
Fluff the bow and use the excess wire to tie the bow onto the lantern. This autumn lantern bow is perfect for Fall decorations, autumn home décor, Thanksgiving centerpieces, entryway decorations, seasonal displays, and DIY fall gifts!

Share this article
Related Articles
Create Beautiful Bows
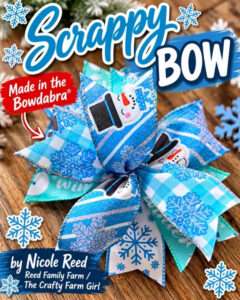
How to make the best scrappy bow with Bowdabra
Turn leftover ribbon into a beautiful scrappy bow! Nicole Reed of Reed Family Farm…
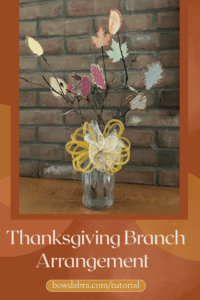
Make a Thanksgiving Branch Arrangement with Glittered Leaves and a Fabulous Bow
Autumn crafting has a way of slowing life down just enough for us to…

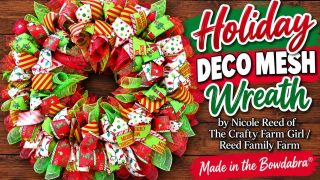
Video DIY – how to make a fantastic holiday deco mesh wreath
Nicole Reed of The Crafty Farm Girl / Reed Family Farm, part of the…

How to make a Quick and easy fall table centerpiece – DIY
Learn How to Make a Gorgeous DIY Fall Table Centerpiece with Bowdabra®! 🍁Do you…
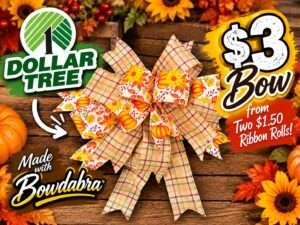
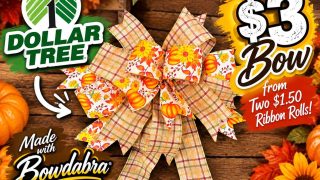
How to make an inexpensive $3 fall bow with Bowdabra
Hi, I’m Joette from the Bowdabra Design Team! Today, I’m showing you how…

How to make a new eye-catching bow that will steal the show
Nick from Nick’s Seasonal Decor is showing us how to create a beautiful, eye-catching bow using the Bowdabra®! This vibrant orange polka-dot ribbon bow makes a statement and is perfect for wreaths, gifts, seasonal decorating, and more. Materials: Large Bowdabra® Bowdabra® Bow Wire 4 yards of 1½-inch-wide wired ribbon Instructions:…
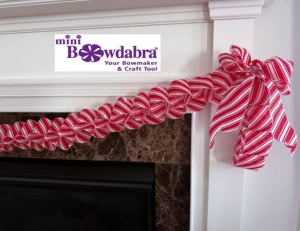
How to make an adorable ribbon candy garland with Bowdabra
Transform your holiday decor with a handmade ribbon candy garland with Bowdabra bows.…
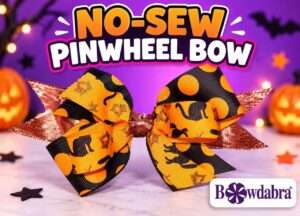
Video How to make an inexpensive no-sew pinwheel hairbow
Learn how to make a pinwheel hairbow in this quick and easy video DIY.…