



How to Make the Perfect Customized Checkerboard and Checkers
Checkers is an ancient game that might date back as far as 1400 B.C.—maybe even farther!! Besides being fun to play, checkers is a great game for kids as it helps them develop logical thinking and strategy skills. Here’s how young artists can create their own customized checkerboard and checkers.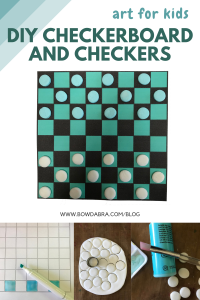
Supplies that you’ll need to make the checkerboard and checkers:
- 8½” x 11″ white cardstock (copy paper can substitute)
- Air-dry clay (either purchased or homemade)
- Paint or markers
- Checkerboard grid pattern
- Cereal box
- Glue
- Small round cookie or canape cutter (optional)
- Rolling pin
- Sandpaper (optional)
Let’s get started making the checkers:
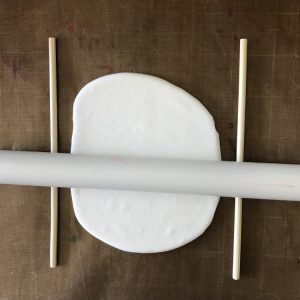
- Roll out the clay to about ¼” thick. You can get an even thickness by placing a skewer at each side of the clay. Roll over the clay and flatten it until the rolling pin touches the skewers.
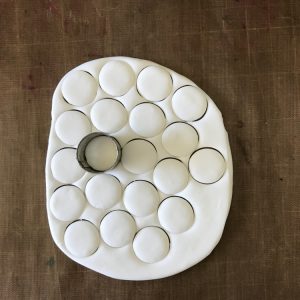
- You’ll need 24 checkers total of —12 of each color. Might want to make a couple of extras just in case one gets lost! There are two ways to form the checkers. You can use a small round cookie or canape cutter.
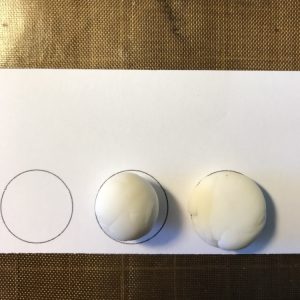
- Or, you can form a small ball of clay and flatten it with your thumb. The grid pattern includes a size guide for the included checkerboard grid.
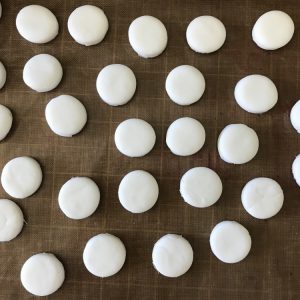
- After the checkers are formed, set them aside to dry. Carefully turn them over from time to time to encourage even drying.
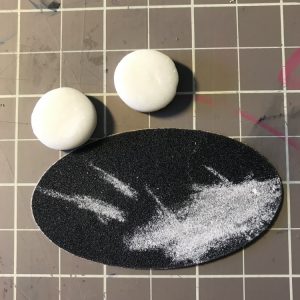
- When they are dry, you can sand any uneven edges, if desired.
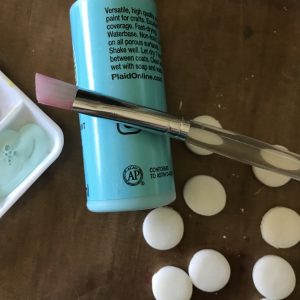
- Paint the checkers with markers or acrylic paints.
Let’s make the checkerboard:
- You can print out the checkerboard pattern and color alternating squares with markers or crayons.
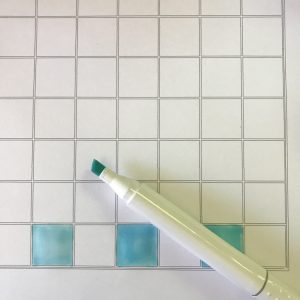
- Or, you can draw your own grid on white cardstock using a marker and ruler.
- Glue the grid to the cereal box so the checkboard is more rigid. Trim the edges of the grid.
Now you’re ready for a challenging game of checkers using your own customized checkerboard and checkers.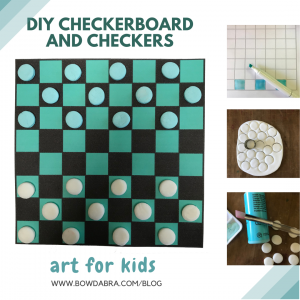
Share this article
Related Articles
Create Beautiful Bows

How to make a new eye-catching bow that will steal the show
Nick from Nick’s Seasonal Decor is showing us how to create a beautiful, eye-catching bow using the Bowdabra®! This vibrant orange polka-dot ribbon bow makes a statement and is perfect for wreaths, gifts, seasonal decorating, and more. Materials: Large Bowdabra® Bowdabra® Bow Wire 4 yards of 1½-inch-wide wired ribbon Instructions:…

Video how to – Make this epic fall grapevine wreath with Bowdabra
Bring autumn flair to your front door with this beautiful fall grapevine wreath featuring…
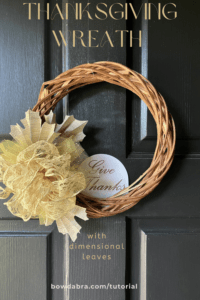
DIY Thanksgiving Wreath with Dimensional Leaves and a Special Bow
Thanksgiving décor has a special kind of magic—rich textures, warm colors, and handmade details…

Large Beautiful Bowdabra® Bow | Pretty Palace Porches
Olivia of Pretty Palace Porches creates a large, beautiful Bowdabra holiday bow using a…
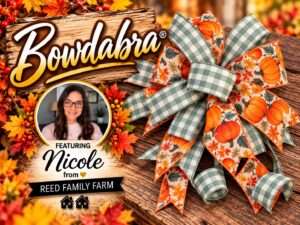
How to make the most gorgeous pumpkin print bow
Hi everyone! It’s Nicole from Reed Family Farm and the Bowdabra® Design Team! Today,…

The best video DIY – How to make a fun fall wreath bow
“Hi, I’m Sandy Sandler, the creator of the Bowdabra® Bow Maker. Today, I’m…
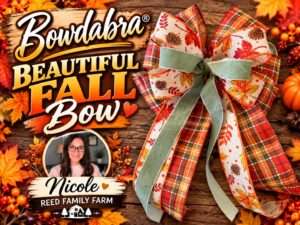
How to make a Beautiful Fall Bow with Long Tails
Hi everyone! I’m Nicole from Reed Family Farm and a member of the Bowdabra® Design Team. Today, I’m excited to show you how to make this beautiful fall bow using the Bowdabra®. Let’s get started! Materials: Large Bowdabra® Bowdabra® Bow Wire 3 yards of 2.5” wide plaid wired…

Video DIY – how to make a spooky Halloween lantern swag
In this super-easy DIY, Bowdabra creator, Sandy Sandler, shows you the easy steps to…