



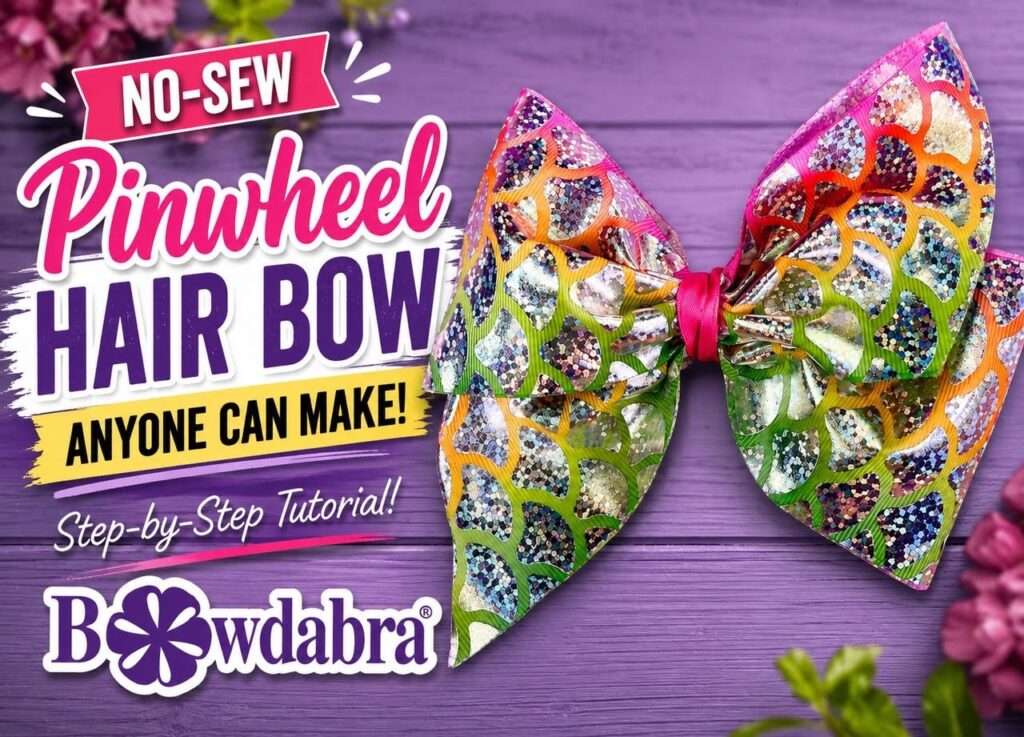
Easy Video DIY – How to make a stunning pinwheel hair bow
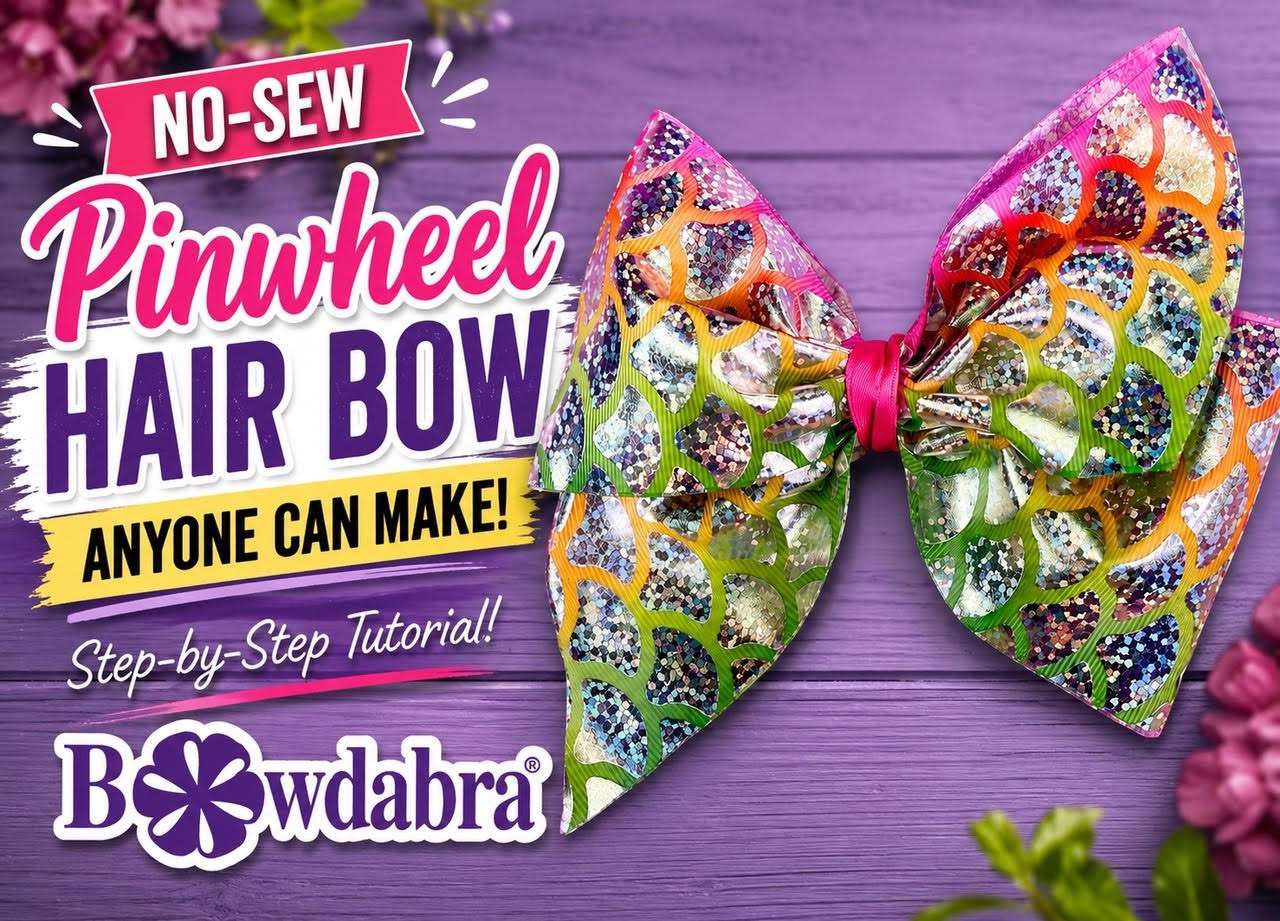
Learn how to make a stunning pinwheel hair bow using just 18 inches of ribbon and the Mini Bowdabra®! This quick, beginner-friendly tutorial shows you how to fold and scrunch the ribbon, secure the bow with Bowdabra® Bow Wire, attach it to a ponytail holder, and finish the center without sewing! Perfect for back to school!
Materials and ribbon:
1 yard of 3” wide gross grain 10”
7/8” wide satin ribbon
Instructions:
First, cut a piece of Bowdabra bow wire. Then, fold it in half and insert it into the Mini Bowdabra. You will have a loop on one side and two loose wires on the other side. This will serve as your slipknot. Tuck the ends under to stay out of the way while you are making your hair bow.
Cut a length of 18″ ribbon and trim the tails in opposite directions. Fold it in half to find the center. Then, pinch a mountain fold and place it into the Mini Bowdabra right sides facing down.
Bring one side across to make a loop, then do the same with the other side. Make sure one side of the tails is facing up and the other side facing down. ( pinwheel shape)
Now scrunch everything down with the Bowdabra wand. Then, insert the loose wires through the loop and pull tight while the bow is still in the Bowdabra. Then, remove the bow from the Bowdabra, separate the ends, turn to the back and tie a knot. Tie a double knot for extra security.
Use the excess wire to tie the bow to the pony tail elastic. Tie a knot in a small piece of 7/8″ wide satin ribbon and glut the knot to the front and wrap around the rest of the ribbon to finish. You have a stunning pinwheel hair bow the is super simple to make!

Please be sure to subscribe to our YouTube channel for hundreds of video DIY’ s like this one. And Don’t forget to like us on Facebook!
Share this article
Related Articles
Create Beautiful Bows
Video How to make an inexpensive no-sew pinwheel hairbow
Learn how to make a pinwheel hairbow in this quick and easy video DIY.…

Video how to – Make this epic fall grapevine wreath with Bowdabra
Bring autumn flair to your front door with this beautiful fall grapevine wreath featuring…
DIY Thanksgiving Wreath with Dimensional Leaves and a Special Bow
Thanksgiving décor has a special kind of magic—rich textures, warm colors, and handmade details…

Large Beautiful Bowdabra® Bow | Pretty Palace Porches
Olivia of Pretty Palace Porches creates a large, beautiful Bowdabra holiday bow using a…

How to make a unique breast cancer awareness wreath
October is Breast Cancer Awareness Month. Show your support with this unique breast cancer…
How to make the most gorgeous pumpkin print bow
Hi everyone! It’s Nicole from Reed Family Farm and the Bowdabra® Design Team! Today,…

The best video DIY – How to make a fun fall wreath bow
“Hi, I’m Sandy Sandler, the creator of the Bowdabra® Bow Maker. Today, I’m…
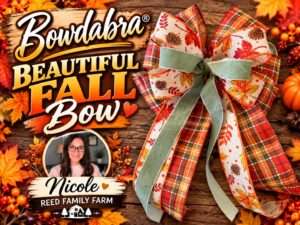
How to make a Beautiful Fall Bow with Long Tails
Hi everyone! I’m Nicole from Reed Family Farm and a member of the Bowdabra® Design Team. Today, I’m excited to show you how to make this beautiful fall bow using the Bowdabra®. Let’s get started! Materials: Large Bowdabra® Bowdabra® Bow Wire 3 yards of 2.5” wide plaid wired…