


DIY Pencil Vase Teacher Gift — Easy Back‑to‑School Craft
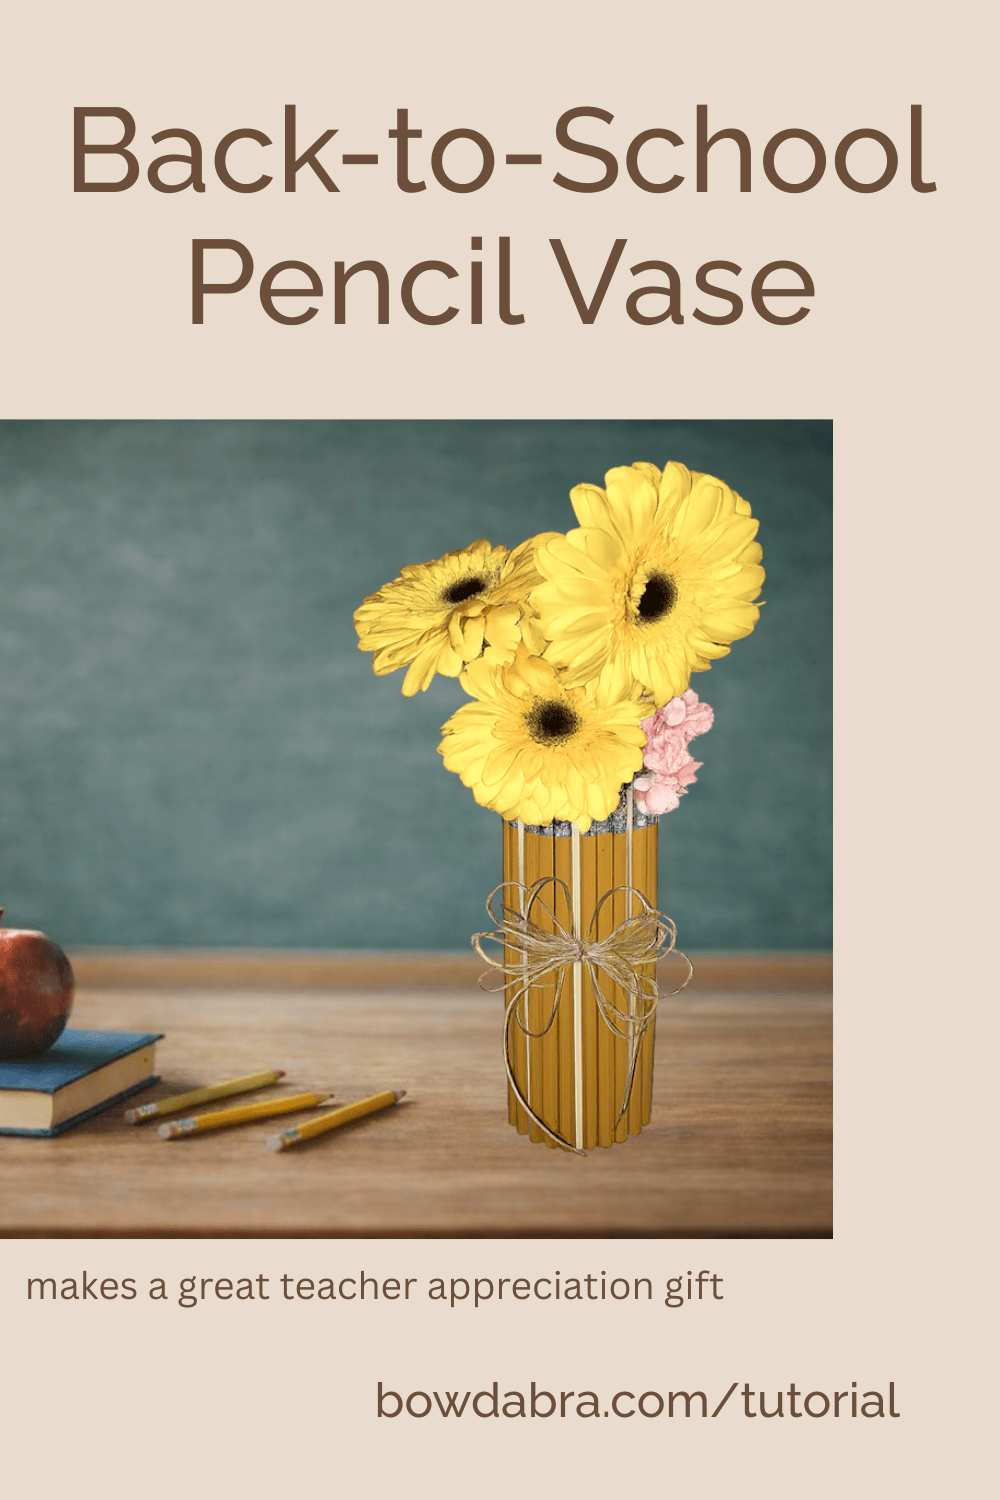
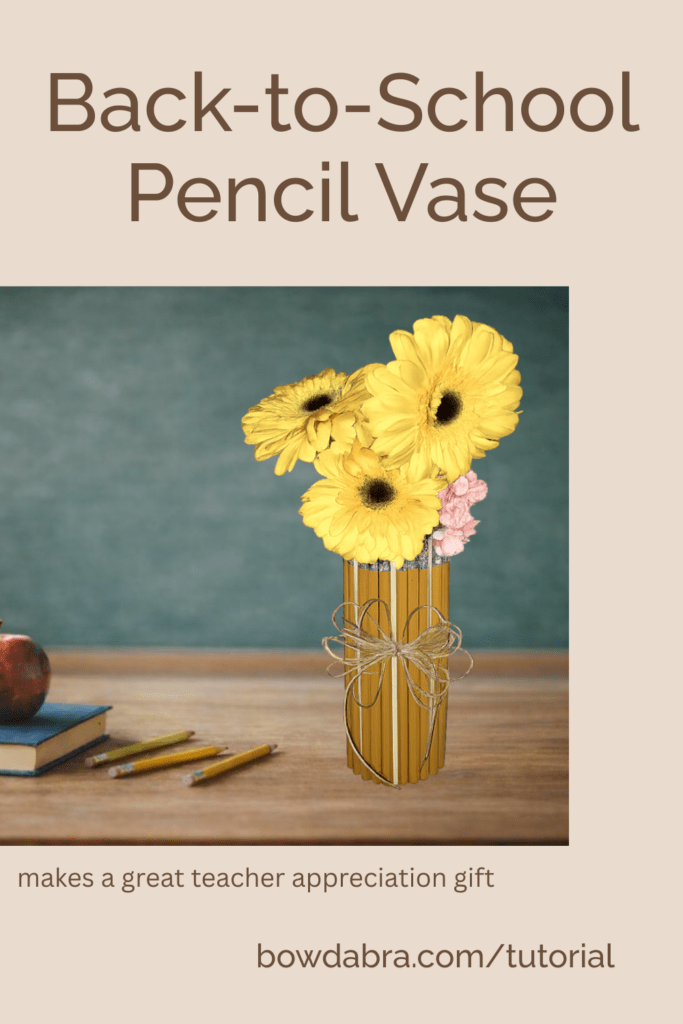
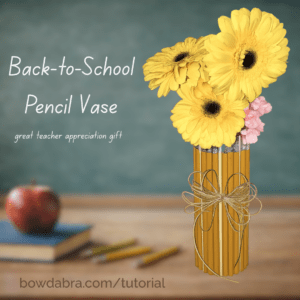
Teachers adore practical gifts, but they also love something that brightens their desk. This pencil vase does both — it’s cheerful, classroom‑themed, and easy enough for kids or adults to make. With just a handful of supplies (many you already have), you can turn a simple plastic water bottle into a gift that feels personal and polished.
Gather These Supplies:
- 1 empty 16‑oz plastic beverage bottle
- 24–26 standard No. 2 pencils (unsharpened works best)
- E6000 adhesive
- Craft knife
- Twine or ribbon for decorative bow
- Bowdabra bow wire
- Fresh or faux flowers
Let’s Make a Back-to-School Pencil Vase:
1. Prepare the bottle
- Remove the label and rinse the bottle. Measure from the bottom of the bottle 1” less than the length of the pencils. Mark the bottle. You can use a craft knife or scissors to trim away the top of the bottle so you’re left with the straight cylindrical section.
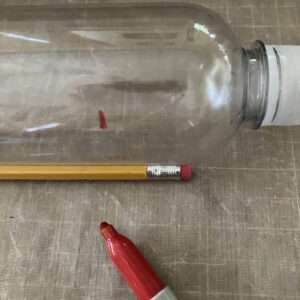
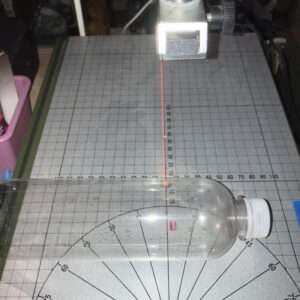
- But, I want to show you what I use. It’s the Proxxon Thermocut. The hot wire—you can see it glowing red in the photo—quickly and cleanly cuts through the plastic bottle. This tool is also great for cutting ribbons as it fuses the ends as it makes the cut.
2. Measure your wrap area
- Measure the circumference of your bottle. Since you’re wrapping pencils around the bottle, the circumference tells you how many pencils will fit around it. A standard yellow #2 pencil is about 0.30 inches in diameter.
- Determine how many pencils you need: Divide the Circumference of the Bottle by .30 (pencil diameter) = number of pencils needed
3. Attach the pencils
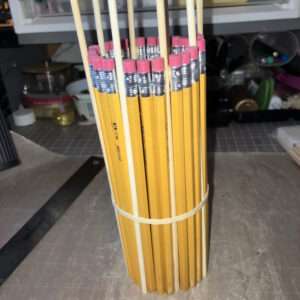
- Test fit the pencils around the bottle, holding them in place with a rubber band or hair tie. You can see I didn’t have quite enough pencils, so I added skewers equally placed around the bottle. Problem solved!! The skewers will be trimmed to the appropriate height when the glue dries.
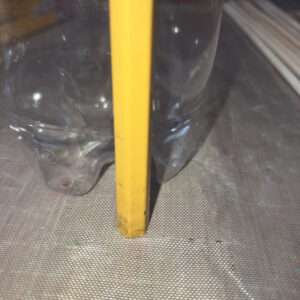
- Placing the first pencil is the most important, so take your time. Work on a flat surface, and ensure that the flat end of the unsharpened pencil and the bottle sit straight. Add a few drops of E6000 glue to one of the pencil sides, and adhere to the bottle. I glued the side with the writing against the bottle so it won’t show on the finished vase. Because I am risky-adverse I let this one pencil and bottle rest until the glue was set.
- Now, I proceed with gluing the remaining pencils and skewers in place. Stop frequently to check fit and alignment.
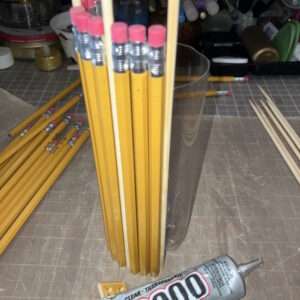
- Let the glue set, then trim the skewers to the appropriate height.
Note: I had no luck using hot glue to attach the pencils. The glue just would not hold.
4. Make the Bowdabra Bow and Attach to Vase
- Put an 18” length of bow wire in the Mini Bowdabra.
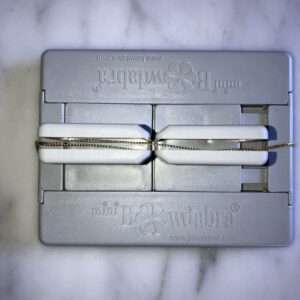
- Leave a 6” to 8” tail, then make equal loops with the twine. End with another 6” to 8” tail.
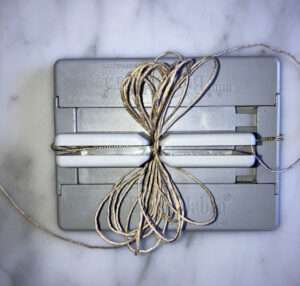
- Use the wand to compress the twine in the Mini Bowdabra.
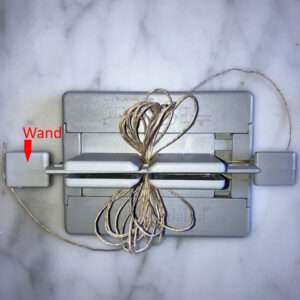
- With the twine still in the Mini Bowdabra, pass the wire ends through the loop. Pull tightly. Remove the bow from the Mini Bowdabra and tie the wire ends on the back side of the bow with a secure knot. Trim the wire ends.
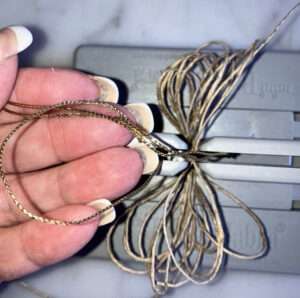
- Fluff and arrange the bow’s twine loops.
- Secure one end of a length of twine with a dot of hot glue, and wrap around the vase several times, stopping where you began. Secure the final end with another dot of hot glue.
- Hot glue the twine bow in place over the twine wraps, hiding the begin and ending glue dots.
5. Add flowers
Fill the bottle halfway with water (or skip water if using faux flowers). Sunflowers, daisies, or bright seasonal blooms look especially cheerful.
Why Teachers Love This Gift
- It’s handmade — but polished
- It’s classroom‑themed without being kitschy
- It doubles as desk décor
- It’s inexpensive and customizable
- Kids can help make it
- It can be repurposed as a desk top pencil holder by adding a layer of crumpled tissue to the bottom of the vase. This raises the pencil stash so they are easily accessible.
Share this article
Related Articles
Create Beautiful Bows
How to make a new eye-catching bow that will steal the show
Nick from Nick’s Seasonal Decor is showing us how to create a beautiful, eye-catching bow using the Bowdabra®! This vibrant orange polka-dot ribbon bow makes a statement and is perfect for wreaths, gifts, seasonal decorating, and more. Materials: Large Bowdabra® Bowdabra® Bow Wire 4 yards of 1½-inch-wide wired ribbon Instructions:…
How to make an adorable ribbon candy garland with Bowdabra
Transform your holiday decor with a handmade ribbon candy garland with Bowdabra bows.…
Video How to make an inexpensive no-sew pinwheel hairbow
Learn how to make a pinwheel hairbow in this quick and easy video DIY.…

Video how to – Make this epic fall grapevine wreath with Bowdabra
Bring autumn flair to your front door with this beautiful fall grapevine wreath featuring…
DIY Thanksgiving Wreath with Dimensional Leaves and a Special Bow
Thanksgiving décor has a special kind of magic—rich textures, warm colors, and handmade details…

Large Beautiful Bowdabra® Bow | Pretty Palace Porches
Olivia of Pretty Palace Porches creates a large, beautiful Bowdabra holiday bow using a…

How to make a unique breast cancer awareness wreath
October is Breast Cancer Awareness Month. Show your support with this unique breast cancer…
How to make the most gorgeous pumpkin print bow
Hi everyone! It’s Nicole from Reed Family Farm and the Bowdabra® Design Team! Today,…