



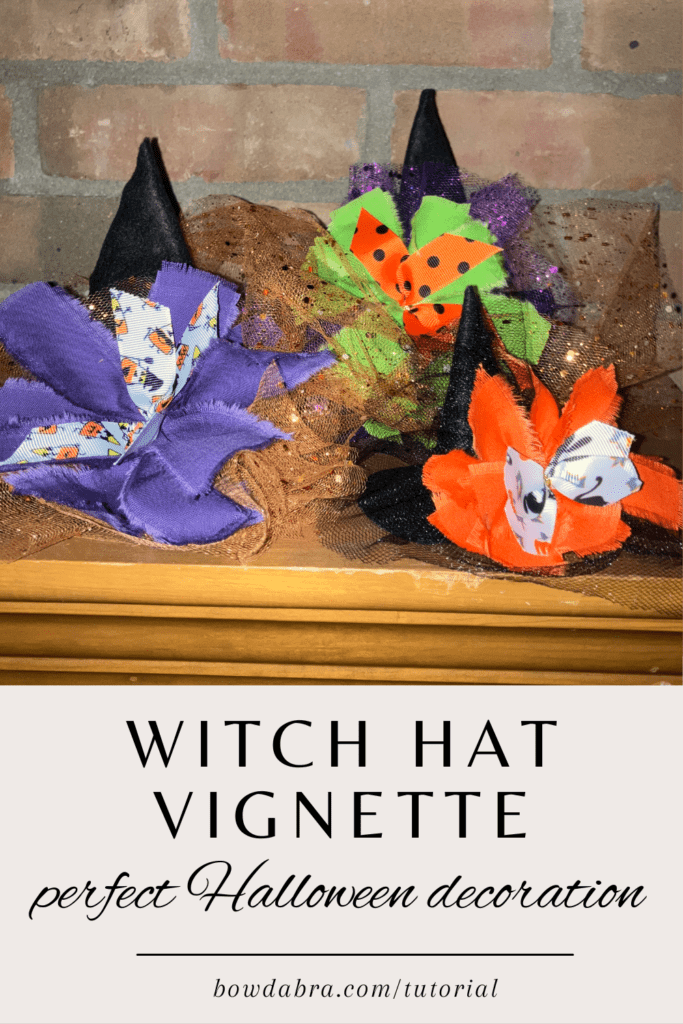
DIY Felt Witch Hats with Halloween Bows: Easy Décor for Your Seasonal Display
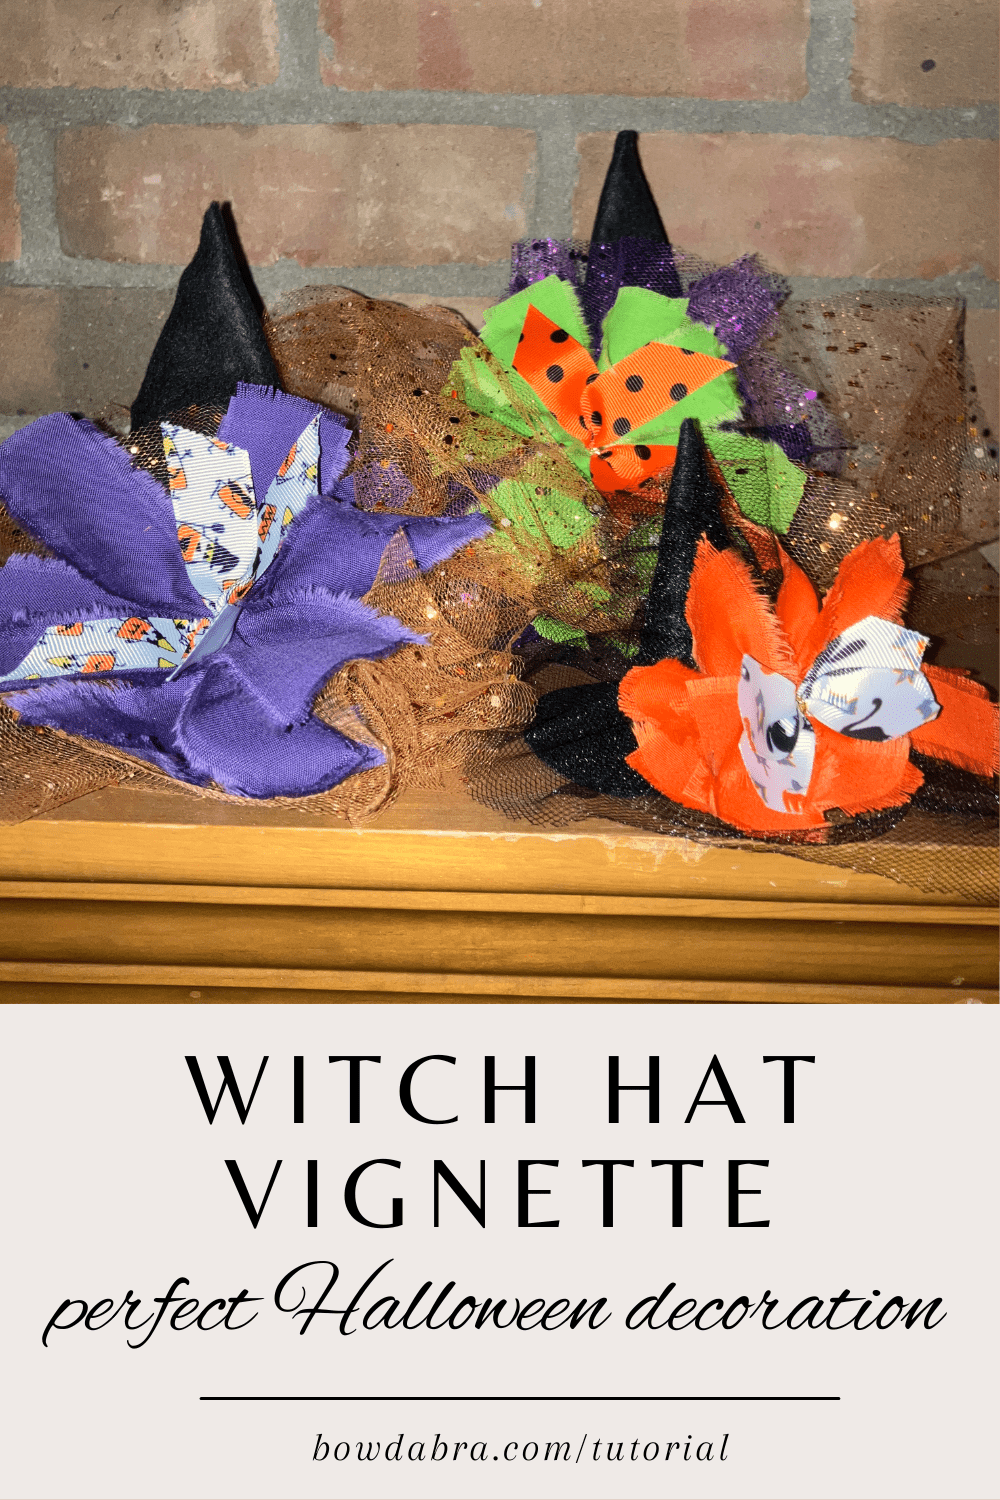
There’s something irresistible about miniature witch hats—especially when they’re dressed up in bright Halloween bows with just a touch of sparkle. This little vignette is one of those projects that proves how far a few simple materials can go. Whether you tuck it onto a mantel, style it on a tiered tray, or use it as a whimsical centerpiece, these miniature hats bring personality, color, and a hint of mischief to your Halloween décor. Today I’m sharing how to create this trio of felt witch hats, complete with layered bows that make each one feel like its own character. Follow the step‑by‑step instructions to craft your own enchanting display. We’ll start by making the witch hats, then make the bows.
You’ll need these supplies for the witch hats:
- 3 – 4 sheets of 9” x 12” black felt
- Piece of chalk (or other fabric marker that will show on black fabric)
- Witch hat patterns: 3½” hat; 4½” hat; 6” hat brim; 6” hat cone
- Scissors
- Hot glue
- Straight pins or binder clips (helpful, but not absolutely necessary)
Let’s make a witch hat:
- Download and print the witch hat patterns: 3½” hat; 4½” hat; 6” hat brim; 6” hat cone. Cut out each template.
- Arrange the hat pieces on the felt and trace the outline onto the felt with a piece of chalk.
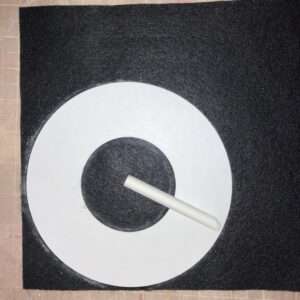
- Cut out the pattern pieces.
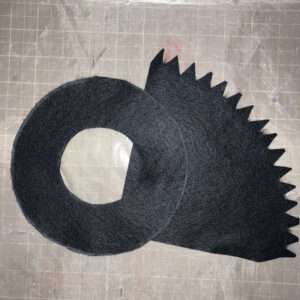
- On the hat cone piece, turn up the flap for gluing. Hold it in place with pins or blinder clips.
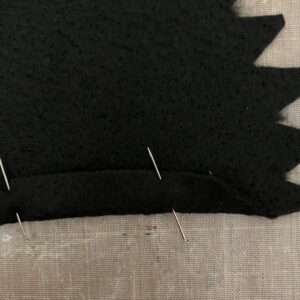
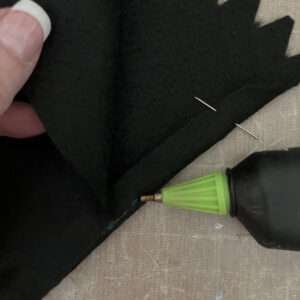
- Working short lengths at a time, hot glue the flap to the opposing side forming a cone. Remove the pins/clips as you proceed.
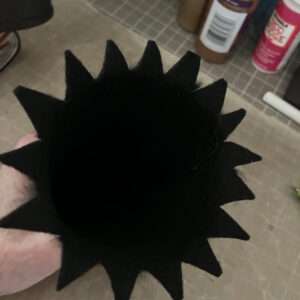
- Hold the cone in your hand, point down, and gently press the tabs downward.
- Turn the cone over, and place it on your work surface. Drop the hat brim over it.
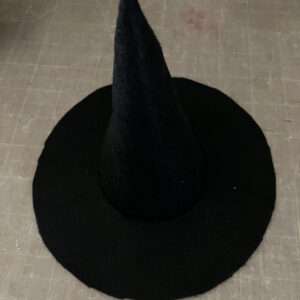
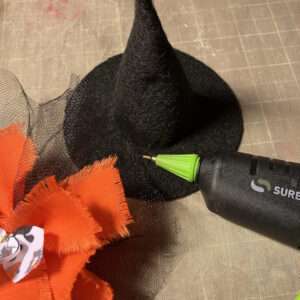
- Work a few tabs at a time, hot glue the tabs to the underside of the brim.
- Set the finished hats aside while we make the bows.
You’ll need these supplies for the bows: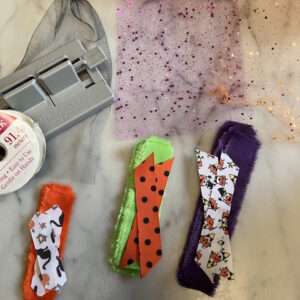
- Two 12” lengths of 6” tulle in black, orange, and purple
- Orange, green, and purple cotton fabric (use scraps if you have them; I used fat quarters)
- Two each 4”, 4½”, and 5½” lengths of Halloween themed ribbon
- Three 18” lengths Bowdabra bow wire
- Mini Bowdabra
- Hot glue
Let’s make the bows for the witch hats:
- We’re going to make our own “ribbons” from the cotton fabric. You’ll need six fabric ribbons for each of the three bows. Cut or tear the fabric to these sizes: 1¼” x 4 1⁄2” for the smallest hat; 1½” x 5 1⁄4” for the medium hat; and, 1½” x 6 1⁄2” for the large hat. Note: You can fray the edges, or cut the ribbon pieces with pinking shears for a zigzag edge.
- Place the 18” length of bow wire into the Mini Bowdabra. Tuck the end under the Mini Bowdabra to keep them out of the way.
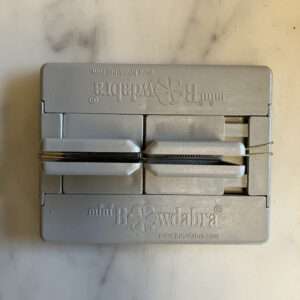
- Separately, scrunch each length of tulle into the Mini Bowdabra.
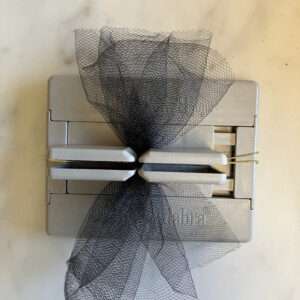
- Next, layer the fabric ribbons on top of the tulle.
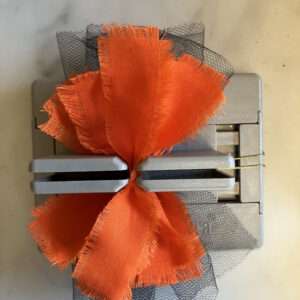
- Finish with the Halloween themed ribbons.
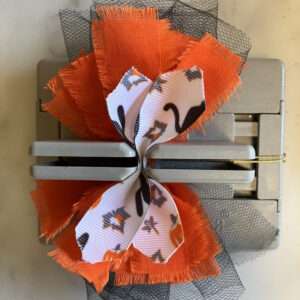
- Compress the ribbons with the Bowdabra wand.
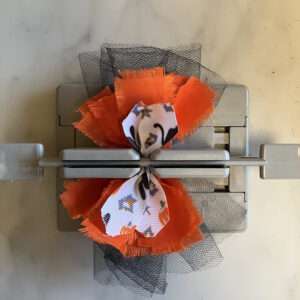
- With the ribbons still in the Mini Bowdabra, pass the wire ends through the loop. Pull the wire tight and tie in a secure knot on the back side of the bow. Trim the wire ends to about ½”.
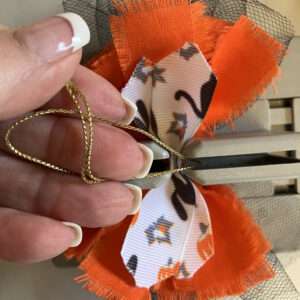
- Fluff the bow and arrange the ribbons.
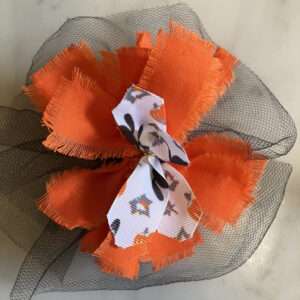
- Repeat Step 2 through 8 for the other two bows.
Final witch hat assembly:
- Hot glue the bows to the appropriate sized hat. Make sure that the hat seam is in the back before you glue the bow in place.
Once your hats are assembled and arranged, you’ll see how quickly they transform a small corner into a full Halloween moment. The mix of felt textures, patterned ribbons, and mesh gives the vignette depth and charm—perfect for photographing, gifting, or adding to your seasonal décor rotation. Feel free to customize the colors, bow styles, or embellishments to match your own Halloween aesthetic. However you style them, these little witch hats are guaranteed to bring a playful spark to the season. Happy crafting, and may your Halloween be filled with creativity and a touch of magic.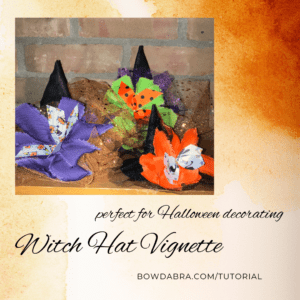
Share this article
Products Used
Create Beautiful Bows
 Sale!
Sale!
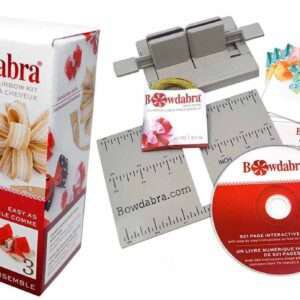
Mini Bowdabra® and the Hair Bow Tool and Ruler Kit - BOW2300
Related Articles
Create Beautiful Bows
How to make a new eye-catching bow that will steal the show
Nick from Nick’s Seasonal Decor is showing us how to create a beautiful, eye-catching bow using the Bowdabra®! This vibrant orange polka-dot ribbon bow makes a statement and is perfect for wreaths, gifts, seasonal decorating, and more. Materials: Large Bowdabra® Bowdabra® Bow Wire 4 yards of 1½-inch-wide wired ribbon Instructions:…
How to make an adorable ribbon candy garland with Bowdabra
Transform your holiday decor with a handmade ribbon candy garland with Bowdabra bows.…
Video How to make an inexpensive no-sew pinwheel hairbow
Learn how to make a pinwheel hairbow in this quick and easy video DIY.…

Video how to – Make this epic fall grapevine wreath with Bowdabra
Bring autumn flair to your front door with this beautiful fall grapevine wreath featuring…
DIY Thanksgiving Wreath with Dimensional Leaves and a Special Bow
Thanksgiving décor has a special kind of magic—rich textures, warm colors, and handmade details…

Large Beautiful Bowdabra® Bow | Pretty Palace Porches
Olivia of Pretty Palace Porches creates a large, beautiful Bowdabra holiday bow using a…

How to make a unique breast cancer awareness wreath
October is Breast Cancer Awareness Month. Show your support with this unique breast cancer…
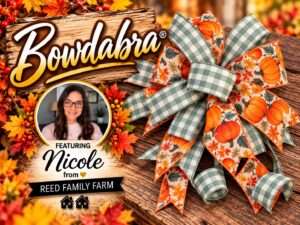
How to make the most gorgeous pumpkin print bow
Hi everyone! It’s Nicole from Reed Family Farm and the Bowdabra® Design Team! Today,…