

Best Christmas in July How to Video – fantastic multi-use bow
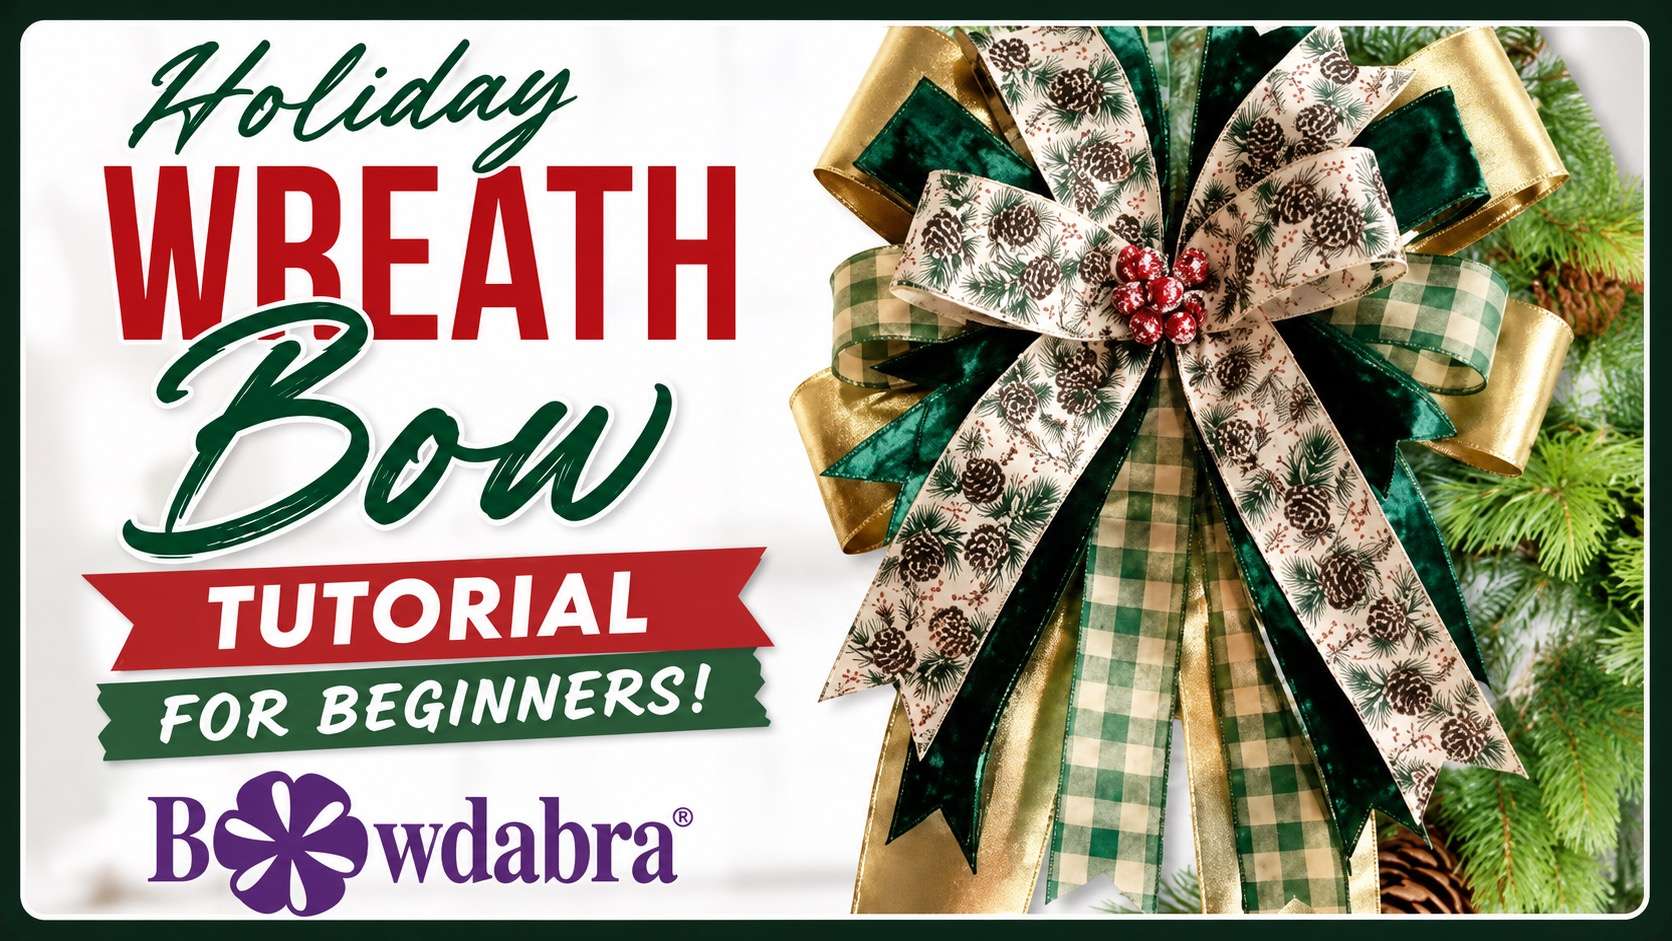
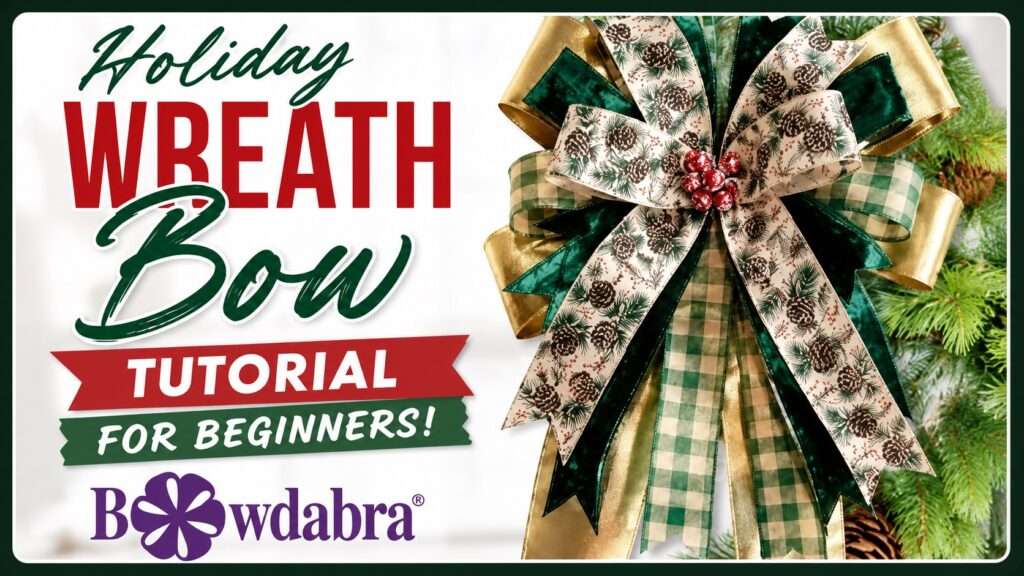
Learn how to make a fantastic multi-use bow with Bowdabra®. Using a few simple supplies, Sandy shows how to create a traditional fold-and-twist bow with the Bowdabra®, then attach it to a wreath or use it for the tree top for a gorgeous designer-style holiday look. Multi-uses for the same bow, how could it get any better!?
Materials
4 yards – 4100.99/10-634#4100 Wired Lamé Ribbon 4 inch wide in Gold
3 yards – 7378.60/10-607#7378 Gingham Burlap Ribbon2-1/2 inch wide in Natural/Green
3 yards – 7809.60/10-607#7809 Elite Velvet/ 2-sided Ribbon 2-1/2 inch wide in Green/Gold
Three yards – 7826.60/10-607#7826 Pine Cone Linen Ribbon 2-1/2 inch wide in Natural/Green
Berry Cluster pick
Instructions:
First, cut a piece of Bowdabra bow wire. Then, fold it in half and insert it into the Bowdabra. You will have a loop on one side and two loose wires on the other side. This will serve as your slipknot. Tuck the ends under to stay out of the way while you are making your bow.
Next, lay in a length of pre-dovetailed lame ribbon for the tails. To dovetail, fold the ribbon in half and cut at an angle away from the fold.
Now, using the lame ribbon, make a fold and twist bow. Twist and scrunch in the ribbon, then bring the ribbon across and scrunch down, twist, and repeat. Continue making loops back and forth, twisting and scrunching down into the Bowdabra. Make sure the wrong sides are always on the inside of the bow.
Next, use two lengths of the gingham ribbon and place them in the Bowdabra, making an X with the shorter lengths on top and the bottom being the tails.
Using some of the same gingham ribbon, create a shoelace bow. Find the center of the ribbon and scrunch it with the wrong side facing down into the Bowdabra. Now bring one side across and scrunch down, then bring the other side across and scrunch down.
Repeat the X pattern with the velvet/gold ribbon, placing the short ends on top and the bottom ends for the tails.
Finally, using the same velvet/gold ribbon, create a shoelace bow. Follow this with another X style with the pinecone print ribbon.
Finishing your bow:
Finish with a circle bow, place the right side of the ribbon down into the Bowdabra, bring the other side across, and lay the right side of the ribbon. Then, find the center and scrunch that down. Lay in some berries.
Now scrunch everything down with the Bowdabra wand. Then, insert the loose wires through the loop and pull tight while the bow is still in the Bowdabra. Then, remove the bow from the Bowdabra, separate the ends, turn to the back, and tie a knot. Tie a double knot for extra security.
Shape out and arrange the fantastic multi-use bow! You’ve made a gorgeous wreath or tree-topper bow in just minutes with Bowdabra.

Share this article
Related Articles
Create Beautiful Bows
How to make the most gorgeous pumpkin print bow
Hi everyone! It’s Nicole from Reed Family Farm and the Bowdabra® Design Team! Today,…
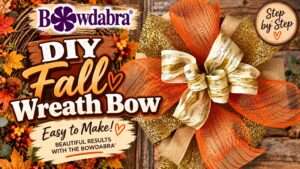
The best video DIY – How to make a fun fall wreath bow
“Hi, I’m Sandy Sandler, the creator of the Bowdabra® Bow Maker. Today, I’m…
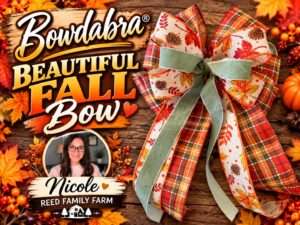
How to make a Beautiful Fall Bow with Long Tails
Hi everyone! I’m Nicole from Reed Family Farm and a member of the Bowdabra® Design Team. Today, I’m excited to show you how to make this beautiful fall bow using the Bowdabra®. Let’s get started! Materials: Large Bowdabra® Bowdabra® Bow Wire 3 yards of 2.5” wide plaid wired…

Video DIY – how to make a spooky Halloween lantern swag
In this super-easy DIY, Bowdabra creator, Sandy Sandler, shows you the easy steps to…

Video DIY – how to make this quick and easy football spirit bow
Hi, I’m Joette from the Bowdabra® Design Team! Today, I’m showing you how to…
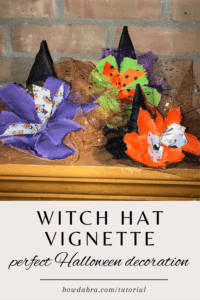
DIY Felt Witch Hats with Halloween Bows: Easy Décor for Your Seasonal Display
There’s something irresistible about miniature witch hats—especially when they’re dressed up in bright Halloween…
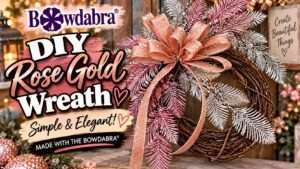
How to make an epic rose gold wreath – easy video DIY
Hi, I’m Nick from Nick’s Seasonal Decor! Today, I’m creating this beautiful rose gold…
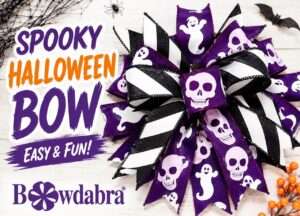
How to make the best spooky halloween bow quick and easy
In this easy Halloween bow tutorial, Sandy Sandler, creator of the Bowdabra®, shows you…