


How to Make the Perfect Trendy Magnetic Locker Mirror Accessory
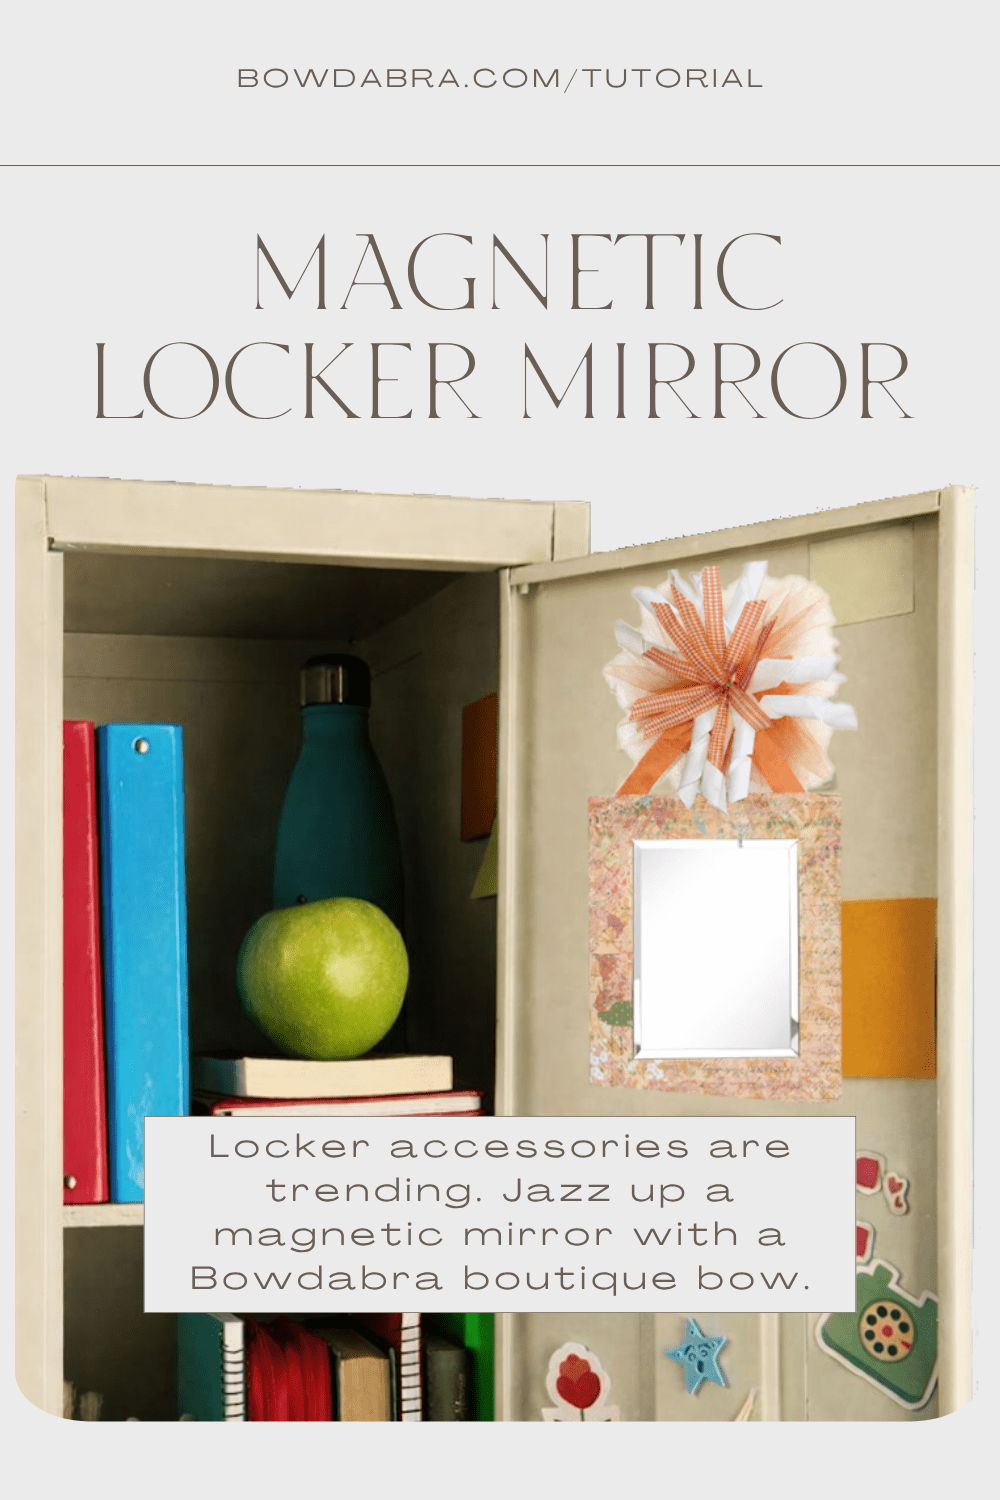
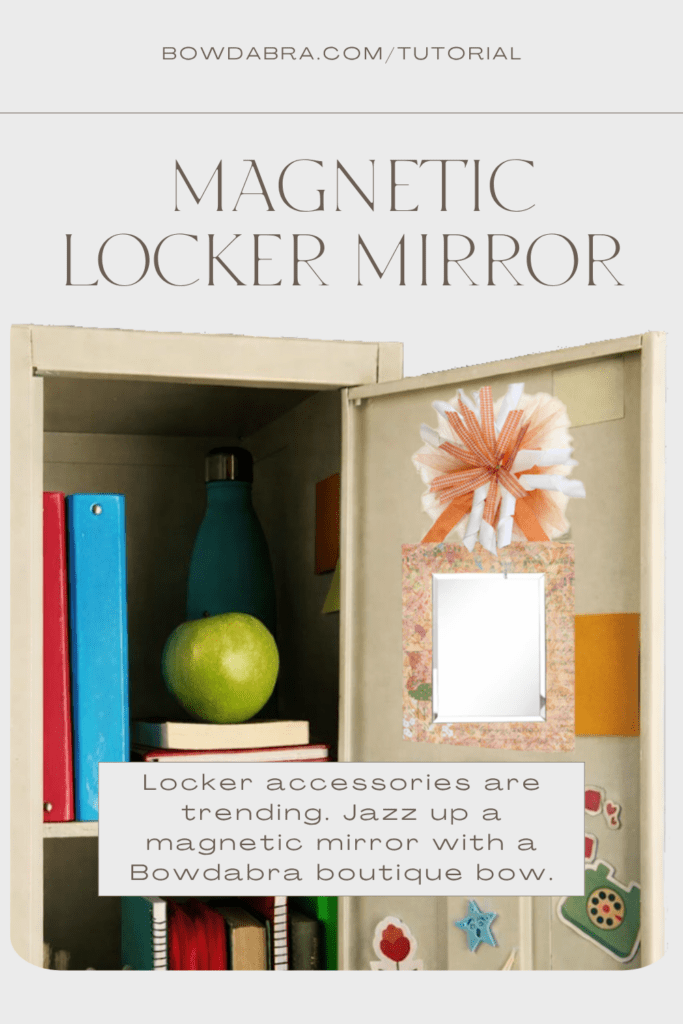
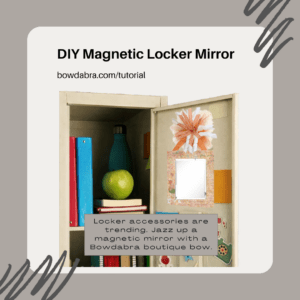
School locker décor is having a major moment, and this year’s biggest trend is magnetic accessories with bold colors and statement bows. This magnetic locker mirror is cute, functional, and totally customizable — the perfect craft for tweens, teens, and anyone who loves a stylish locker setup.
This version uses a cardboard frame, pretty scrapbook cardstock, and the Mini Bowdabra to create a dimensional bow that looks boutique‑level but takes only minutes to make. It’s budget‑friendly, beginner‑friendly, and a great summer project before school starts.
Supplies You’ll Need:
- Cardboard (cereal boxes or shipping boxes work great)
- Scrapbook patterned cardstock
- Small mirror (flat, lightweight, craft mirror)
- Mini Bowdabra
- 18” length Bowdabra wire
- Two 15” x 6” lengths of tulle
- Five 4½” x ⅜” patterned ribbon
- 45” of ½” grosgrain ribbon for corkers
- 18” length of grosgrain ribbon for hanging
- Hot glue gun + glue sticks
- Liquid glue
- Magnetic discs (strong hold)
Let’s Make a Magnetic Locker Mirror:
Step 1: Create the Cardboard Frame
The secret to this trendy look is the chunky, patterned frame — and you can make it in any shape you want.
- Cut two squares or rectangles from cardboard, 1 inch larger than your mirror on all sides. Set one aside—we’ll use this back cover later.
- From the second piece of cardboard, cut out the center window so the mirror will show through.
- Cover one side of the frame with liquid glue.
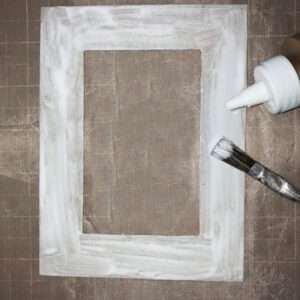
- Position the glued frame onto the back of the cardstock.
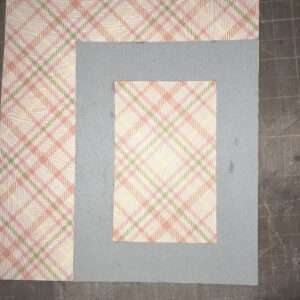
- Smooth out any bubbles and let it dry.
- When it is completely dry, cut out the center piece of cardstock, leaving the open hole for the mirror, and any extra along the sides.
Tip: Choose patterns that match locker trends — butterflies, florals, gingham, bold color blocking, or retro prints.
Step 2: Make the Bow With the Mini Bowdabra
This is where the magic happens. The Mini Bowdabra makes it easy to create a layered, boutique‑style bow that looks like something from a craft fair.
Start by making the corker ribbons:
- Coil the 45” length of grosgrain ribbon around a skewer or oven-safe knitting needle. Moisten thoroughly with water.
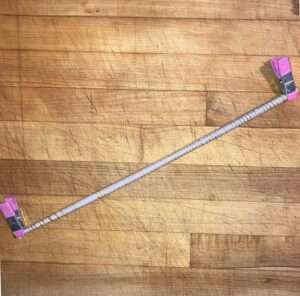
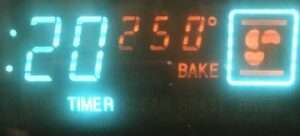
- Bake in a 250°F oven for 20 minutes. When the ribbon is cooled, cut into 5” lengths.
Now, let’s make the bow:
- Place the 18” length of bow wire into the Mini Bowdabra.
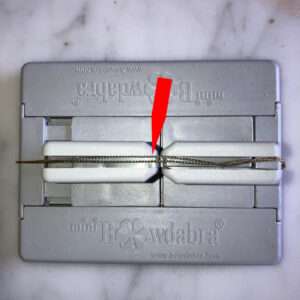
- Center the 18” length of grosgrain ribbon in the Mini Bowdabra.
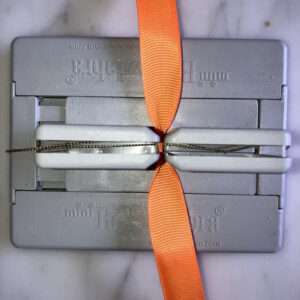
- Scrunch the lengths of tulle in the Mini Bowdabra.
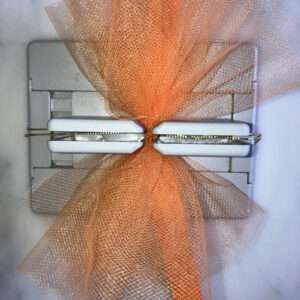
- Next, layer the corker ribbons in the Mini Bowdabra.
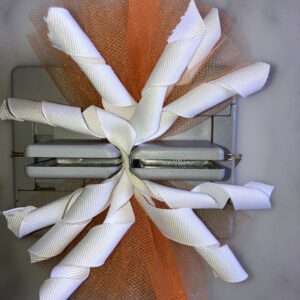
- Add the final layer of patterned ribbons in the Mini Bowdabra.
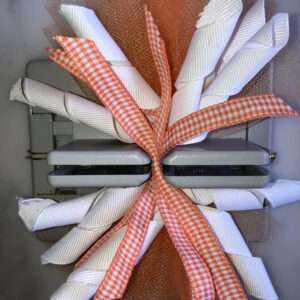
- Compress the ribbons with the Bowdabra wand.
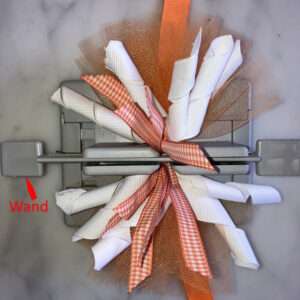
- With the ribbons still in the Mini Bowdabra, pass the wire ends through the loop. Pull the wire tight and tie in a secure knot on the back side of the bow. Trim the wire ends.
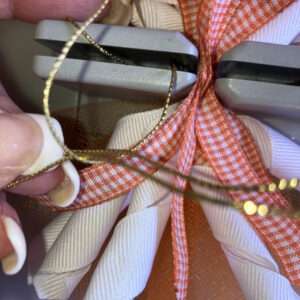
- Fluff and trim the loops until it looks full and dimensional.
Step 3: Assemble the Mirror and Add Magnets
Use strong magnets so the mirror stays put when the locker door slams.
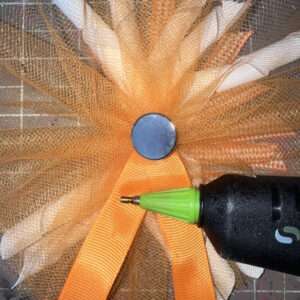
- First, fold the two ends of the hanging ribbon as shown below, then hot glue a strong magnet to the bow.
- Flip the frame over so it is face down on your workspace. Insert the mirror face down. Hot glue the hanging ribbons to the top corners of the back of the frame, adjusting the length as necessary to meet your needs.
- Hot glue the back cover of the frame you made earlier in place. Be sure to apply glue to the back of the mirror to secure it in place.
- Hot glue additional magnets in the back corners of the frame.
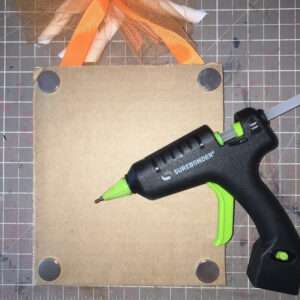
- Test the hold on a metal surface before gifting or using. Add additional magnets, if needed.
Finished Look
You’ll end up with a trendy, personalized magnetic mirror that looks store‑bought but costs only a few dollars to make. It’s perfect for:
- Back‑to‑school crafting
- Tween birthday parties
- Craft fairs
- Teacher gifts or classroom décor
Share this article
Related Articles
Create Beautiful Bows

The best video DIY – How to make a fun fall wreath bow
“Hi, I’m Sandy Sandler, the creator of the Bowdabra® Bow Maker. Today, I’m…
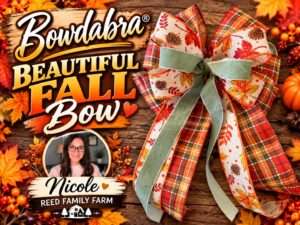
How to make a Beautiful Fall Bow with Long Tails
Hi everyone! I’m Nicole from Reed Family Farm and a member of the Bowdabra® Design Team. Today, I’m excited to show you how to make this beautiful fall bow using the Bowdabra®. Let’s get started! Materials: Large Bowdabra® Bowdabra® Bow Wire 3 yards of 2.5” wide plaid wired…
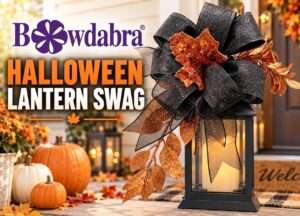
Video DIY – how to make a spooky Halloween lantern swag
In this super-easy DIY, Bowdabra creator, Sandy Sandler, shows you the easy steps to…

Video DIY – how to make this quick and easy football spirit bow
Hi, I’m Joette from the Bowdabra® Design Team! Today, I’m showing you how to…
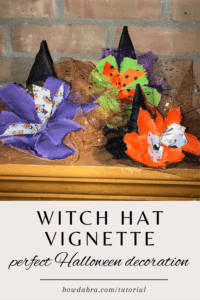
DIY Felt Witch Hats with Halloween Bows: Easy Décor for Your Seasonal Display
There’s something irresistible about miniature witch hats—especially when they’re dressed up in bright Halloween…

How to make an epic rose gold wreath – easy video DIY
Hi, I’m Nick from Nick’s Seasonal Decor! Today, I’m creating this beautiful rose gold…
How to make the best spooky halloween bow quick and easy
In this easy Halloween bow tutorial, Sandy Sandler, creator of the Bowdabra®, shows you…

Video – How to make an easy candy corn spiky bow
Nick of Nick’s Seasonal Decor makes this fun and festive candy corn spiky bow…