

Video DIY – How to Make the best honey bee bow with the Bowdabra
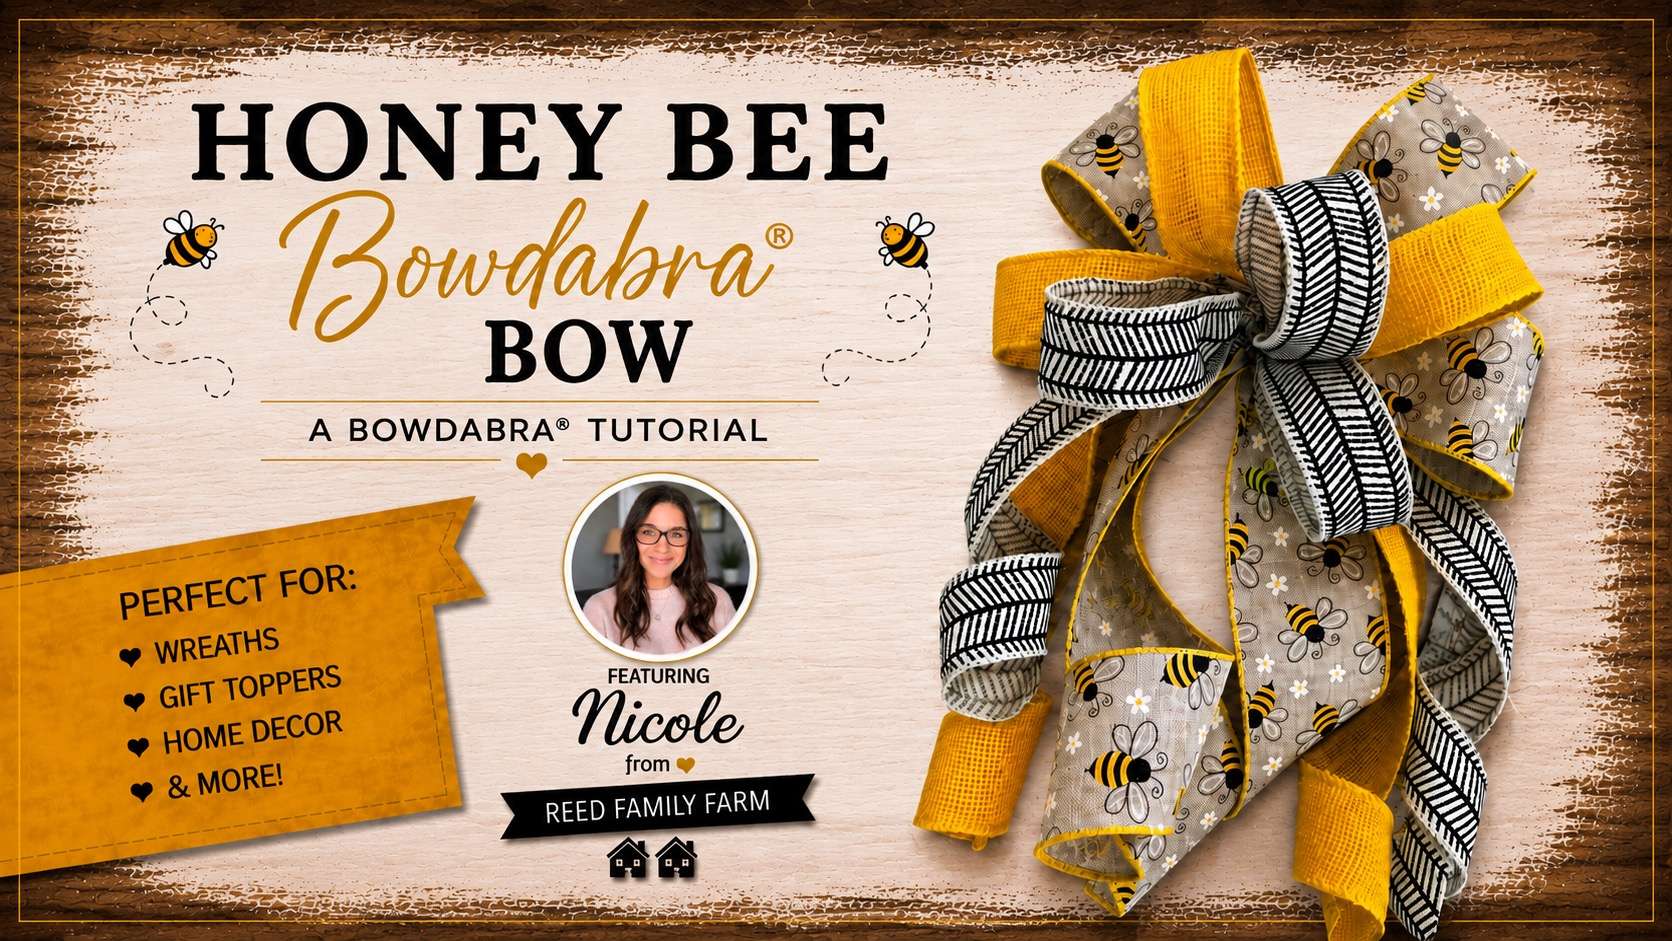
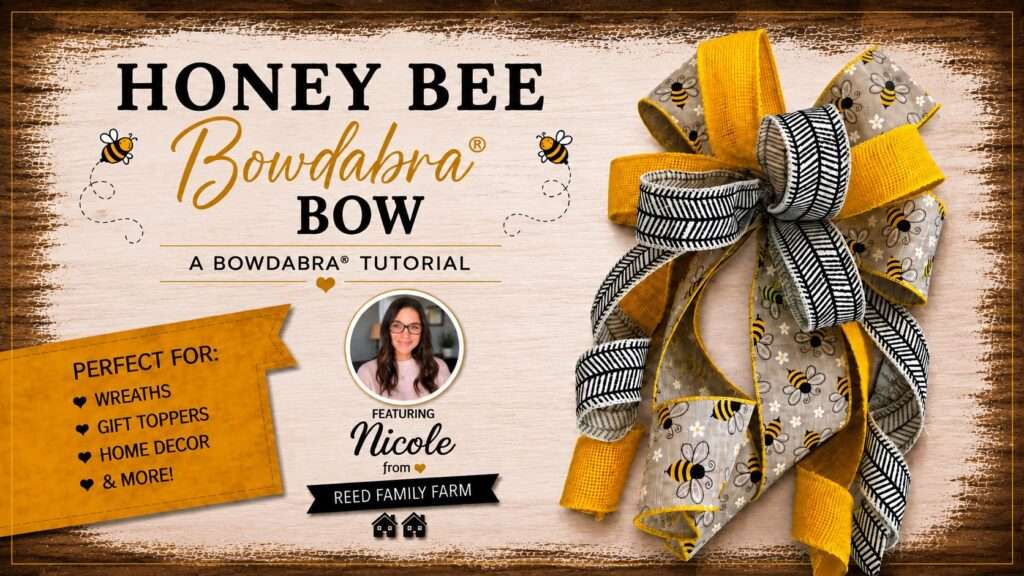
Honey Bee Bow Tutorial with the Bowdabra® Bow Maker
Learn how to Create a beautiful Honey Bee Bow with Nicole from Reed Family Farm! This easy Bowdabra® tutorial is perfect for wreaths, gift toppers, home décor, and more. Watch the tutorial and make your own sweet bee-inspired bow today!
Supplies:
* 72” of each ribbon
* 2.5” wide wired bee ribbon
* 1.5” wide wired yellow burlap ribbon
* 1.5” wide black and white ribbon
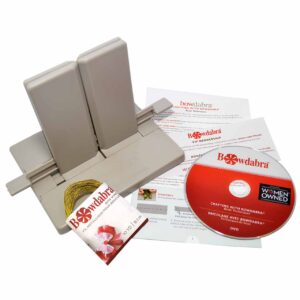
* Large Bowdabra®
* Bowdabra® Bow Wire
Instructions
First, cut a piece of Bowdabra bow wire. Then, fold it in half and insert it into the Bowdabra. You will have a loop on one side and two loose wires on the other side. This will serve as your slipknot. Tuck the ends under to stay out of the way while you are making your bow.
Next, cut the tails at about 28″ long. Then add them to the Bowdabra starting at the honey bee print first, then the solid yellow, and finally the patterned one.
Now, using the honey bee print make a twist and fold bow, contine to repeat this step with the yellow, and patterned ribbon. Make about 3 loops on each color ribbon.
Scrunch everything down with the Bowdabra wand. Thread the loose bow wire through the loop and pull tight while the bow is still in the Bowdabra. Remove and separate the ends, turn to the back and tie a knot.
Adust and arrange the bow and curl the tails. You have a gorgeous honey bee bow that will look terrific on a wreath, gift and so much more!
Share this article
Products Used
Create Beautiful Bows
Related Articles
Create Beautiful Bows
Video DIY – how to make a fantastic holiday deco mesh wreath
Nicole Reed of The Crafty Farm Girl / Reed Family Farm, part of the…

How to make a Quick and easy fall table centerpiece – DIY
Learn How to Make a Gorgeous DIY Fall Table Centerpiece with Bowdabra®! 🍁Do you…
How to make an inexpensive $3 fall bow with Bowdabra
Hi, I’m Joette from the Bowdabra Design Team! Today, I’m showing you how…

How to make a new eye-catching bow that will steal the show
Nick from Nick’s Seasonal Decor is showing us how to create a beautiful, eye-catching bow using the Bowdabra®! This vibrant orange polka-dot ribbon bow makes a statement and is perfect for wreaths, gifts, seasonal decorating, and more. Materials: Large Bowdabra® Bowdabra® Bow Wire 4 yards of 1½-inch-wide wired ribbon Instructions:…
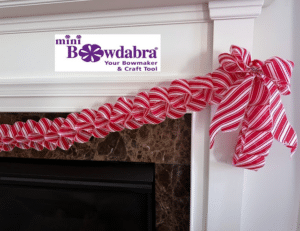
How to make an adorable ribbon candy garland with Bowdabra
Transform your holiday decor with a handmade ribbon candy garland with Bowdabra bows.…
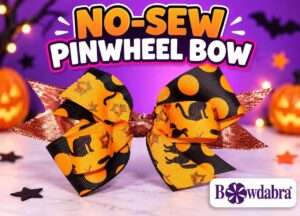
Video How to make an inexpensive no-sew pinwheel hairbow
Learn how to make a pinwheel hairbow in this quick and easy video DIY.…

Video how to – Make this epic fall grapevine wreath with Bowdabra
Bring autumn flair to your front door with this beautiful fall grapevine wreath featuring…
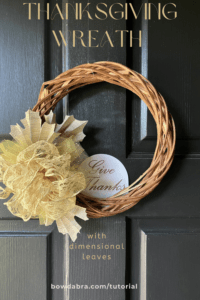
DIY Thanksgiving Wreath with Dimensional Leaves and a Special Bow
Thanksgiving décor has a special kind of magic—rich textures, warm colors, and handmade details…