


Video DIY – Everyone will love this inexpensive dollar store snowman
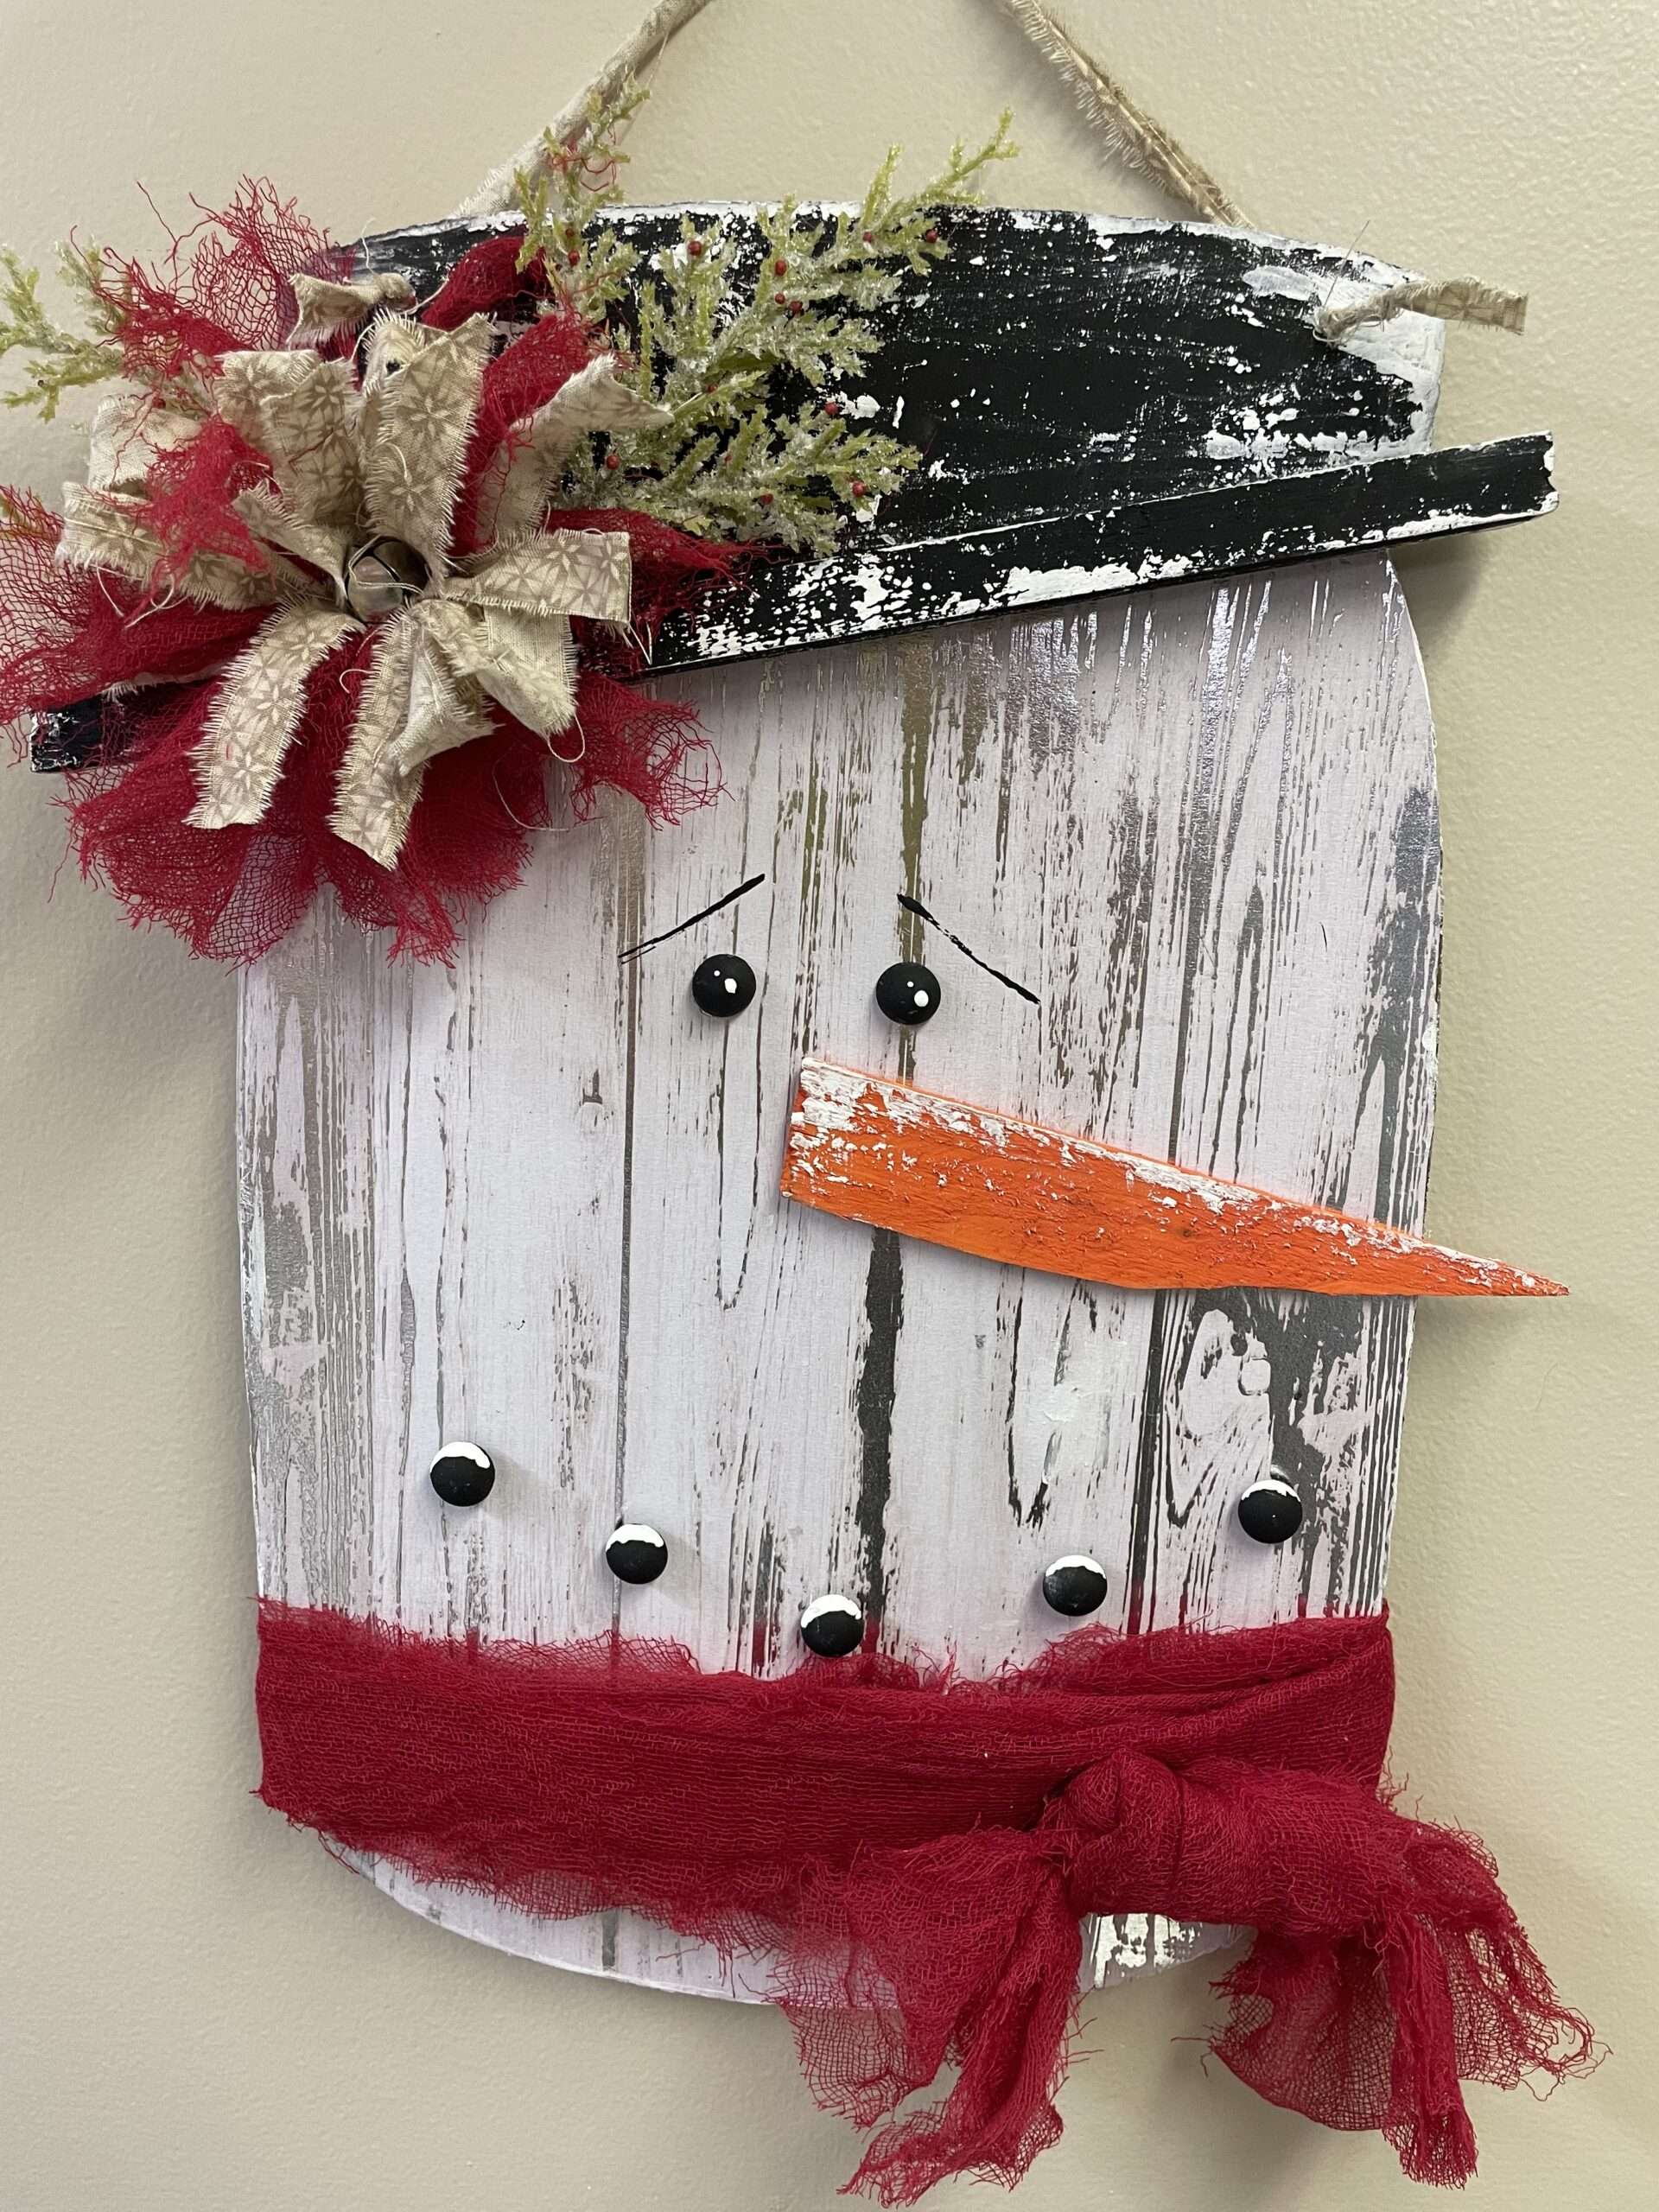
Everyone will fall in love with this adorable snowman made from a dollar store Mason Jar shape. Follow this video with Liz from Crafty Queens as she shows you the easy steps.
DESCRIPTION
We took this Dollar Tree surface and transformed it into a snowman!
MATERIALS
- Dollar store Mason jar shape
- Scrapbook paper
- Stake
- Miter snips
- Paint
- Pallet knife
- Fabric/ Ribbon/ Mesh
- Greenery
- Bell
- Button Plugs
- Shim
- Glue
- Painter’s tape
- Bowdabra
- Bow wire
Instructions:
First, cover the mason jar shape with wallpaper, fabric, or paper. Next measure where the snowman hat will be and use some tape to paint it black.
Then, paint the stake black as well for the brim of the hat. Next, brush some ModPodge on the face shape and attach some wood grain scrapbook paper, making sure it adheres with no wrinkles. Trim an excess paper all around with a craft knife.
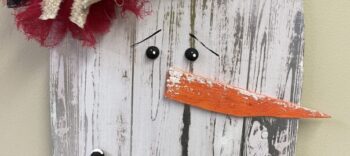
Next, use some hot glue to attach the painted stake. Now, use a wood shim cut to the shape of a carrot and paint it orange for the nose. Paint some half-wood button balls in black for the eyes and mouth.
Now, Use some glue to attach the carrot nose piece, eyes, and space half-wood button balls all around for the mouth.
Then, use a palette knife with some white paint to apply paint all around for a snowy look. Use the side of the palette knife with some black paint to apply eyebrows to the snowman
Make the Bow:
Cut a piece of Bowdabra bow wire. Then, fold it in half and insert it into the Mini Bowdabra. You will have a loop on one side and two loose wires on the other side. This will serve as your slipknot. Tuck the ends under to stay out of the way while you are making your bow.
Begin adding fabric strips and making loops back and forth to form a bow. Thread the loose wires through the loop and pull tight. Remove the bow from the Bowdabra, turn to the back, and tie a knot. Fluff and arrange. Glue the bow to the snowman hat. Add some greenery and enjoy this adorable little snowman and best part was that he was very inexpensive to make!
Share this article
Related Articles
Create Beautiful Bows
How to make an inexpensive $3 fall bow with Bowdabra
Hi, I’m Joette from the Bowdabra Design Team! Today, I’m showing you how…
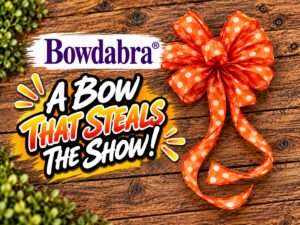
How to make a new eye-catching bow that will steal the show
Nick from Nick’s Seasonal Decor is showing us how to create a beautiful, eye-catching bow using the Bowdabra®! This vibrant orange polka-dot ribbon bow makes a statement and is perfect for wreaths, gifts, seasonal decorating, and more. Materials: Large Bowdabra® Bowdabra® Bow Wire 4 yards of 1½-inch-wide wired ribbon Instructions:…
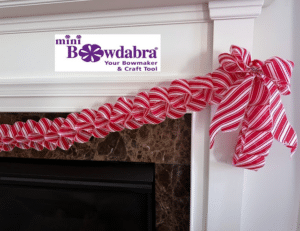
How to make an adorable ribbon candy garland with Bowdabra
Transform your holiday decor with a handmade ribbon candy garland with Bowdabra bows.…
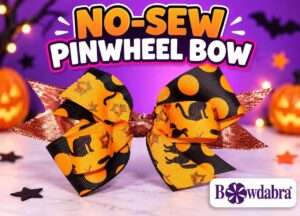
Video How to make an inexpensive no-sew pinwheel hairbow
Learn how to make a pinwheel hairbow in this quick and easy video DIY.…

Video how to – Make this epic fall grapevine wreath with Bowdabra
Bring autumn flair to your front door with this beautiful fall grapevine wreath featuring…
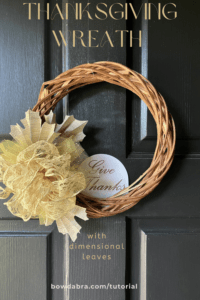
DIY Thanksgiving Wreath with Dimensional Leaves and a Special Bow
Thanksgiving décor has a special kind of magic—rich textures, warm colors, and handmade details…

Large Beautiful Bowdabra® Bow | Pretty Palace Porches
Olivia of Pretty Palace Porches creates a large, beautiful Bowdabra holiday bow using a…

How to make a unique breast cancer awareness wreath
October is Breast Cancer Awareness Month. Show your support with this unique breast cancer…