


How to Make the Perfect Lunch Bag Beeswax Food Wraps
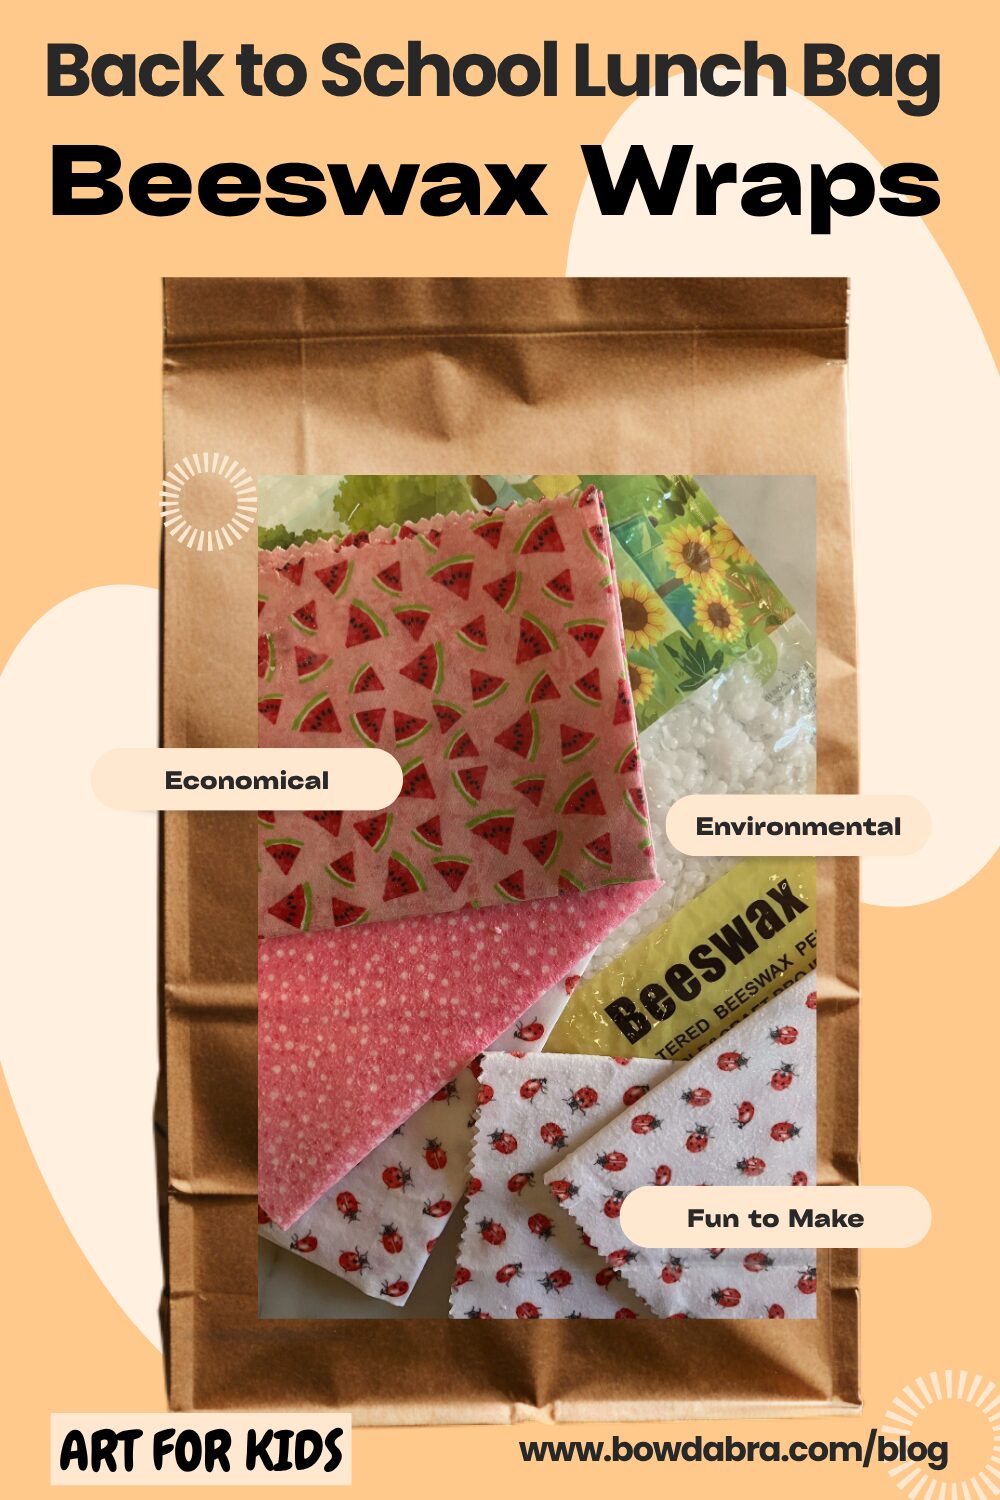
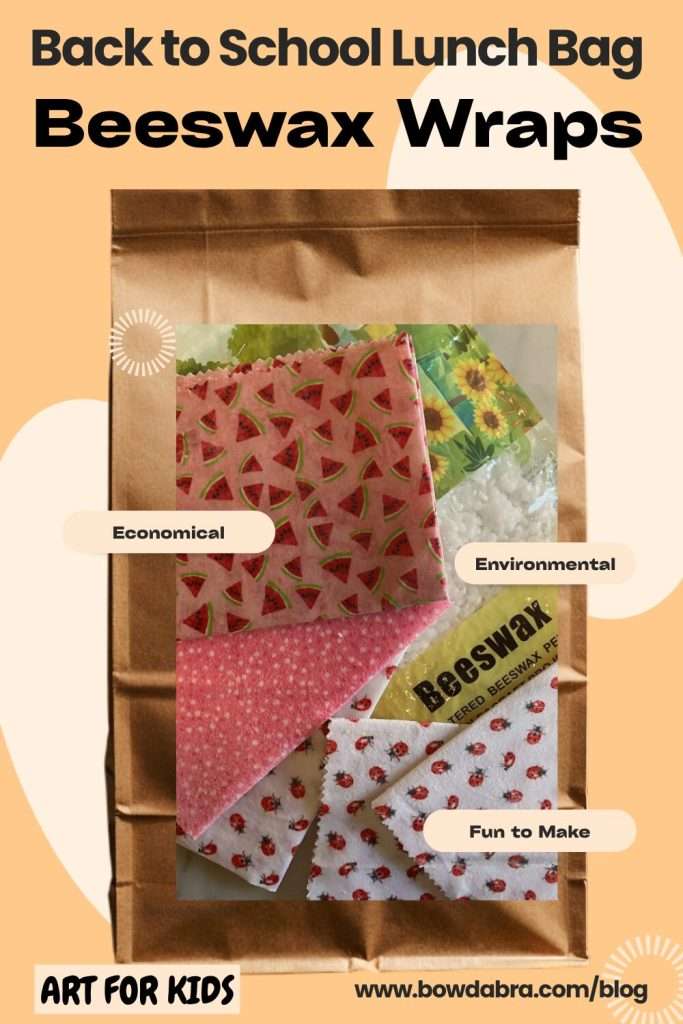
The beginning of school means lunches to pack. This year help your budget and the environment with these DIY beeswax food wraps. They’re easy to make, reusable, and cut down on plastic consumption. This is a quick and easy project for the young artist. They will be using an oven, so younger kids will need some adult help. Middle school and high school kids should be able to complete this project independently. But, you know your young artist, so you be the judge.
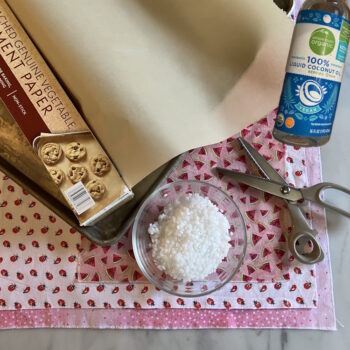
Gather the supplies for a beeswax wrap:
- 100% cotton fabric
- Beeswax pellets
- Coconut or jojoba oil
- Pinking shears
- Parchment paper
- Sheet pan
- Disposable paint brush (a sponge brush works great)
Let’s make a beeswax wrap:
Note: Melted beeswax is very hard—near impossible— to remove completely from surfaces where you don’t want it. So, protect your countertops and other work surfaces. Don’t use your best sheet pan, cookie sheet, or pastry brush.
- Prewash and dry the fabric for the wraps. Quilters’ fat quarters are a great size option. They’re close to 18″ x 22″ and the variety of patterns is practically limitless. Flour sack towels are another 100% cotton choice.
- Measure the cloth to the size that you want. Pinking shears add an attractive edge and eliminate most raveling. My largest wraps were 11″ x 15″ as I was limited by the size of the sheet pan I used.
- Line the sheet pan with parchment, and lay the cloth on it.
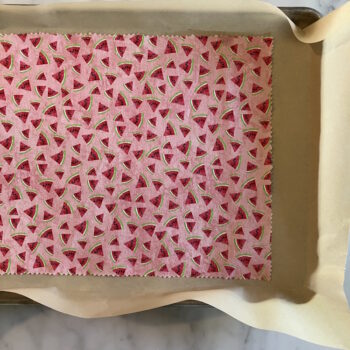
- Spread the beeswax pellets over the top of the cloth. I used about three tablespoons of pellets for the 11″ x 15″ wrap. I recommend being conservative in the amount of beeswax you use. You can always add more and reheat the cloth. This approach lessens the chances of a major mess and potential waste of beeswax.
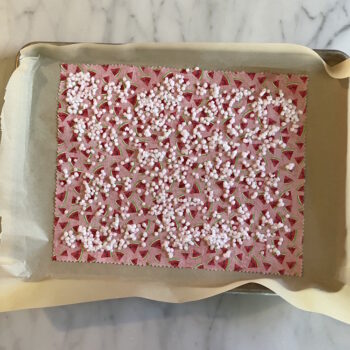
- Place the wrap in a 200°F oven for 5 minutes, or until the beeswax is melted.
- Remove from the oven, and spread coconut oil over the wrap and melted beeswax. I used a generous ½ teaspoon on my 11″ x 15″ wrap. The added oil helps keep the wrap flexible.
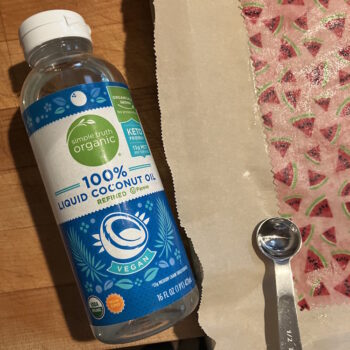
Continue:
- Working quickly, spread the oil and melted wax to completely cover the cloth. The beeswax firms up rapidly, so if you need more time here, just pop it back in the oven for a couple of minutes.
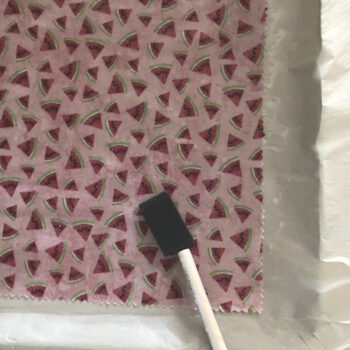
- When you’re done spreading the melted wax, you can lay the finished wrap on a sheet of parchment paper to finish drying. Or, you can carefully lift the wrap off the sheet pan by two corners, and hold it suspended over the lined sheet pan for a few minutes until the wax is set, then lay on a sheet of parchment paper. I got smoother results with the lift and hold method.
Beeswax wraps are self-sealing. They use the heat from your hands to mold around the food and form a seal. Wash the wraps in cool water and dish detergent, and either hang or pat dry with a towel. Remember, heat will melt the wax. Enjoy using your own handmade beeswax wraps.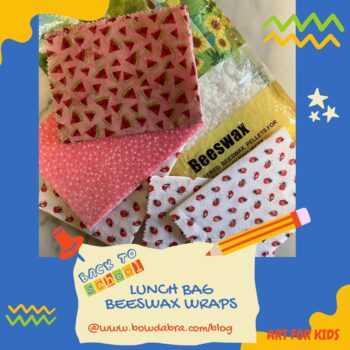
Share this article
Related Articles
Create Beautiful Bows
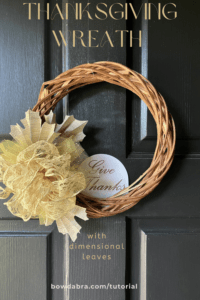
DIY Thanksgiving Wreath with Dimensional Leaves and a Special Bow
Thanksgiving décor has a special kind of magic—rich textures, warm colors, and handmade details…

Large Beautiful Bowdabra® Bow | Pretty Palace Porches
Olivia of Pretty Palace Porches creates a large, beautiful Bowdabra holiday bow using a…
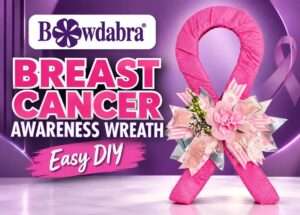
How to make a unique breast cancer awareness wreath
October is Breast Cancer Awareness Month. Show your support with this unique breast cancer…
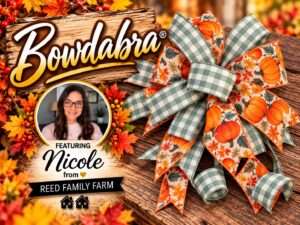
How to make the most gorgeous pumpkin print bow
Hi everyone! It’s Nicole from Reed Family Farm and the Bowdabra® Design Team! Today,…
The best video DIY – How to make a fun fall wreath bow
“Hi, I’m Sandy Sandler, the creator of the Bowdabra® Bow Maker. Today, I’m…
How to make a Beautiful Fall Bow with Long Tails
Hi everyone! I’m Nicole from Reed Family Farm and a member of the Bowdabra® Design Team. Today, I’m excited to show you how to make this beautiful fall bow using the Bowdabra®. Let’s get started! Materials: Large Bowdabra® Bowdabra® Bow Wire 3 yards of 2.5” wide plaid wired…
Video DIY – how to make a spooky Halloween lantern swag
In this super-easy DIY, Bowdabra creator, Sandy Sandler, shows you the easy steps to…

Video DIY – how to make this quick and easy football spirit bow
Hi, I’m Joette from the Bowdabra® Design Team! Today, I’m showing you how to…