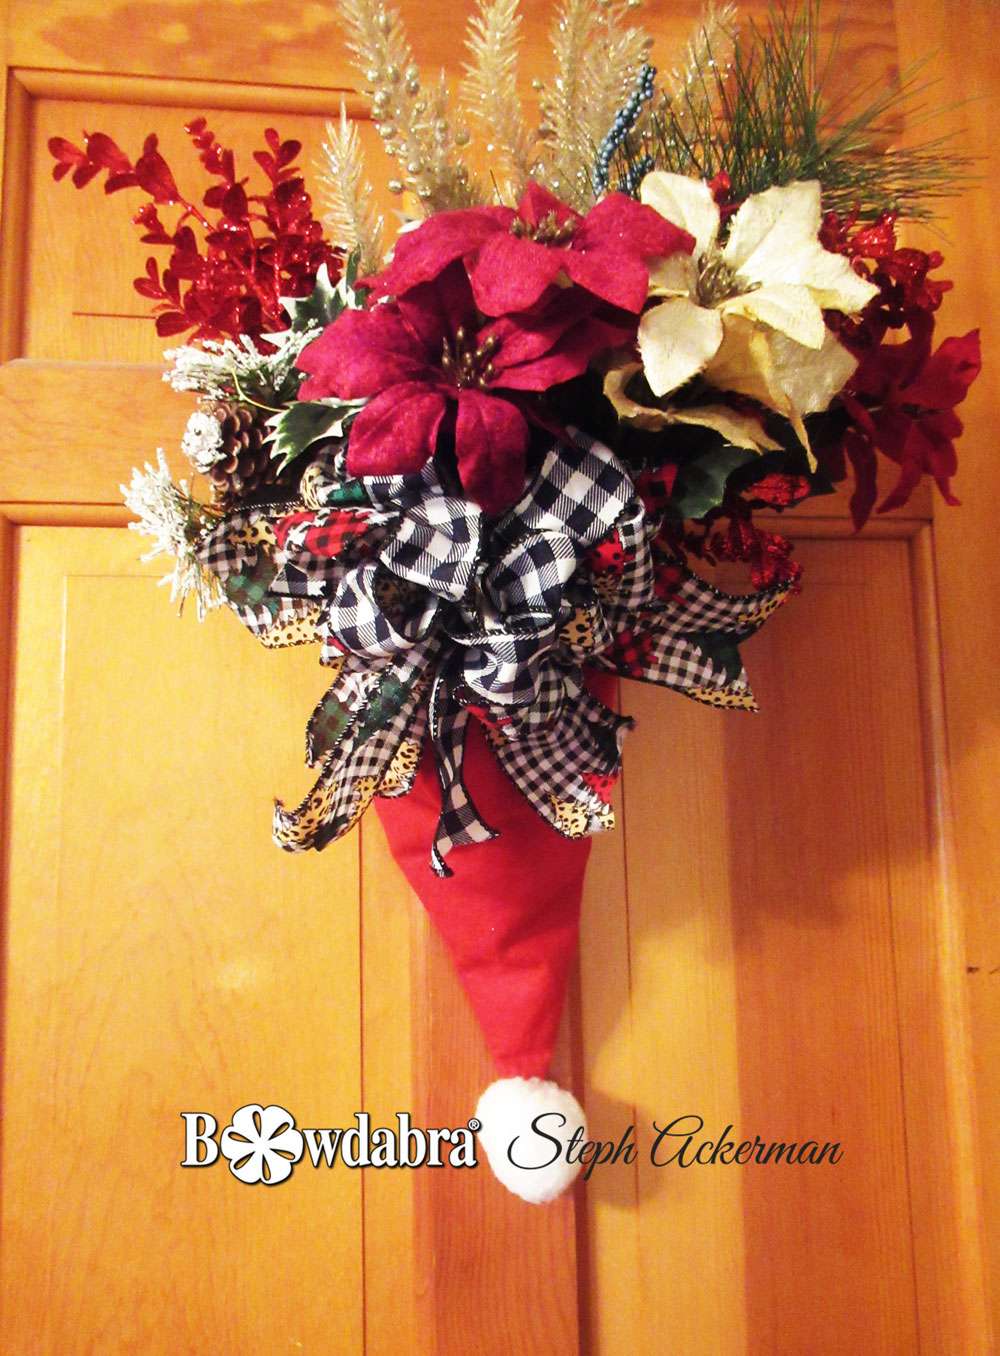
Hi everyone, Steph Ackerman here with a Bowdabra Santa Hat Bow.

First, cut a piece of Bowdabra bow wire, fold it in half, and insert it into the Bowdabra. You will have a loop on one side and two loose wires on the other side. This will serve as your slipknot. Tuck the ends under to stay out of the way while you are making your bow.
Cut 2 strips of each ribbon, each approximately 12″ in length.
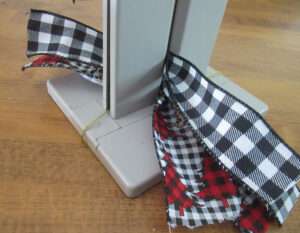
Place in the Bowdabra.
Create loops by passing the ribbon through the channel, twisting it on each turn so that the wrong side is on the inside of the bow.
Leaving a 5″ tail, create 3 loops on either side of the channel.
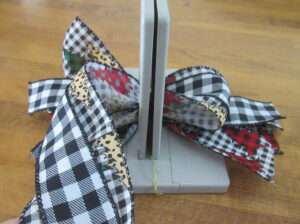
Use the Bowdabra bow wand to push down on the ribbon loops.
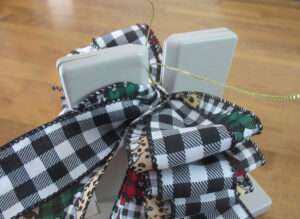
Pull up on the bow wire, threading the ends through the loop.
Pull tight, turn to the back, and tie a knot.
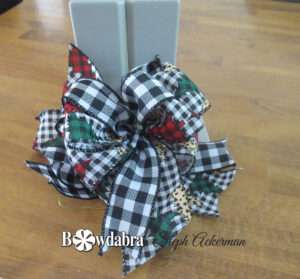
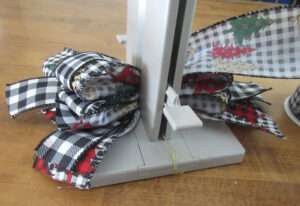
Fluff out the loops of each ribbon.
Dove tail all ends.
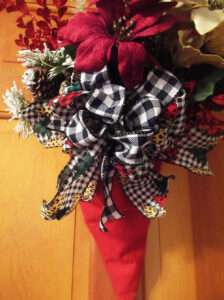
Using the bow wire, tie the bow to the Santa Hat. You have a gorgeous Santa Hat bow that is perfect to hang on your door or use as a package decoration. Fun and easy, and super quick!
Steph
Please follow us on Facebook and subscribe to our YouTube channel for more creative tutorials

Sandy Sandler, the creator of the Bowdabra, shows you an

Hi everyone! Joette here from the Bowdabra Design Team! In

Turn leftover ribbon scraps into the perfect gift bow with

Hi everyone! It’s Nicole from Reed Family Farm and the

Can you imagine adorable hand-made ribbon roses nestled in a

Hi everyone! Catharine from Pretty Palace Porches here! In this