


Video how to – Make the easiest traditional fall bow
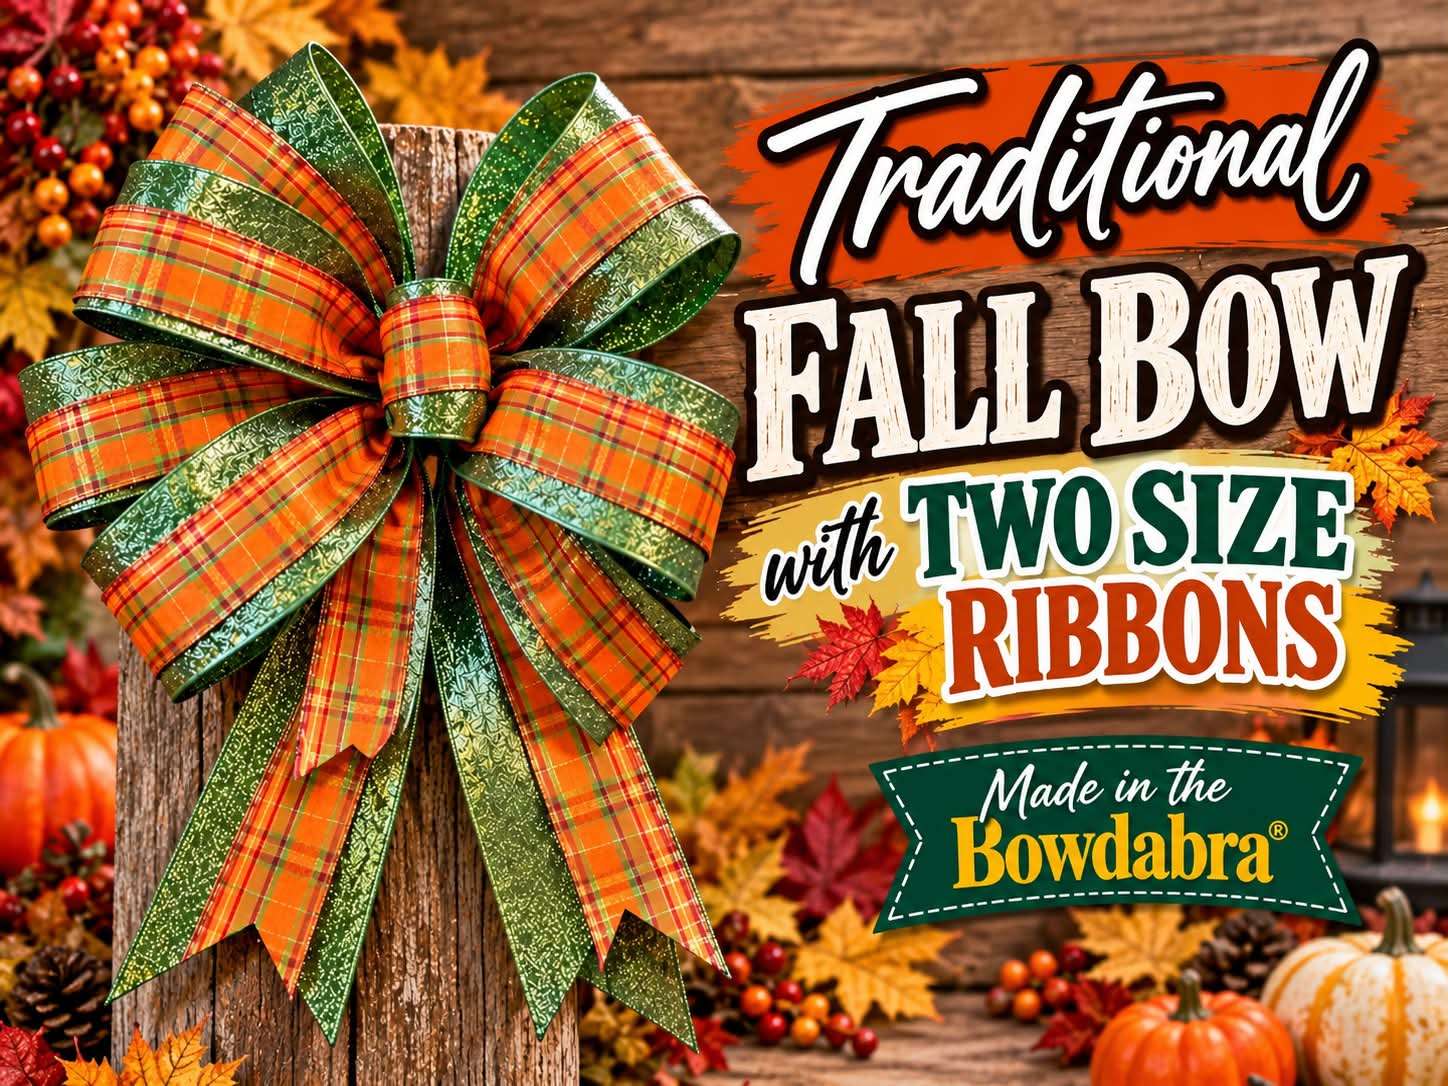
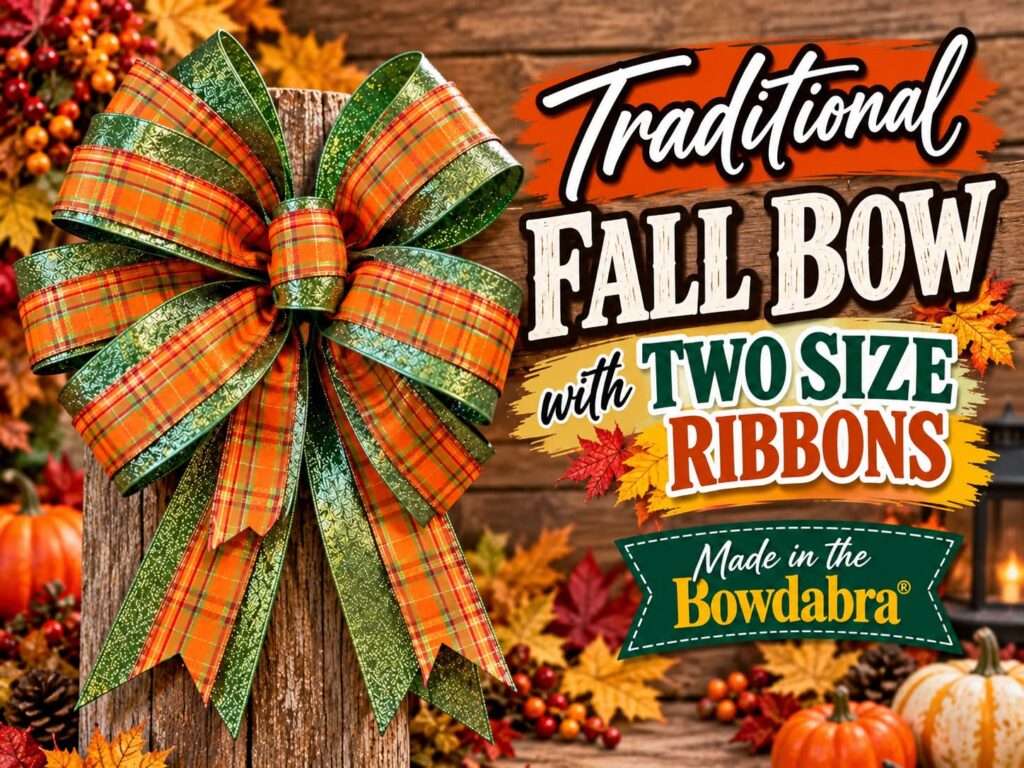
Joette from the Bowdabra® Design Team demonstrates this classic bow-making technique using 2½-inch and 1½-inch wired ribbon to create the easiest traditional fall bow.
The traditional bow-making technique is easier than you might think! Learn how the simple fold-and-twist method creates a beautiful bow, then see how layering two different ribbon widths adds dimension, highlights the smaller ribbon, and creates a fuller look.
Materials:
2 1/2″ wired fall ribbon
1 1/2″ wired fall ribbon
Instructions:
First, cut a piece of Bowdabra bow wire. Then, fold it in half and insert it into the Bowdabra. You will have a loop on one side and two loose wires on the other side. This will serve as your slipknot. Tuck the ends under to stay out of the way while you are making your bow.
Next, place both ribbons together and cut 10-inch strips for the tails. Dovetail the ends of the ribbon tails.
Now, using the two different ribbons together, make a circle bow. To make a circle bow, place the right side of the ribbon down into the Bowdabra, bring the other side across, and lay the right side of the ribbon. Then, find the center and scrunch that down.
Repeat a second time with more ribbon. Next, make a fold and twist bow for the traditional bow look. To make a multi-loop twist and fold bow, Scrunch in the ribbon, then bring the ribbon across and scrunch down, twist, and repeat. Continue making loops back and forth, twisting and scrunching down into the Bowdabra. Make sure the wrong sides are always on the inside of the bow.
Finish with a button loop (tiny loop) with the leftover ribbon from the fold and twist bow.
Next, scrunch everything down with the Bowdabra wand. Then, insert the loose wires through the loop and pull tight while the bow is still in the Bowdabra. Then, remove the bow from the Bowdabra, separate the ends, turn to the back, and tie a knot. Tie a double knot for extra security.
Fluff and shape out the bow and straighten the tails. You have the easiest traditional fall bow in just minutes!! For hundreds of easy-to-follow Bowdabra videos like this one subscibe to our YouTube channel.

Share this article
Related Articles
Create Beautiful Bows
Easy video tutorial – How to makeover a mum basket
Hi, it’s Joette from the Bowdabra® Design Team! Today, I’m upgrading an ordinary mum…

Video DIY – learn how to make a double ribbon wreath bow
Looking for an easy upgrade to your fall decor? Look no further as Bowdabra…

How to make the most beautiful autumn lantern bow – Video DIY
Make a Gorgeous autumn Lantern Bow in Minutes with Bowdabra®! Do you want to…
How to make the best scrappy bow with Bowdabra
Turn leftover ribbon into a beautiful scrappy bow! Nicole Reed of Reed Family Farm…
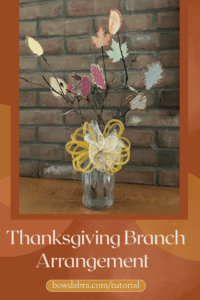
Make a Thanksgiving Branch Arrangement with Glittered Leaves and a Fabulous Bow
Autumn crafting has a way of slowing life down just enough for us to…
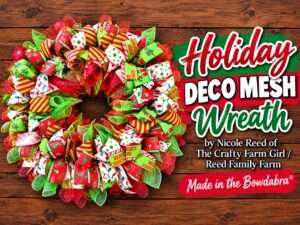
Video DIY – how to make a fantastic holiday deco mesh wreath
Nicole Reed of The Crafty Farm Girl / Reed Family Farm, part of the…

How to make a Quick and easy fall table centerpiece – DIY
Learn How to Make a Gorgeous DIY Fall Table Centerpiece with Bowdabra®! 🍁Do you…
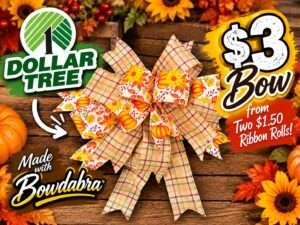
How to make an inexpensive $3 fall bow with Bowdabra
Hi, I’m Joette from the Bowdabra Design Team! Today, I’m showing you how…