
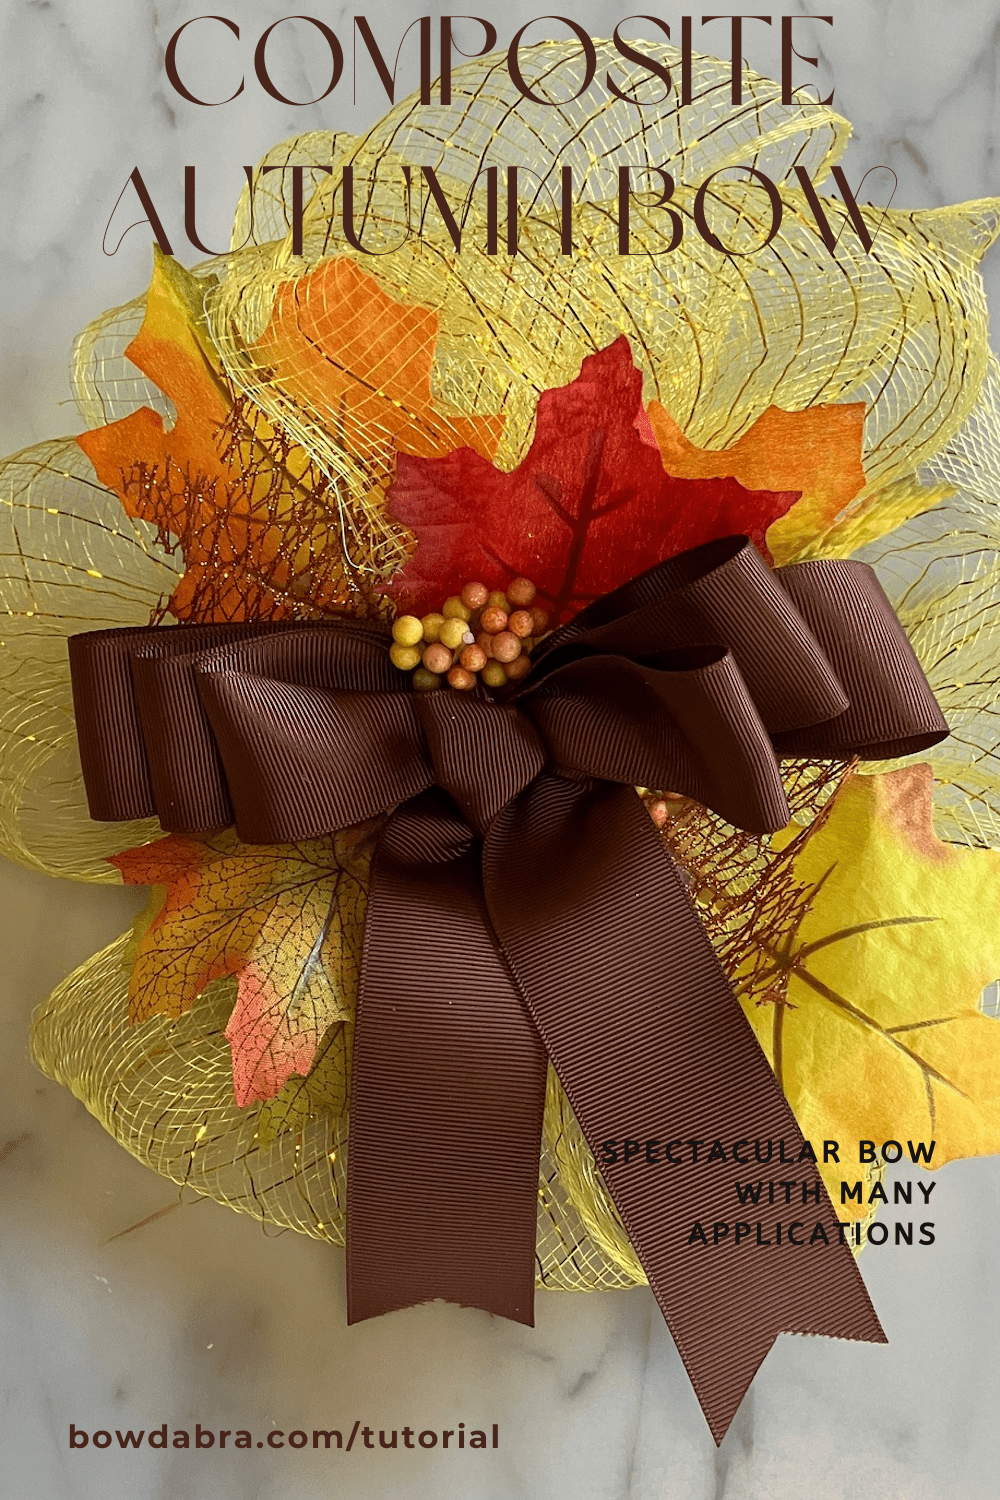






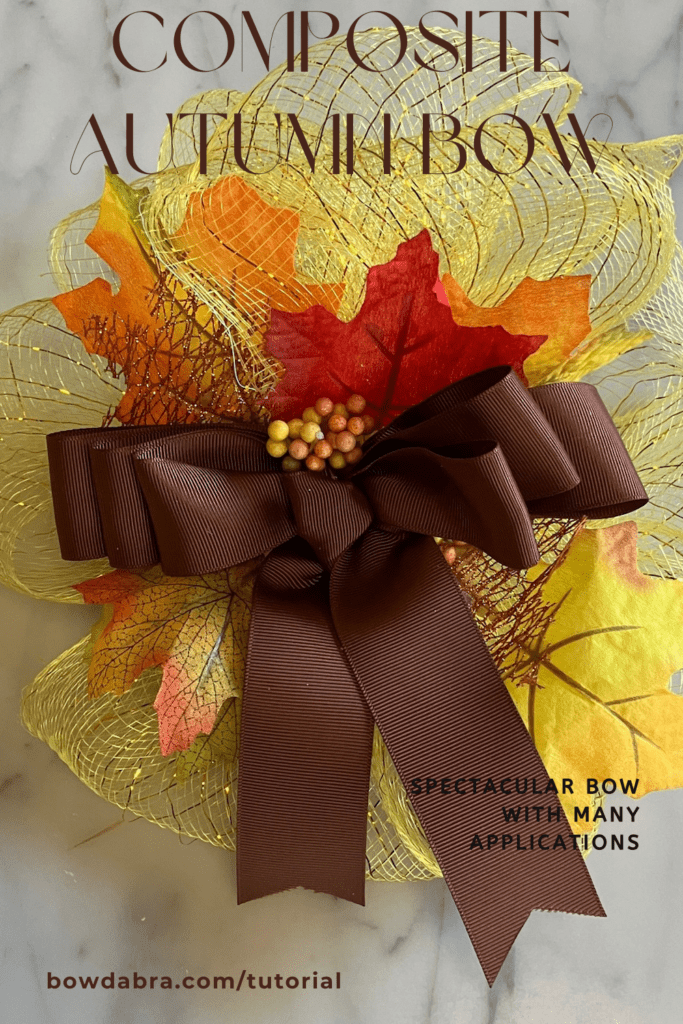
Composite Autumn Bow Tutorial: Ribbons, Leaves, and Berries for Fall Décor
There’s something about autumn colors—burnt orange, golden yellow, deep brown—that instantly makes a space feel cozy and welcoming. This composite autumn bow brings all of those warm tones together in one lush, layered design. With a classic brown bow as the base, mesh accents for shimmer, and clusters of faux leaves and berries for texture, this piece feels like a little bundle of fall you can place anywhere.
You can use this bow on a front door wreath, as a focal point on a grapevine swag, or clipped directly onto a lantern or basket for instant seasonal charm. It’s also beautiful tied around a large vase, tucked into a mantel garland, or added to a gift basket for a hostess. In this tutorial, I’ll walk you through how to build the bow step by step so you can customize the colors, textures, and size to fit your own autumn décor.
Supplies and Equipment You’ll Need:
- 6′ of 4″ decorative mesh ribbon
- 1′ length of 1½” grosgrain ribbon
- 2′ length of 1½” grosgrain ribbon
- Artificial leaves, berries, fall accents, etc.
- Hot glue
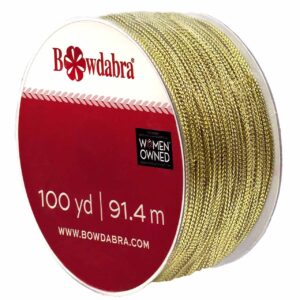
- Bowdabra bow wire
- Bowdabra Bow Making Tool
Let’s Make the Composite Autumn Bow:
- Fold an 18″ length of bow wire in half, and place it in the Bowdabra.
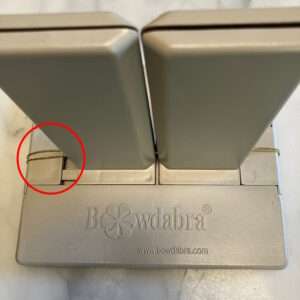
- Add the decorative mesh ribbon to the Bowdabra, forming loops on each side.
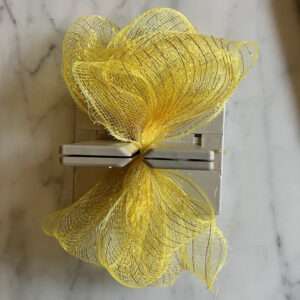
- Compress the ribbon with the Bowdabra wand.
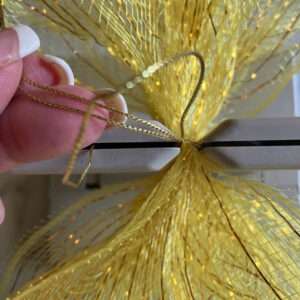
- With the ribbons still in the Bowdabra, pass the wire ends through the loop and pull up tightly and tie a secure knot on the reverse side of the bow.
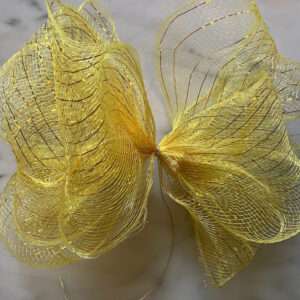
- Now you have the first part of the composite bow.
- Now, let’s make the second component. Fold an 18″ length of bow wire in half, and place it in the Bowdabra.
- Add the 12″ length of grosgrain ribbon, centered in the Bowdabra.
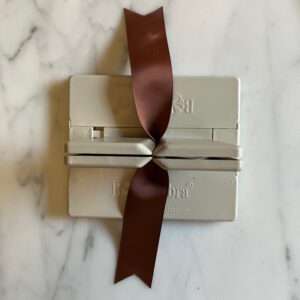
- Use the remaining length of grosgrain ribbon to make a flat looped bow. Graduate the loops with the largest on the bottom and smallest on the top.
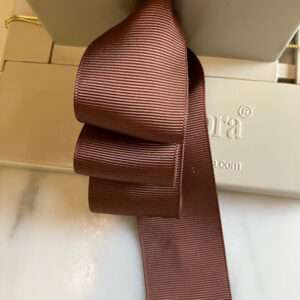
- With the ribbons still in the Bowdabra, pass the wire ends through the loop and pull up tightly and tie a secure knot on the reverse side of the bow.
- Tada!! Both components of the composite bow are finished.
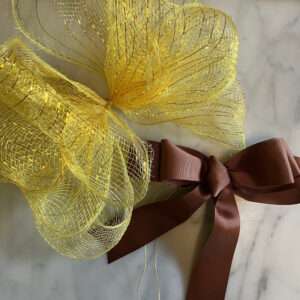
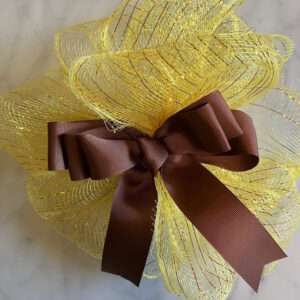
- Let’s combine them. Orient the mesh bow with the full sides top and bottom.
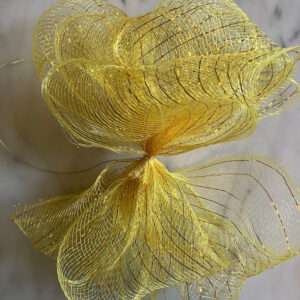
- Place the grosgrain bow across the mesh bow, and tie in place using the bow wires.
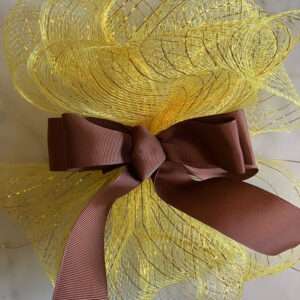
- Fluff the bows and arrange the loops.
- Hot glue artificial leaves and berries to the wreath. Hint: Do a practice lay-out before gluing the pieces in place.
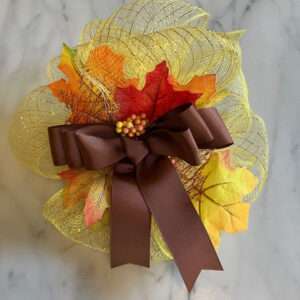
Finishing your composite bow:
Once you’ve assembled your composite autumn bow, you’ll have a versatile accent you can reuse year after year. Attach it to a wreath form for a bold front door statement. You can wire it onto a porch railing or mailbox for a welcoming touch, or nestle it into a centerpiece. Use mini pumpkins for a cozy table display. You can even clip it to a basket filled with blankets or fall florals to create an inviting vignette in your entryway or living room.
The beauty of this layered bow is that it’s easy to adapt—swap out the ribbon colors, add more berries, or tuck in a few mini pinecones to carry it into late fall and Thanksgiving. Once you learn the basic construction, you’ll have a go-to technique for creating seasonal bows that look full, polished, and professionally styled, all with materials you can mix and match to suit your own autumn aesthetic.
Share this article
Products Used
Create Beautiful Bows

Related Articles
Create Beautiful Bows

How to make a unique breast cancer awareness wreath
October is Breast Cancer Awareness Month. Show your support with this unique breast cancer…

How to make the most gorgeous pumpkin print bow
Hi everyone! It’s Nicole from Reed Family Farm and the Bowdabra® Design Team! Today,…

The best video DIY – How to make a fun fall wreath bow
“Hi, I’m Sandy Sandler, the creator of the Bowdabra® Bow Maker. Today, I’m…
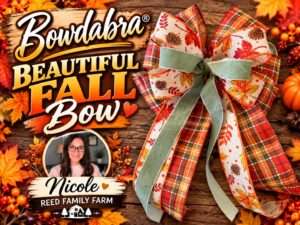
How to make a Beautiful Fall Bow with Long Tails
Hi everyone! I’m Nicole from Reed Family Farm and a member of the Bowdabra® Design Team. Today, I’m excited to show you how to make this beautiful fall bow using the Bowdabra®. Let’s get started! Materials: Large Bowdabra® Bowdabra® Bow Wire 3 yards of 2.5” wide plaid wired…

Video DIY – how to make a spooky Halloween lantern swag
In this super-easy DIY, Bowdabra creator, Sandy Sandler, shows you the easy steps to…

Video DIY – how to make this quick and easy football spirit bow
Hi, I’m Joette from the Bowdabra® Design Team! Today, I’m showing you how to…
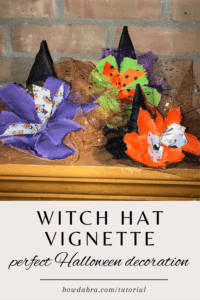
DIY Felt Witch Hats with Halloween Bows: Easy Décor for Your Seasonal Display
There’s something irresistible about miniature witch hats—especially when they’re dressed up in bright Halloween…

How to make an epic rose gold wreath – easy video DIY
Hi, I’m Nick from Nick’s Seasonal Decor! Today, I’m creating this beautiful rose gold…