
Hi everyone, Steph Ackerman here, using the Bowdabra to decorate a pretty little Gnome.
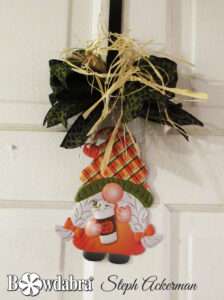
Who doesn’t love gnomes??? Stop by your local Dollar Tree to see the variety of available gnomes. She is a pretty little gnome, but really needs a Bowdabra Bow to make her stand out.
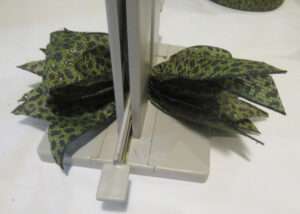
First, cut a piece of Bowdabra bow wire, fold it in half, and insert it into the Bowdabra. You will have a loop on one side and two loose wires on the other side. This will serve as your slipknot. Tuck the ends under to stay out of the way while you are making your bow.
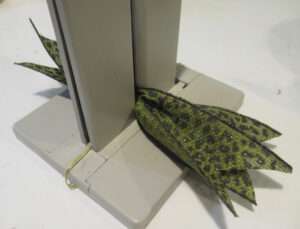
Place 2 strips of ribbon, each 6″ in length, in the Bowdabra channel.
Dove-tail the edges of each.
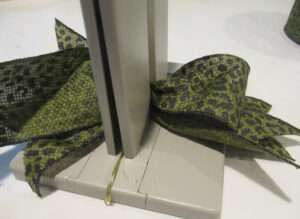
Next, start creating the bow by placing the ribbon in the channel.
Be sure to leave a 2″ length.
Create loops by passing the ribbon through the channel, twirling it on each turn.
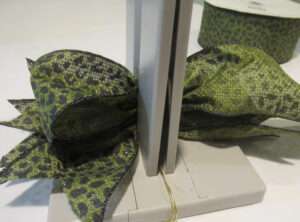
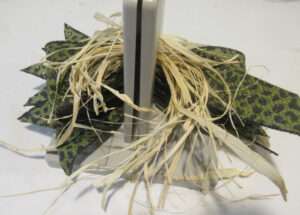
Continue in this manner until you have created the desired number of loops.
I created 3 loops on each side.
After creating the loops on either side, I used the bow wand to push the ribbons into the channel.
Next, place some raffia in the channel.
Pull up on the bow wire, threading the ends through the loop.
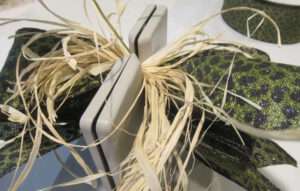
Pull tight, turn to the back, and tie a knot.
Fluff out the loops.
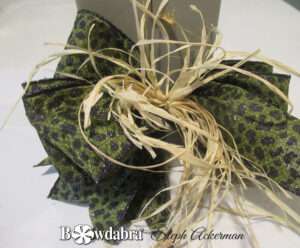
Use the excess bow wire to tie on the bow for a pretty little Gnome Wall hanging.
Hang her up and enjoy!

Thanks for stopping by.
Steph
Be sure to follow us on Facebook, and for hundreds more video tutorials, subscribe to our YouTube channel!
")
Teachers adore practical gifts, but they also love something that

I’m Joette from the Bowdabra Design Team. In this tutorial,

In this easy DIY tutorial, Sandy Sandler, Bowdabra creator, shows

Hi everyone! It’s Joette from the Bowdabra® Design Team! Today,

Hey everyone! It’s Christmas in July and a great time

Hi everyone! I’m Joette with the Bowdabra® Design Team, and