
An adorable braided satin ribbon bow scrunchie is a fun and stunning hair accessory for both girls and women. It adds a unique handmade touch – versatile enough to wear wherever you go! And it’s perfect for everyday glam, gifting, or special occasions! Here’s how to make one:


Fold the ribbon in half and place it under the two hair bands with the…

center crease between the two bands.


keeping the ribbon folded and smooth.

Then take the top folded ribbon on the left and braid it over the first band and under the second band.

Continue this way, alternating and braiding each side of the folded ribbon.


Continue braiding each folded ribbon down along the elastic bands, making sure to keep the folded ribbon smooth and pushing the ribbon up to fill in any gaps until…

reaching the bottom.

Continue around the elastic bands and cardboard…

to the backside, braiding the ribbon, as before.

Adjust the elastic bands on the cardboard…

until reaching where you began.

Remove the braided elastic bands from the cardboard and open the folded ribbon. Then tie the ribbon into a knot at the center of the bands.


Now it’s time to make the satin ribbon bow using the Mini Bowdabra:


Remove the Mini Bowdabra wand and thread the two loose ends of the bow wire through the loop, pulling tightly and gently pulling the bow out.


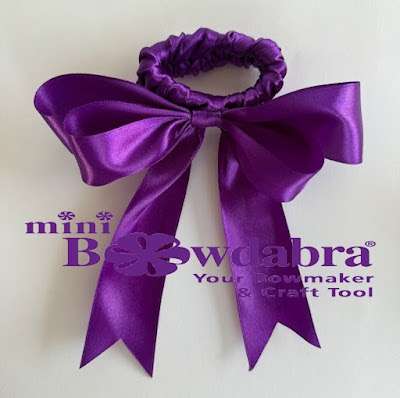
You have an adorable ribbon bow scrunchie to wear or give as a gift! Visit Bowdabra designer, Gail, at her blog, Purple Hues, and me. Follow Bowdabra on Facebook so you will be updated on all new content, tutorials, and video DIYs.
")
Teachers adore practical gifts, but they also love something that

I’m Joette from the Bowdabra Design Team. In this tutorial,

In this easy DIY tutorial, Sandy Sandler, Bowdabra creator, shows

Hi everyone! It’s Joette from the Bowdabra® Design Team! Today,

Hey everyone! It’s Christmas in July and a great time

Hi everyone! I’m Joette with the Bowdabra® Design Team, and