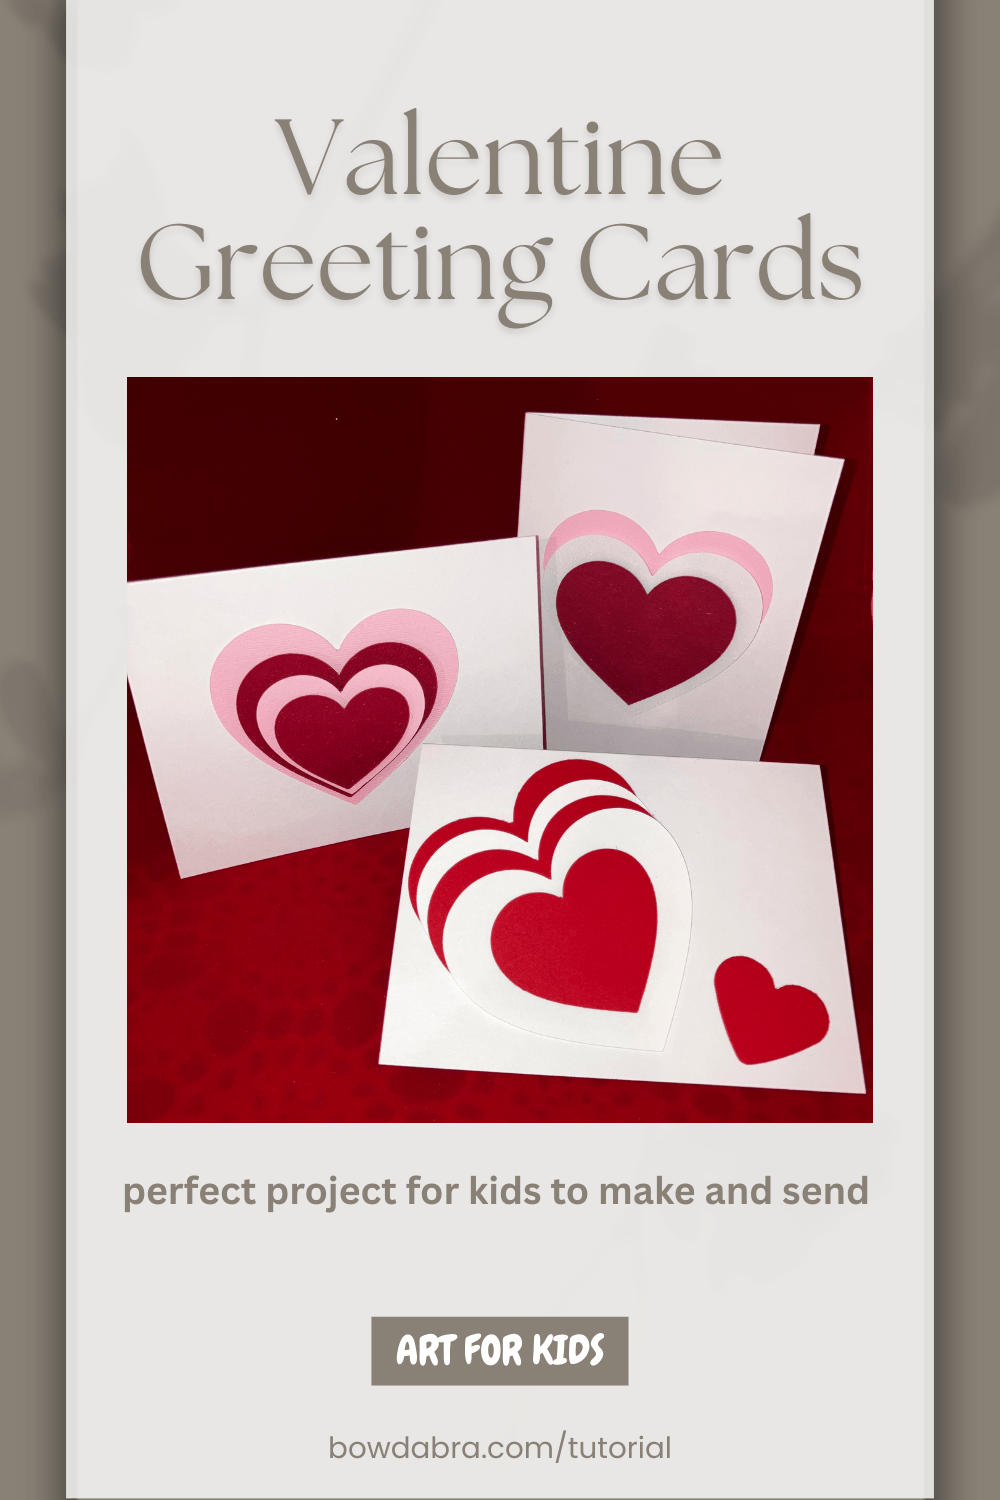
Valentine’s Day is the perfect time to spread love with handmade cards—and these layered heart cards are super fun to make! With just a few pieces of colorful paper, you can create a 3D layered heart that jumps off the page and makes someone smile. Ready to get crafty?

Print the Valentine Hearts Template, and cut out the shapes. Trace and cut out three hearts in different sizes—small, medium, and large—onto your colored cardstock. Use red, pink, and white paper to mix up the colors. Or, you can draw your own hearts without using the templates. Fold your paper in half and draw half a heart along the fold. Cut along the line and open it up—ta-da! A perfect heart.
Method One: Cut small squares (about ⅜”) from an old cardboard box or paper egg carton. These can be glued together to any thickness you desire. Since they’ll be hidden between heart layers, what they look like won’t matter.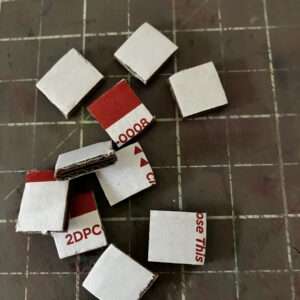
Method Two: Pipe a dollop of hot glue onto the center of the bottom heart. Let it set up completely. That dried dollop becomes your pop-dot. To add the next heart layer, pipe a tiny amount of hot glue on top of the dollop, and adhere the heart. Repeat these steps for each additional heart layer.
These spacers add dimension to the layers on your card.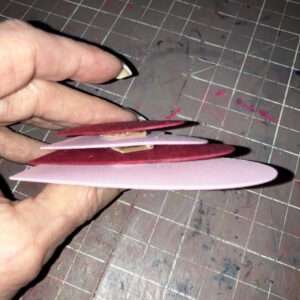

You’re my best friend!
I hope your day is as awesome as you are!
Sending you lots of hugs and smiles.
You make me happy every day.
I’m so lucky to have you!
You make my heart smile.
Forever my favorite person.
My world is brighter with you.
Crafting is a great way to show love and creativity—so grab your scissors and start snipping!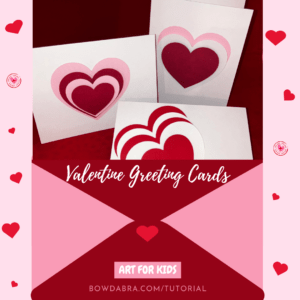

Elevate your décor with Nick’s Year-Round 3 Ribbon Funky

Learn how to create a stunning Spring wreath bow with

I’m Joette from the Bowdabra Design Team, ready to

Hi everyone, Steph Ackerman here, sharing a Spring wall hanging

Join Nick of Nick’s Seasonal Décor for a Simple Deco

Create an adorable St. Patrick’s Day Shamrock Hair bow