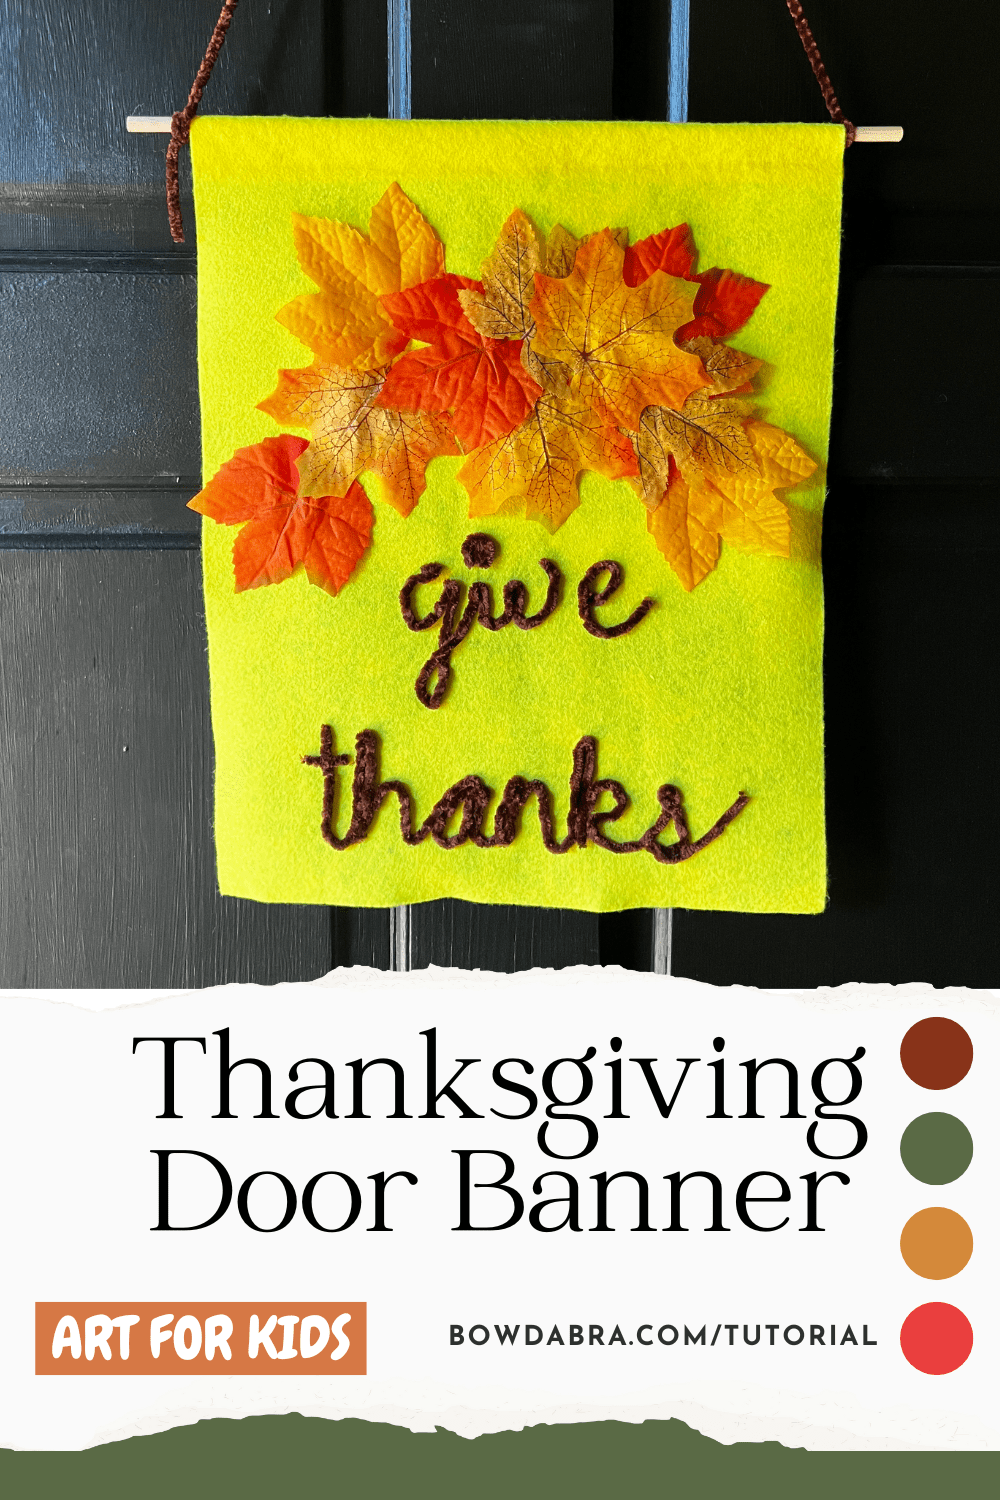
Kick off your holiday decorating with a Thanksgiving door banner that sets the perfect tone for cozy gatherings and gratitude-filled celebrations.
Create an Open Casing for the Hanging Rod—The finished banner will be 12” wide and 15” long. Working on the wrong side of the felt, measure and mark a line 2” from the top of the banner.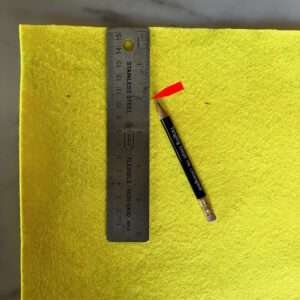
Spread a thin line of glue along the marked line. 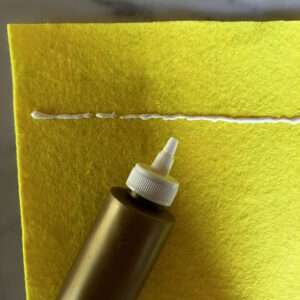
Fold the top edge down to the line glue in place. This forms the casing for the dowel rod on the back side of the banner.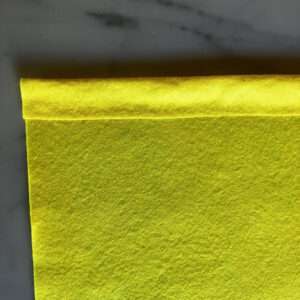
Use a pencil and lightly write “give thanks” at the bottom front of the banner. You might want to practice on a sheet of plain paper first.
But, if you’re like me and don’t have beautiful, flowing handwriting, you can download and print the Give Thanks Stencil Template. Be sure to set the printer to print the actual size. Use scissors to turn this printout into a stencil by cutting a channel in the middle of the letters. It doesn’t need to be perfect—this is just going to give you rough guidelines.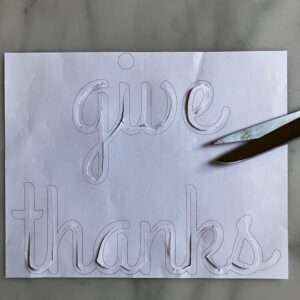
Position this stencil on the felt and secure with tape. With a pencil trace along the channels. Remove the stencil.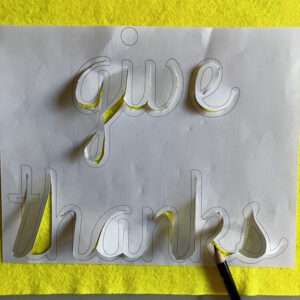
Now, you have a guide for laying down the chunky yarn that forms the lettering. 
Do a dry run with the yarn to see how it will look. Adjust any placement as necessary. Now you’re ready to glue. With liquid craft glue trace the stencil lines, then glue the yarn in place. Let the glue dry.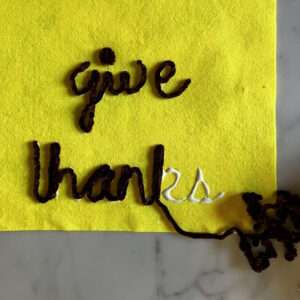
Arrange and Secure Your Leaves—Cut the leaves from their stems, and begin placing individual leaves in place. Play with leaf placement until you’re happy with what you have. Use the photo at the beginning of this post for inspiration. When you’re happy with your leaf arrangement, glue each leaf—one by one—to the felt banner with a dab of hot glue.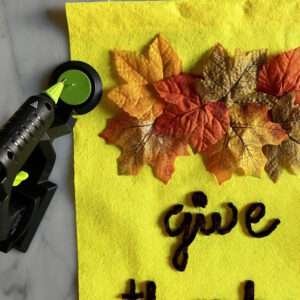
Insert the dowel into the casing at the top of the banner. Tie an 18” length of narrow ribbon, yarn, or twine to the dowel rod. You may need to adjust the length of your ribbon so the banner hangs at an appropriate height for your door. 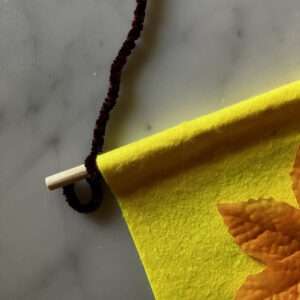
Hang your finished banner proudly and let it welcome guests with warmth and charm during the Thanksgiving season. This handmade piece is sure to spark smiles and set the tone for a home filled with gratitude.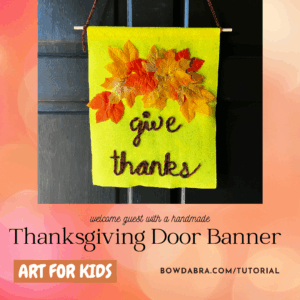
")
Add a playful pop of spring to your front door

Elevate your décor with Nick’s Year-Round 3 Ribbon Funky

Learn how to create a stunning Spring wreath bow with

I’m Joette from the Bowdabra Design Team, ready to

Hi everyone, Steph Ackerman here, sharing a Spring wall hanging

Join Nick of Nick’s Seasonal Décor for a Simple Deco