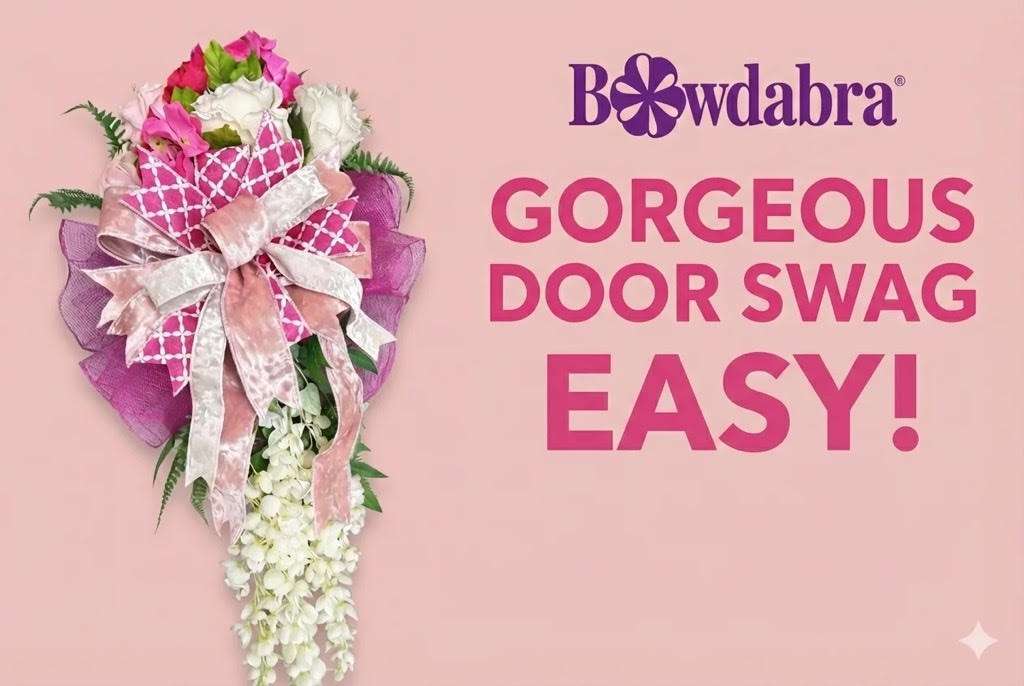
Bowdabra creator, Sandy Sandler, shows you how to make a breathtaking designer door swag in just minutes. Follow along with this DIY video as Sandy takes you through the simple steps.
2 ½’ yards #7809Elite velvet 2-sided ribbon 2 ½” wide in Blush/blush
1 1/2″ yards #7809 Elite velvet 2-sided ribbon 1 ½” wide White/silver
1 yard #7576 Morocco ribbon 2 ½” wide Cerise
2 yards of 21” wide deco mesh
Long hanging floral bush
2 fern bushes
Mixed floral bush
Ficus stem

First, cut a piece of Bowdabra bow wire. Then, fold it in half and insert it into the Bowdabra. You will have a loop on one side and two loose wires on the other side. This will serve as your slipknot. Tuck the ends under to stay out of the way while you are making your bow.
Next, roll the 21” wide mesh under to hide any fraying and scrunch down in the Bowdabra in the center to the end, which you will roll that end under as well.
Now, lay the flowers and greenery right into the Bowdabra. Then, lay the other flowers on the opposite side, facing up.
Place the crushed velvet ribbon in the Bowdabra for the tails. Now, create a funky bow style. Fold a length of the crushed velvet ribbon in half with a loop on one side and two tails on the other, like an awareness ribbon. Then, place it in the Bowdabra. Repeat with a second length of the same ribbon, alternating the sides of loop and tails.
Make sure the wrong side of the ribbon is on the inside, in this case, the gold.
Now, make another funky bow with the Moroccan ribbon, repeating the same steps as before.
Make a shoelace bow with the 1 ½” wide velvet ribbon. Do this by finding the center of the velvet ribbon and scrunching it down into the Bowdabra. Now bring one side across and scrunch down, then bring the other side across and scrunch down.
Finish with a button loop using the 2 ½” wide velvet ribbon. Scrunch it in the Bowabra and create a small loop and tail.
Now scrunch everything down with the Bowdabra wand. Then, insert the loose wires through the loop and pull tight while the bow is still in the Bowdabra. Then, remove the bow from the Bowdabra, separate the ends, turn to the back, and tie a knot. Tie a double knot for extra security.
Finally, shape everything out, open the loops, and arrange the florals and greenery. In just minutes, you can create a gorgeous designer door swag!

Join Sandy Sandler, the creator of Bowdabra, to bring fresh

Create a Mini Bowdabra Spring Funky Bow with Nick

If you’re looking for an easy, natural way to exfoliate

Join Sandy Sandler, the creator of Bowdabra, to craft the

Learn how to make a beautiful lantern swag bow the

Hi everyone, Steph Ackerman here, sharing how I used the