Mitten Garland

How to Make the Perfect Mitten Garland for Winter Home Decorating

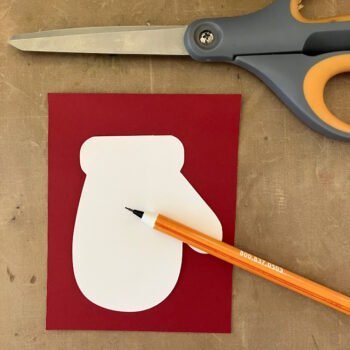
Decorate your home this winter with the perfect mitten garland.Mitten Garland

You’ll need these supplies:

  • White, colored and patterned cardstock
  • Mitten Template
  • Wide ribbon or 6″ tulle
  • Twine, yarn, or narrow ribbon
  • Embellishments—glitter, microbeads, cotton balls, embossing folder and embossing press (optional)
  • Double sided tape
  • Liquid craft glue

Let’s make the mitten garland:

  1. Print the Mitten Template and cut out the mitten and cuff shapes. Trace the mitten pattern onto colored and/or patterned cardstock. Trace the cuff pattern onto white cardstock.Trace Mitten and Cuff Patterns
  2. Embellishing the cuffs is optional, but if you choose to do so, embellish the cuffs before assembling the mittens. To add glitter, microbeads, or cotton to the cuffs, cover one side of the cuff with double sided tape. Expose the adhesive, then add your embellishment. Glitter Cuff Option
  3. Here are a few cuff embellishment options.Cuff Decoration Options
  4. Adhere the cuff to the mitten, and pierce a hole for hanging the mitten on the garland.Pierce Hole in Mitten for Hanging
  5. Tie the finished mittens to a length of wide ribbon with yarn, twine, or narrow ribbon. Space the mittens about 3″ apart. The length of the ribbon will depend upon how many mittens you add.Attach Mitten to Garland
  6. Display and enjoy your winter mitten garland.Mitten Garland (Instagram)

We hope to see you here at the Bowdabra blog every Friday for another easy kid’s art project or craft that the whole family will enjoy!

Mitten Garland

Hi everyone, Steph Ackerman here with a gorgeous buffalo plaid

Join Nick of Nick’s Seasonal Décor for a Classic and

Make a perfect DIY winter wreath bow with the Bowdabra®—plus

    Hi there! I’m Lisa from The Rustic Vine,

Valentine’s Day is the perfect time to spread love, kindness,

  Create a stylish Funky Bow with Nick of Nick’s