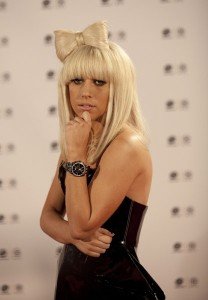
We love Bowdabra customer craft project requests! A Bowdabra customer recently inquired if we could design a Lady Gaga Hair Bow Tutorial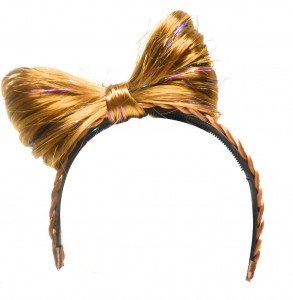 using the Mini Bowdabra and Hair Bow Tool & Ruler. I am the first to admit I love a challenge but I was a little scared about this one. First, I started searching for images of Lady Gaga wearing her “hair” bow. Once, I was familiar with the style I still needed to design the tutorial and find hair (gasp!).
Fast forward a few days later and my daughter and I were at the Dollar Store. The Dollar Store is a great way to find unique items to craft with. I actually fell in love with Dollar Store Crafts Blog and am always looking for creative and crafty ways to use Dollar Store items.
Eureka! Hair on headbands a $1.00 each in the kids toy section. I bought two headbands to make my Lady Gaga Hair Bow.
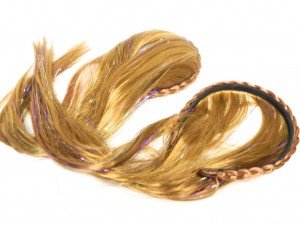 Next, I tied the hair together with a rubber band so that I could cut it from the headband without the strands going everywhere.
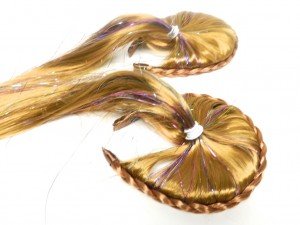
Once all the hair is cut from the headbands combine the hair together into one elastic band. However, leave a little bit of hair to the side wrapped in an elastic band, as well. The small bit of hair will be used to cover your Bowdabra Bow Wire in the front of your bow. IMPORTANT: The elastic bands will have to be cut off so make sure it is latex or elastic.
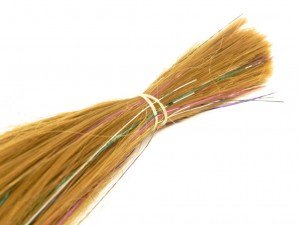
For this tutorial you will need the following:
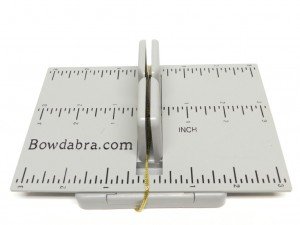
1. Place the Bowdabra ® Hair Bow Tool and Ruler onto the Mini Bowdabra, leaving a space at the bottom for the Mini Bowdabra tower to move. Cut an 18” piece of Bowdabra Bow Wire and fold it in half. Lay it into the Mini Bowdabra. You’ll have a loop at one end and two loose pieces at the opposite end.
2. Next, make sure the elastic band is about a 2? from the bottom of the hair. Place the hair it into the Mini Bowdabra with the elastic on the other side of the Mini Bowdabra Tower.
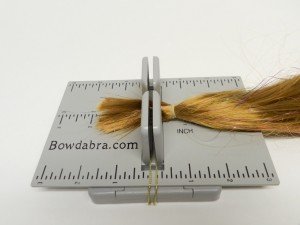
3. Place another elastic about 2? from the bottom of the hair on the other side. Fold the hair over the Mini Bowdabra towers and press it into the Mini Bowdabra. The elastic should be on the other side of the tower.
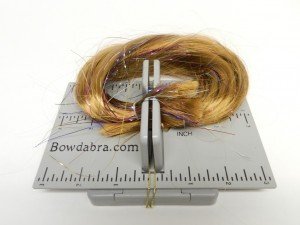
4. Using the Hair Bow Tool & Ruler as your guide press the hair into the Mini Bowdabra Towers creating even loops on each side. Scrunch down with your Mini Bowdabra Wand.
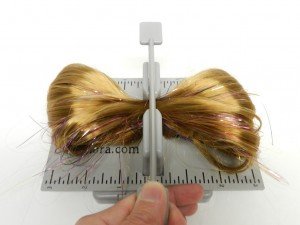
5. While the bow is still in the Mini Bowdabra, thread the two loose ends of the Mini Bowdabra Bow Wire through the loop at the other end. Pull the Bowdabra Bow Wire tightly while the bow is still in the Mini Bowdabra. Gently pull the bow out of the Mini Bowdabra. Separate the two loose ends of the Bowdabra Bow Wire and bring them around to the back of the bow and knot. Once, the Bowdabra Bow Wire is tied tightly cut the small elastics this will allow your bow to open up and be fuller.
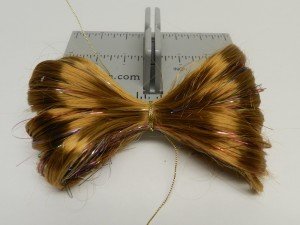
6. Using the Bowdabra Bow Wire tie the bow to the headband at an angle off to the side. Trim away excess wire.
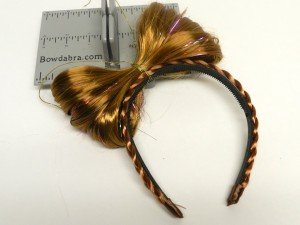
7. To cover the wire take the small bit of hair that you put to the side and attach an elastic to one end. Cut the hair about .5? from the end of the elastic. Hot glue the hair to the back of the hair bow.
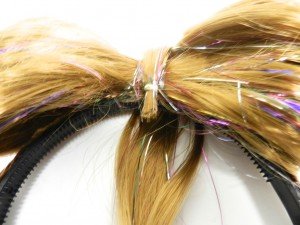
8. Wrap the hair around the front (covering the Bowdabra Bow Wire) and bring it to the back. Place another elastic at the end of the hair and cut so that it is about an inch from the bottom. Fold the hair over and hot glue the elastic in place with the hair on top covering it. IMPORTANT: The finishing elastics do not get cut the are hidden and keep the finishing hair held tightly together.
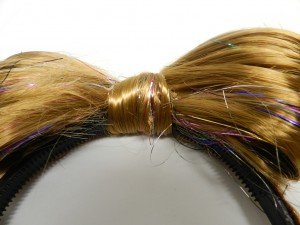
9. Lastly, I trimmed away any stray hairs and wispies and hair sprayed to give it a nice finished look.
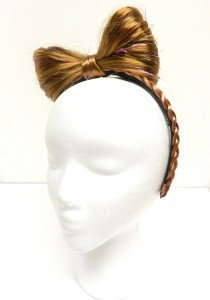
Though I used Dollar Store hair this tutorial can easy be replicated with better quality hair. The key is to keep hair strands from getting away from you by tying everything in small elastic bands. Also, using the Hair Bow Tool & Ruler I am able to measure the Hair Bow Loops exactly and the Mini Bowdabra acts as a third hand to keep it all in place.
This tutorial is perfect if you are going to a Lady Gaga concert and are looking for a quick and easy hair piece.
The Hair Bow Tool and Ruler easily fits over the Mini Bowdabra.