Sending greeting cards is a fun holiday tradition, especially when the card you’re sending is a handcrafted one. This Christmas tree greeting card is an easy DIY project that any young artist is sure to enjoy.
Here are the supplies that you’ll need:
- 8½” x 11″ white cardstock
- 8½” x 11″ green cardstock
- Liquid craft glue
- Adhesive stars
Let’s make the Christmas Tree Greeting Card:
- Cut the white cardstock in half horizontally, making two 8½” x 5½” pieces. Each sheet of white cardstock will make two cards. Cut an 8″ x 4″ piece from the green cardstock.
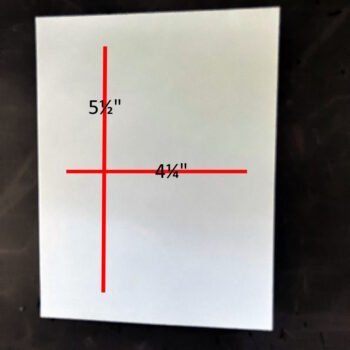
- Fold one of the pieces of white cardstock in half vertically, making a notecard measuring 5½” high and 4¼” wide..

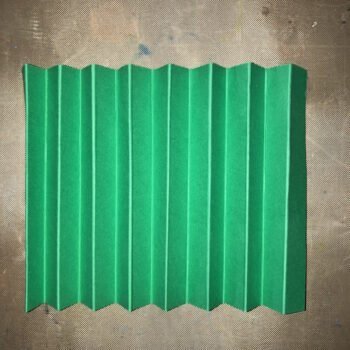
- Score the green cardstock at ½” intervals.

- Accordion-fold the green cardstock along the score lines.

- Place a dot of glue between each fold on the front and back side of ONLY the top of folded green cardstock.
- Clamp the glued folds together and set aside until thoroughly dried.
- Add glue to the tops of the folds on the back side of the tree.
- Decorate the tree with adhesive stars.
- Enjoy sharing your Christmas greeting card with friends and family.
Please visit the Bowdabra blog each Friday for a new kid’s craft or art project that the whole family will enjoy. Don’t forget to like us on Facebook and join us for Facebook live each Monday at 4:00 p.m. PST, 5:00 p.m. MST, 6:00 p.m. CST, and 7:00 p.m. where we feature several quick and easy crafts with Bowdabra.