Hi everyone, Steph Ackerman here and I’m sharing a Bowdabara decorated burlap pouch.
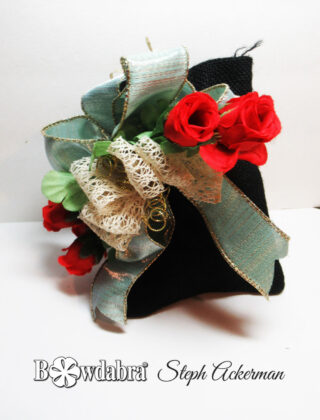
Supplies:
Bowdabra Bow-Making Tool
Bow Wire
Pouch
Assorted Ribbons
Flowers
First, cut a piece of Bowdabra bow wire, fold it in half, and place it in the Bowdabra.
Tuck the ends underneath while making the bow.
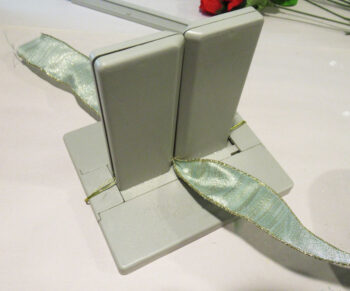
Leaving a 6″ length of ribbon, place the ribbon in the Bowdabra.
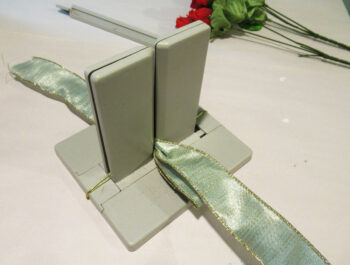
Create loops, folding and twisting the ribbon as it passes through the channel.
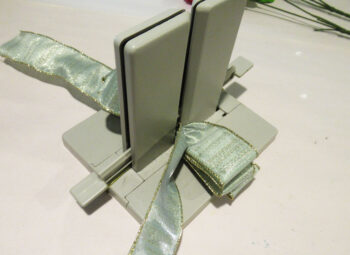
Create graduating sizes of loops.
Use the bow wand to push the loops into the channel.
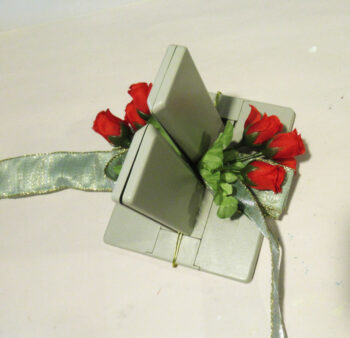
Place the roses on either side of the channel.
Selecting another ribbon, start creating another bow on top of the roses.
Create 3 loops, tucking the ends in the channel.
Again, use the bow wand to push the loops into the channel.
Pull the bow wire and tighten while the bow is still in the Bowdabra.
Next, remove the bow from the Bowdabra, separate the wire ends, and tie a knot.
To finish, cut off the excess flower stems.
Fluff out both of the ribbon loops.
Selecting a burlap pouch, I threaded a length of bow wire through the pouch and then around the bow to secure it to the pouch.
Next, take the excess bow wires the twirl each around a craft pick.
Fill the pouch with some paper shreds, and something special the recipient would enjoy.
I’m thinking of a gift card, a candle, and some candies.
Thanks for stopping by.
Steph
Please like us on Facebook. Each Monday at 4:00 p.m. PST, 5:00 p.m. MST, 6:00 p.m. CST, and 7:00 p.m. EST, we host Facebook live. One of our talented designers will show you several quick and easy projects. In addition, one lucky viewer will win a free roll of ribbon.
Don’t forget to follow us on YouTube where you will find hundreds of video DIYs and more!