Show your St. Patrick’s Day spirit with this lucky bracelet. It’s made with paper beads that you can make—and you don’t need any jewelry findings.
Here are the supplies that you’ll need to make the lucky St. Patrick’s Day Bracelet:
- Patterned paper in shades of green
- Liquid glue
- Elastic string (Stretch Magic is one brand)
- Thin bamboo skewer or plastic yarn needle
- Clear nail polish (optional)
- Superglue (optional)
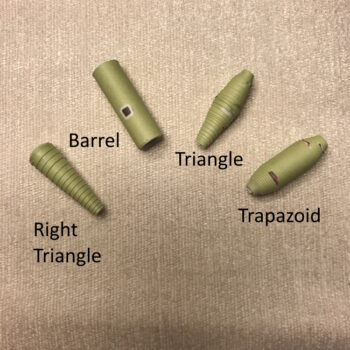
- Barrel bead template
- Right Angle Triangle bead template
- Trapezoid bead template
- Triangle bead template
Let’s make the bracelet:
- Select the bead shape that you want to use. I used triangle beads for mine. You can print the template onto your paper, or cut the template shapes and trace them onto your patterned paper.

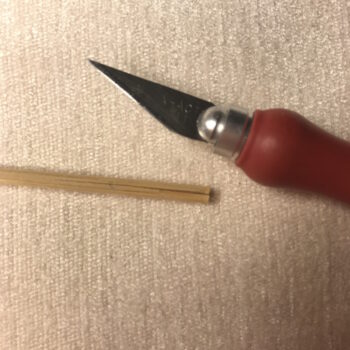
- To make it easier to roll the beads, you can fashion a simple tool from a thin skewer. Use a craft knife to make a slit about 1″ to 1½” through the flat end of the skewer.

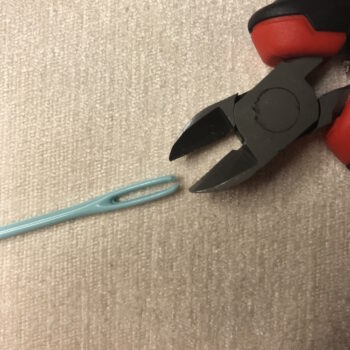
- Another way to make a rolling tool is to cut the eye of a large plastic yarn needle with wire cutters. You can roll the beads by hand, the tools just make it a bit easier.

- Begin at the wide end of the paper strip. Here I’ve inserted the paper strip into the slit I made in the skewer. Be sure that the pattern is facing away from you. Start to roll the paper strip away from you.(The process is the same if you’re using a yarn needle. The paper strip slips into the open eye of the needle.)
- Continue rolling the strip, and you’ll see the bead begin to form.
- When you are 1½” to 2″ from the end of the paper strip, apply a thin bead of glue to the plain side of the paper strip. Continue rolling to the end of the paper strip. Gently slide the bead off the skewer.
- As an option, you can seal the beads with a thin coat of clear nail polish. This protects the bead and adds a slight shine.
String the beads:
- Loosely measure your wrist. Cut a length of elastic string the length of your measurement plus 4″.
- Secure one end of the elastic string with a clamp, binder clip, or pinch clothespin.
- Decide on your beading arrangement. You can mix and match bead shapes. Use all paper beads or add any beads of your choice. I’ve used all triangle beads alternating with triangle pony beads.
- Start stringing the beads on your measured length of elastic string. The elastic string is resilient enough that you won’t need a needle with it.
- When all your beads are strung, center the beads on the elastic string, and give the elastic string a couple of healthy stretches.
- Tie a surgeon’s knot (right end over left; left end over right; repeat left end over right). Secure the knot by pulling on both the end of the elastic string and the string that goes through the beads. You can see a great YouTube video of tying this knot.
- This is an optional step, but I like to add one drop of Superglue on the knot, then bury it in an adjacent bead.
Note: You can increase the base width, length, or both of the paper strips for larger beads.