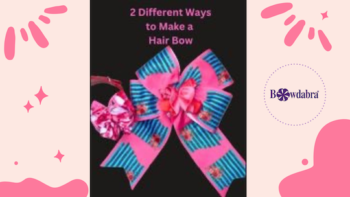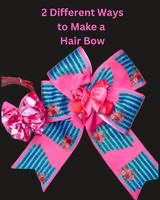
First, we’re going to be making the ‘Cheer Bow’ style. You can customize your bow with colors & ribbon prints to match any outfit or school colors of your choice.
Next, we’ll make the ponytail holder or pet collar ‘Ruffle Bow’ or ‘Srunchy Bow’ style. Again, customize it to your style. Pro tip: If you have scrap pieces of ribbon you’ve been saving, this is the perfect bow to help use them up!

Bow No. 1 – Cheer Bow Style materials:
2 – 2.5” W x 14” L strip of printed grosgrain ribbon of your choice &
12” L strip of the same/matching grosgrain ribbon (Pre-cut Dovetails into the ends & seal with a lighter.)
2.5” x 9”-10” Strip of a solid color matching ribbon of your choice
Length of Bowdabra Bow Wire
For the first hair bow cut a length of Bowdabra bow wire, fold it in half, and lay it in the Mini Bowdabra. You can add the ponytail elastic in the Bowdabra now or tie it to the finished hair bow.
Next, add the tails by folding the ribbon in half to find the center and gather it in the center to form a mountain peak and place it in the Bowdabra. Then, take the longer piece of ribbon scrunch the end, and place the right side down into the Bowdabra. Bring the ribbon to the other side and place that end into the Bowdabra for a loop. Then push the center down to form a bow.
Repeat the above step with another length of ribbon. Scrunch everything down with the Bowdabra wand. Now, using a matching piece of ribbon scrunch it down from the center like an accordion to make a small scrunch bow center.
To finish, thread the loose wires through the loop and pull tight while the bow is still in the Bowdabra. Remove from the Bowdabra, separate the ends, turn to the back, and tie a knot.
Bow No. 2 – Ruffle/Scrunchy Bow Style… Or Pet Bow Materials:
2.5” x 10” Strip of a solid color matching ribbon of your choice
2.5” x 10” Strip of printed ribbon of your choice
Elastic/Ponytail Holder or Pet Collar
Place some Bowdabra bow wire in the Bowdabra as you did with the first hair bow.
Next, feed the ribbon from the top scrunchy bow style. Tie it off the same way you did the first hair bow. Make sure you tie it extra tight if you are using it as a pet bow.
Now, fluff and arrange your hair bow. and tie it to your dog collar or a ponytail elastic.
See how simple it was to make 2 beautiful hair bows in just minutes?
***Optional for both bows…
You can glue a bling or embellishment of your choice into the centers of these bows as well!
Visit the Bowdabra blog each week for new tutorials and videos. Don’t forget each Monday at 4:00 p.m. PST, 5:00 p.m. MST, 6:00 p.m. CST, and 7:00 p.m. EST to join us for Facebook live. You could be our next winner of a free roll of ribbon!
Music: Make It Rain, Musician: Daxten, Album: Daxten, Source: VCG