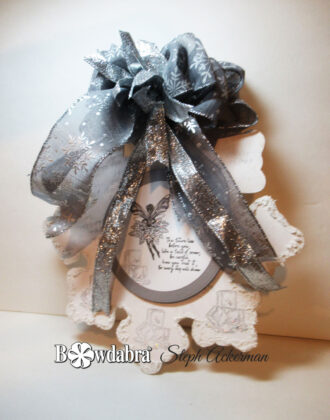
Hi everyone, Steph Ackerman here and I am enjoying winter creating with the Bowdabra. You can make and enjoy this super cute winter wall hanging in just minutes with the Bowdabra. Easy DIY tutorial:
Bowdabra Bow-Making Tool
Bow Wire
Ribbon
Fairy Hugs Stamps
Wood Snowflake
First, cut a piece of Bowdabra bow wire. Then, fold it in half and insert it into the Bowdabra. You will have a loop on one side and two loose wires on the other side. This will serve as your slipknot. Tuck the ends under to stay out of the way while you are making your bow.
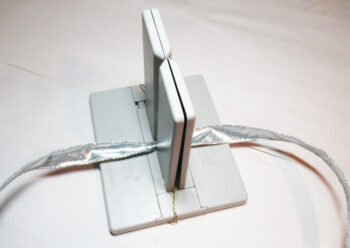
Next, place a 12″ strip of silver ribbon in the channel.
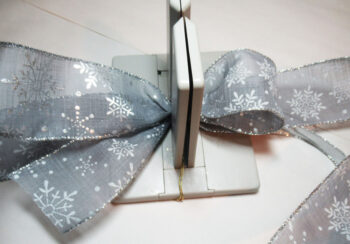
Working with snowflake ribbon, place it in the channel leaving a 6″ tail.
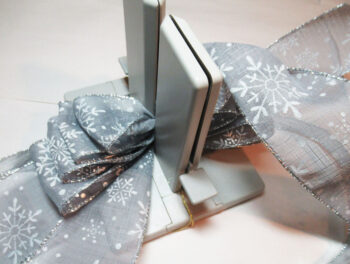
Next, pass the ribbon through the channel, twisting it as it passes through the Bowdabra.
Create 5 graduating loops on either side.
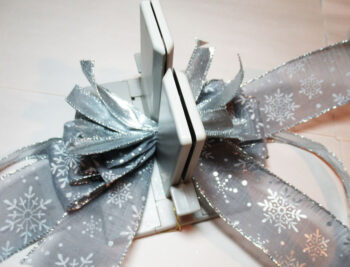
Now, cut 4 strips of the silver ribbon and place each in the channel.
Use the bow wand to push down the layers.
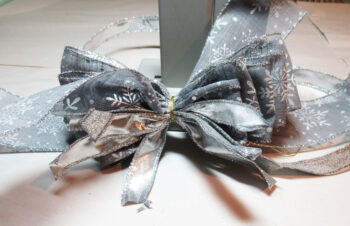
Now, scrunch everything down with the Bowdabra wand. Then, insert the loose wires through the loop and pull tight while the bow is still in the Bowdabra. Then, remove the bow from the Bowdabra, separate the ends, turn to the back, and tie a knot. Tie a double knot for extra security.
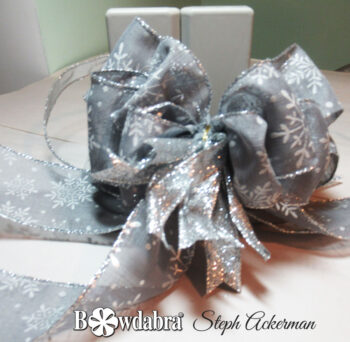
Fluff out the loops and trim the strips to the desired length.
To prepare the snowflake panel, paint it with white paint.
Using modeling paste to add “snow” to the edges of the snowflakes.
Add stamped images about the panel.
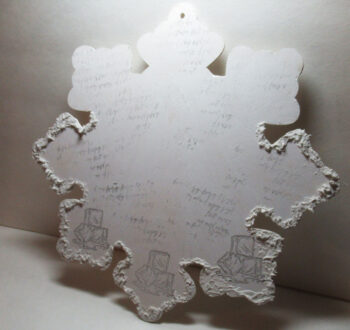
Finally, add another image in the center of the snowflake.
Using the Bow Wire, tie the bow to the snowflake.

Winter creating, especially while it’s dark, dreary, and cold out, can be more fun when creating different bows using the Bowdabra. This winter wall hanging is the perfect project for those cold winter days and Bowdabra makes it easy!
Thanks for stopping by.
Steph
For more fun projects by Bowdabra designer, Steph please visit her blog, live, laugh, scrap.