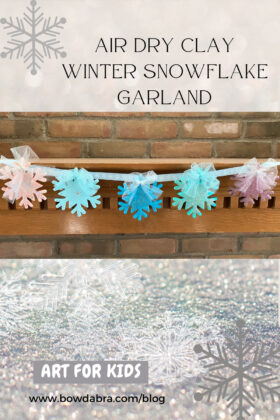
Celebrate the cold weather from indoors with this air dry clay winter snowflake garland. It’s a great activity for young artists on those blustery days when it’s too wet and cold to be outside.
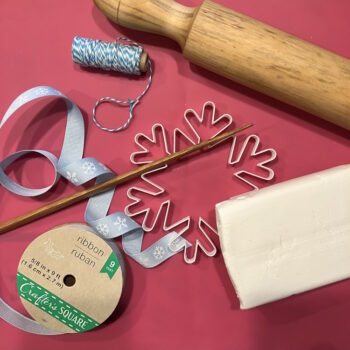
Gather these supplies:

- Air dry clay
- Ribbon, tulle, twine
- Snowflake cookie cutter
- Rolling pin
- Skewer or chopstick
- Acrylic paints
- Glitter (optional)
Here’s how to make the snowflake garland:
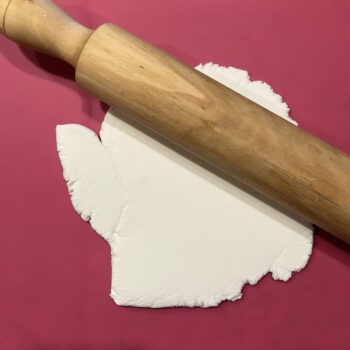
- Working with small portions, knead the clay a bit to soften it. Then, roll out the portion about ¼” thick.

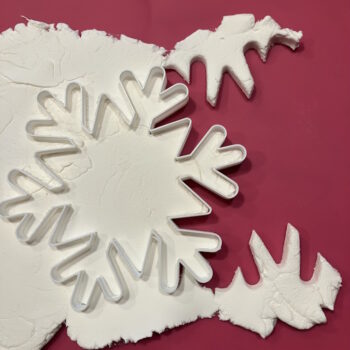
- Press the cookie cutter firmly into the clay making sure to cut all the way through the clay slab.
- With the cookie cutter in place, remove the excess clay from the outer edges of the snowflake.

- You can ignore any little wisps of clay that may remain for the time being. When the clay snowflake is dry, they can be trimmed with scissors, or sanded away with fine sandpaper.
- Alternatively, you can deal with them now by “painting” them with an artist’s paint brush and water. I generally opt to deal with them after the clay is dry.
- Using the skewer, pierce a hole in the snowflake for threading a length of twine for hanging.
- Set the snowflakes aside to dry. Depending on the clay, humidity, and thickness of the snowflakes, this could take overnight. Turning the snowflakes over during the drying process helps for even drying.
- When the snowflakes are thoroughly dry, they are ready to paint.
- If desired, you can sprinkle the wet painted snowflakes with glitter for a bit of sparkle.
- When the paint is dry, add a 6″ or 7″ length of twine, yarn, or narrow ribbon for hanging. You can also embellish each snowflake with a bow. I made my bows out of a 9″ length of 4″ tulle.
- Finish the snowflake garland by tying each snowflake onto a length of ribbon. The length of the ribbon will depend on how many snowflakes you have and how closly you want them spaced.