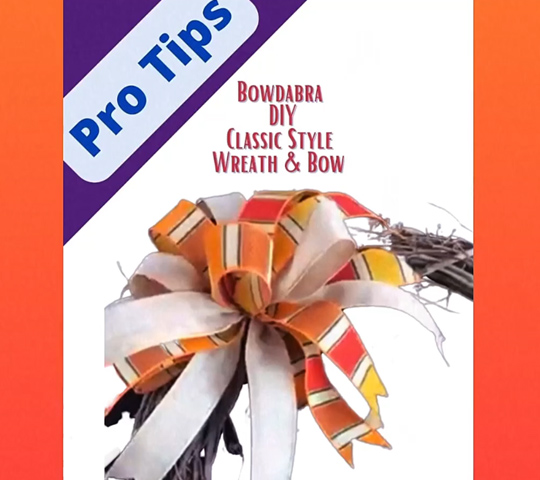
In this video, Nick Kreticos from Nick’s Seasonal Decor provides an ideal bow making guide tutorial for novice Bowdabra users. He takes us through the fundamental techniques of Bowdabra Bow making and demonstrates how to create the ‘Funky’ wreath bow using just two ribbons.
Materials:
- Bowdabra bow maker
- Bowdabra bow wire
- 1 1/2″ wide ribbon in fall color
- 1 1/2″ wide ribbon in a corresponding color
- Grapevine wreath
Instructions:
First, cut a piece of Bowdabra bow wire. Then, fold it in half and insert it into the Bowdabra. You will have a loop on one side and two loose wires on the other side. This will serve as your slipknot. Tuck the ends under to stay out of the way while you are making your bow.
Next, place in one of the ribbons in the Bowdabra leaving about an 8-inch tail. Then, make a loop on the other side leaving another tail. The tails do not have to be exact.

Continue making loops and tails alternating the colors of ribbon as you go. Make as many loops and tails as you want. The more loops you have the fuller the final bow.
Now, scrunch everything down and insert the loose wires through the wire loop and pull tight while the bow is still in the Bowdabra. Then, remove the bow from the Bowdabra, separate the ends, turn to the back and tie a knot. Tie a double knot for extra security.
To finish, fluff all the loops and tails. Then, go around and dovetail all the tails. To dovetail, fold the ribbon in half and cut at an angle away from the fold. Feed the wire through the grapevine wreath and tie it to the back in several knots.
Finally, fluff and arrange you bow on the wreath. You made this amazing bow in just minutes with this super easy bow making guide!
