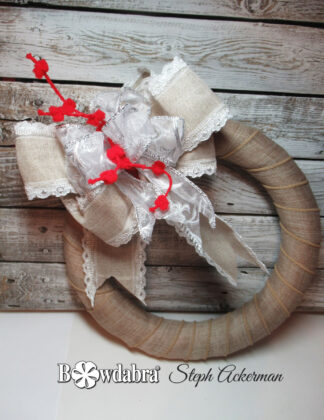
Hi everyone, Steph Ackerman here to share how I created a classic fall wreath bow with the help of the Bowdabra. Bowdabra is like having an extra hand so bow making is fun and easy!
Bowdabra Bow Making Tool
Bow Wire
Burlap Ribbon
Sheer Ribbon
“Bobble” Ribbon
First wrap a wreath with burlap ribbon. Next, cut a piece of Bowdabra bow wire. Then, fold it in half and insert it into the Bowdabra. You will have a loop on one side and two loose wires on the other side. This will serve as your slipknot. Tuck the ends under to stay out of the way while you are making your bow.
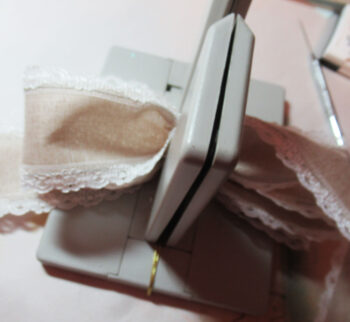
Using a 2nd burlap ribbon with a frilly edge, place it in the Bowdabra. Fold and twist to make loops so that the right side is always facing up.

Create 3 loops approximately 3″ for each side.
Next, cut off the ribbon and dove tail the ends.
To dovetail, fold the ribbon in half and cut at an angle away from the fold.
Now, select a sheer ribbon and place it in the Bowdabra.
Make 3 smaller loops, twisting the ribbon as it passes through the channel.
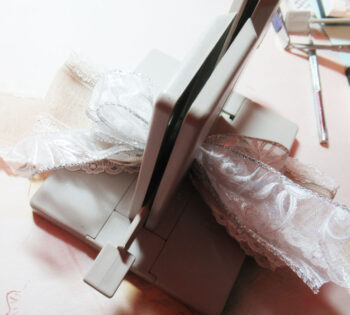
Use the bow wand to scrunch down the loops.
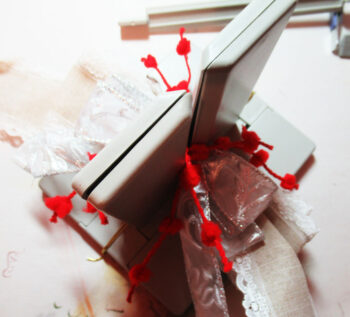
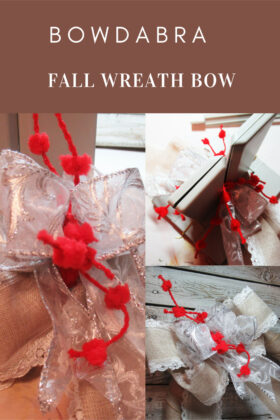
Using some thin strips of “bobble” ribbon, cut 8 strips and place in the channel.
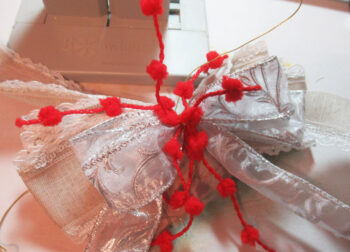
Now, scrunch everything down with the Bowdabra wand. Then, insert the loose wires through the loop and pull tight while the bow is still in the Bowdabra. Then, remove the bow from the Bowdabra, separate the ends, turn to the back and tie a knot. Tie a double knot for extra security.
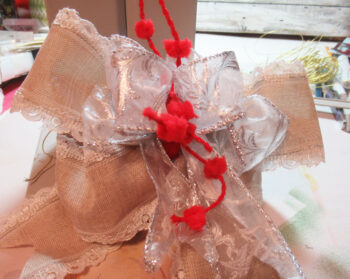
Fluff out the loops and arrange your wreath bow.

Use the bow wire to tie the classic fall wreath bow to the wreath.
Thanks for stopping by.
Steph