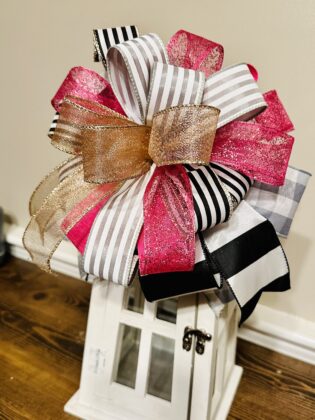
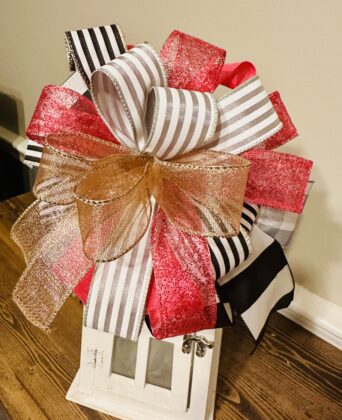
Say hello to the Barbie-inspired Funky multi use Bow! It has pink, of course, and black, gray, and white to match. This bow style makes a great décor piece and can be attached to anything! I love it on my lantern—the loops layer beautifully, giving it a light and fluffy design. Bowdabra designer, Amanda from whimsey wreath design company shows you the quick and easy steps!
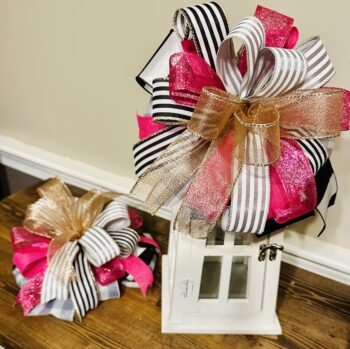
Can you believe it’s August?!? Wow, the summer is going by so fast. July brought us a fun and popular movie everyone raves about! If you enjoyed the movie, are planning a themed party, or want to glam it up with everything pink, this is for you!
The best part? You can make this bow with any number of ribbons you’d like! I used 7 ribbons, but you can make it just as pretty with one or two! The secret is in the loops and layers. Let’s get to making!

46” of Gray and White Buffalo Plaid from Bowdabra
As many 46” pieces of any ribbons of your choice – pink, of course, for this one
Scissors
(Bowdabra various ribbons and kits)
1-First, cut a long piece of Bowdabra wire, fold it in half, place it in the large Bowdabra, and tuck the ends under. Next, take out your first 46-inch cut of ribbons for this bow. Start with the gray and white Bowdabra ribbon. Measure 6” of the gray and white plaid ribbon and place in the Bowdabra. Twist the center and press down.
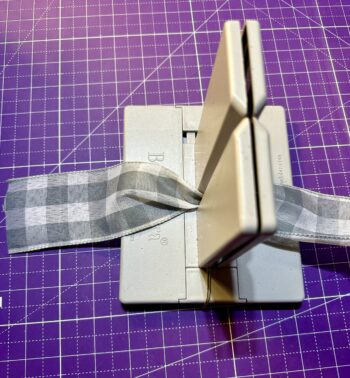
2-Next, make three 5-inch loops of the ribbon, twist, and press into the center of the Bowdabra after each loop. You’ll end with the tails on the same side, but that’s fine.

3-Now, repeat this process with a different ribbon, if you’d like, or with a new 46-inch piece of the same ribbon. The process is the same regardless of the number of ribbons you use. Start the second ribbon on the same side as the first; stack the loops and tails for the second ribbon.
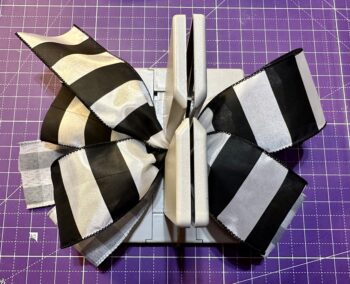
4-At this point, flip your Bowdabra around in a half circle. We will use the same process, but flipping the Bowdabra evens out the loops and tails on the same side. The tails were on the left side of the Bowdabra; now, they are on the right. Repeat the process of the tail, three loops, then the tail.
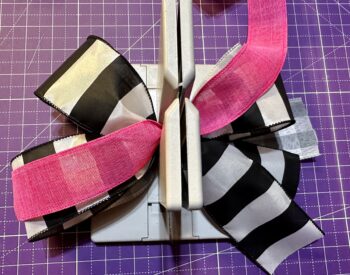
5-Complete another ribbon, if you’d like, with the same process, on the same side. After two ribbons, flip the Bowdabra around halfway again and continue the process. Don’t forget to make 3 loops with each ribbon; the tails will be on the same side.
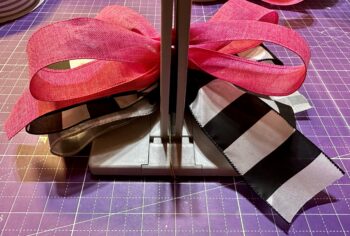
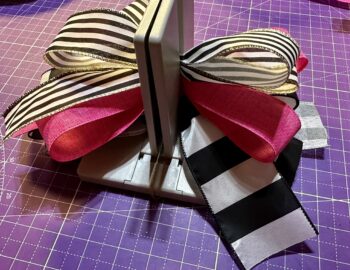
6-After layering as many ribbons as you like, use the Bowdabra Wand to press in the center of the Bowdabra gently. It might be tricky with many ribbons, but even a little press on the Wand will do.
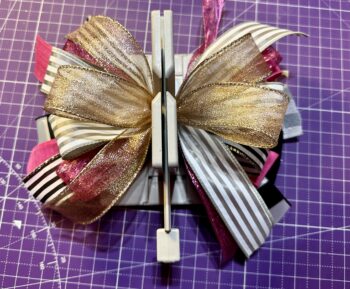
I like to dovetail my ribbon ends at this point while they are all in the Bowdabra. You can do this at any point, even after you remove the bow from the Bowdabra. Or, you can cut on a diagonal or straight across, whichever you like.
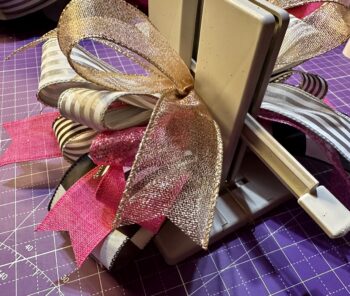
7-To finish, untuck the Bowdabra wire and pull the cut end through the loop end to make a slipknot. Pull the wire tight to secure it. Remove the bow from the Bowdabra and turn to the back and tie a knot. Make a few extra knots if you like.
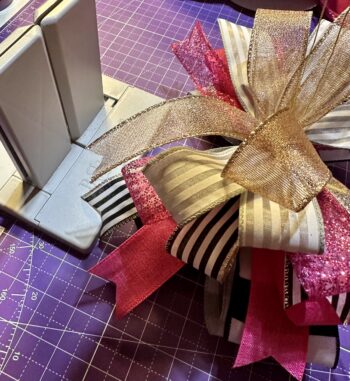
8-Now is the best part! You can move the loops and ends around as you like. Because there are three loops in each layer and ribbon, the loops stack nicely and give your bow a lot of fluff!
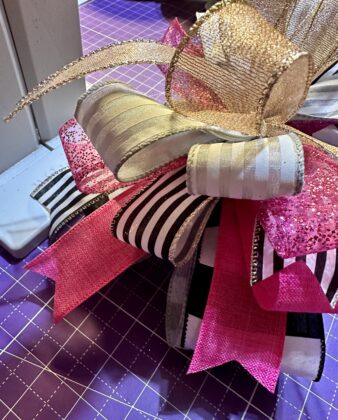
9-Your gorgeous Barbie inspired funky multi-use bow is ready to go! Attach on a lantern, wreath, or door hanger or use as party décor. Attach to a basket, floral arrangement, vase, or cake stand. The uses are endless!
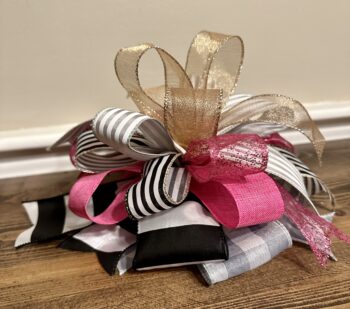
10-If you need more than one bow, repeat the process. You can keep the ribbons the same or change them up if you want similar but different bows or coordinating bows.
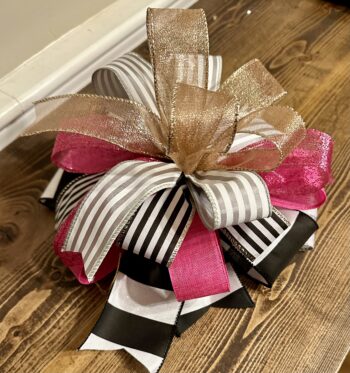
11-Enjoy your funky multi-use bow! Don’t forget to share pictures on the Bowdabra Fan Gallery Facebook page so we can see your funky bow creations.
Thank you for joining me! I’ll see you next time for another fun project using my Bowdabra.