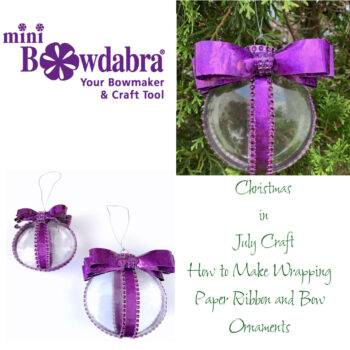
It’s Christmas in July and have I got an awesome way of making ribbon out of wrapping paper. Then, use this unique ribbon to make a beautiful wrapping paper ribbon ornament!
It’s a fun way to adorn your Christmas decorations! And what a great way to decorate ornaments and other Christmas decor! You can get very creative jazzing up your ornaments with fabulous holiday wrapping paper made into ribbon and then using the ribbon to create cool looking bows with your Mini Bowdabra! Sounds amazing, doesn’t it! Here’s how!
First, let’s get started by cutting a piece of your favorite Christmas wrapping paper large enough to fold over onto itself to cut out “ribbon” strips!
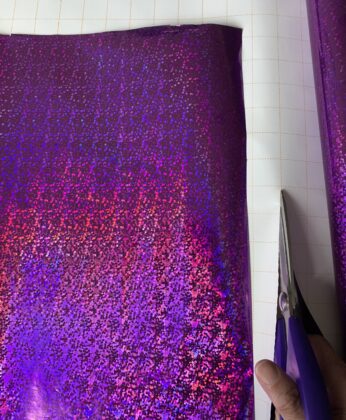
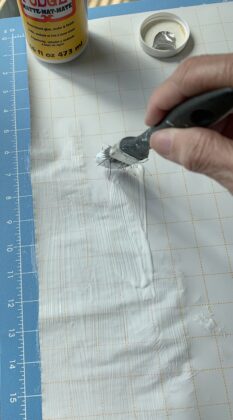
Next, apply Mod Podge to half of the wrong side of the wrapping paper and . . .
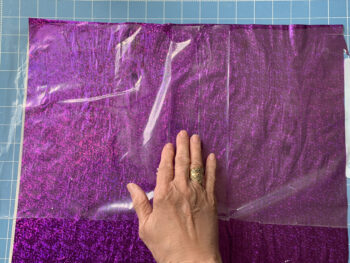
 fold over the plain side of the wrapping paper on top of the mod podge, edge to edge. Use clear plastic (I cut open a large ziplock bag) to help smooth out any wrinkles.
Let paper dry completely. When dry, the decoupaged wrapping paper will feel like faux leather!
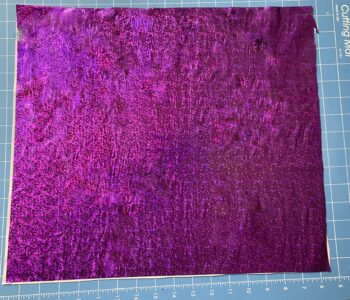
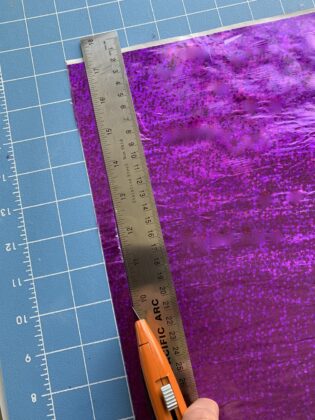
Next, cut the dry decoupaged wrapping paper into 1/2″ ribbon strips.
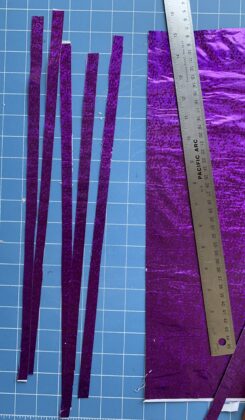
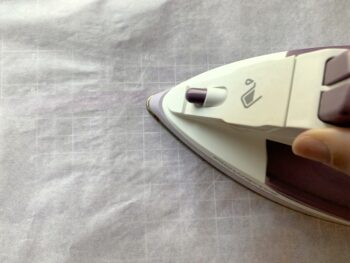
To smooth out any ribbon strips with wrinkles, place parchment paper over the strips and use a medium hot iron to iron out any wrinkles. The parchment paper acts as a protective layer between the iron and the decoupage wrapping paper to help smooth out any wrinkles.
To decorate the clear ornament with the wrapping paper ribbon, measure around the ornament from the center base of the top, down, around and up to the opposite side base using the ribbon strip. Cut off excess ribbon and add fabric glue to the back side of the ribbon or on the ornament. Smooth the ribbon strip down on the ornament.
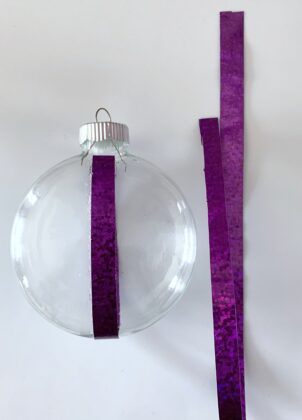
Continue measuring around ornament with ribbon strip, adding fabric glue to attach until
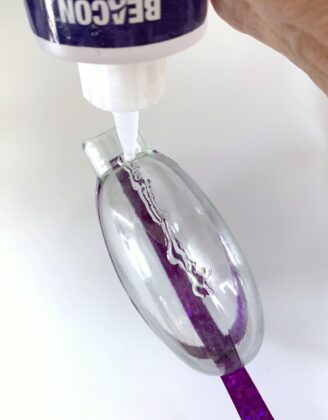
all the ribbon strips are glued on.
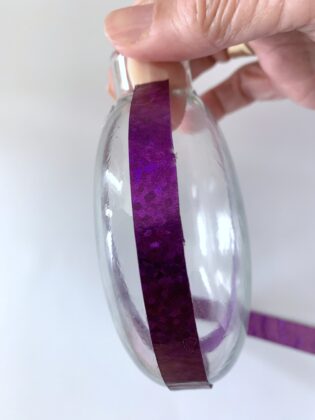
To add decorative rhinestone mesh trim, cut trim into measured strips and attach along edge of ribbon using fabric glue.
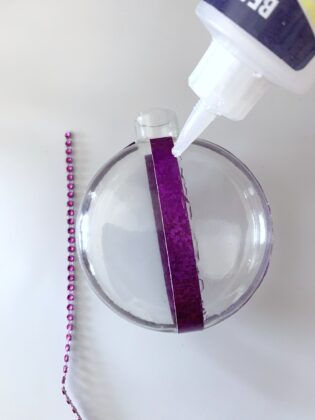
First, one side and . . .
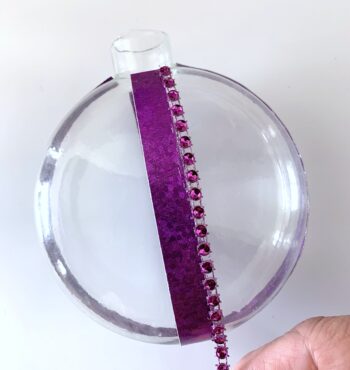 and then the other side.
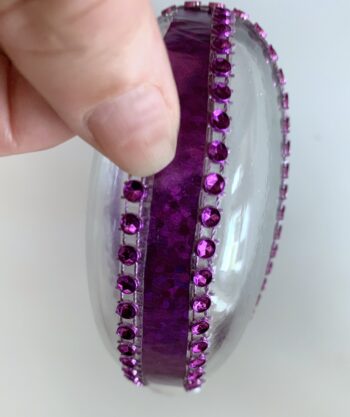
Edging all of the ribbon with rhinestone mesh.
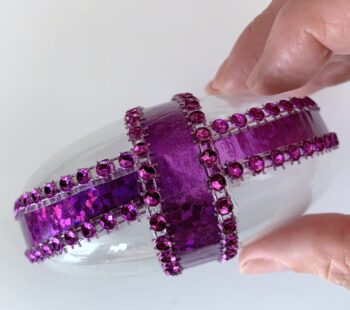
How adorable does this look!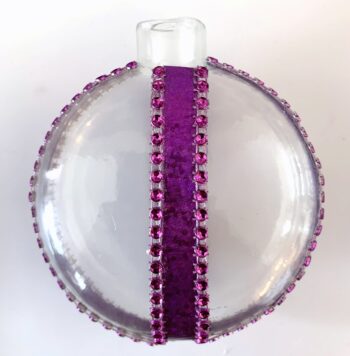
And don’t forget to add rhinestone bling around the removable ornament top, too!
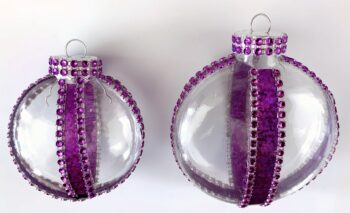
To Make the Wrapping Paper Ribbon Bow: Insert an 18″ piece of bow wire folded in half into the Mini Bowdabra, tucking ends under. Then, make a crease near the end of the wrapping paper ribbon strip and place into the Mini Bowdabra.
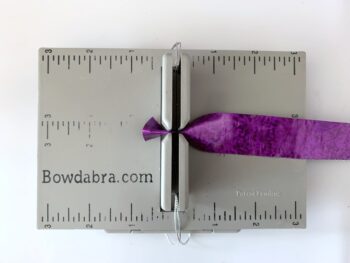
Fold the paper ribbon at the 2″ mark and press into the Mini Bowdabra. This is your first loop.
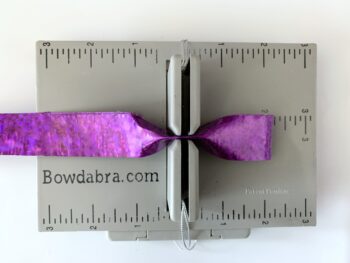
Next, fold the other side at the same 2″ loop width.
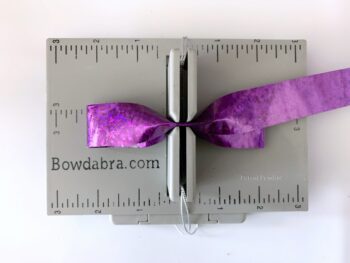
Continue folding loops one at a time, creasing the ribbon center down into the center of the Mini Bowdabra . . .
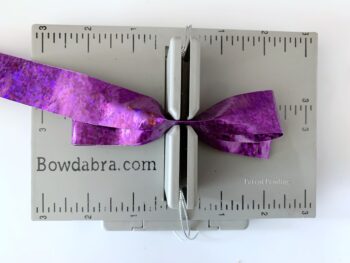
making at least 4 loops on each side for a total of 8 loops. You can add more loops by lengthening the strips by sealing ends together with fabric glue and let dry. Once satisfied with the number of loops and look, scrunch down the loops with the Mini Bowdabra Wand.
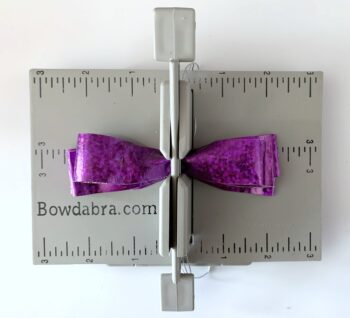
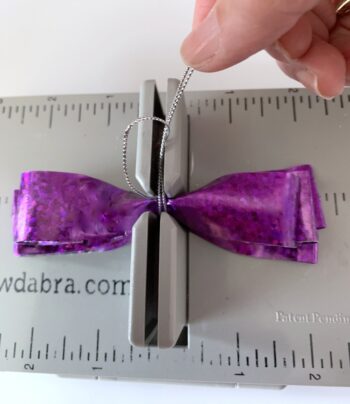
While the bow is in the Mini Bowdabra, thread the two loose ends of the bow wire through the loop at the other end pulling tightly, tie in a knot and gently pull bow out. Then cut off excess bow wire.
To Finish the Wrapping Paper Ribbon Bow: Cut a small piece of finishing ribbon about 2″ long. Attach finishing ribbon around the center bow,
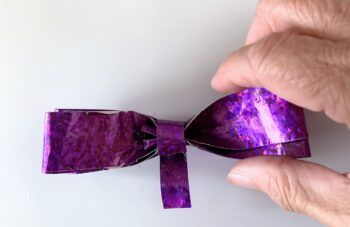
covering bow wire and gluing together in the back. Let dry.
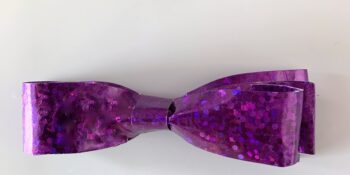
Complete the bow by adding rhinestone mesh around finishing ribbon and glue onto ornament for a fabulous look!
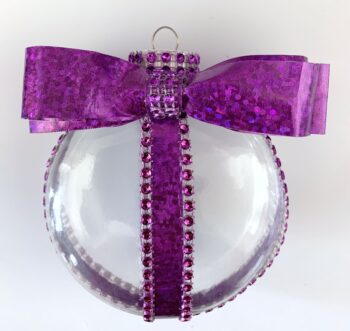
And finally, tie bow wire into a hanging loop on the ornament top. 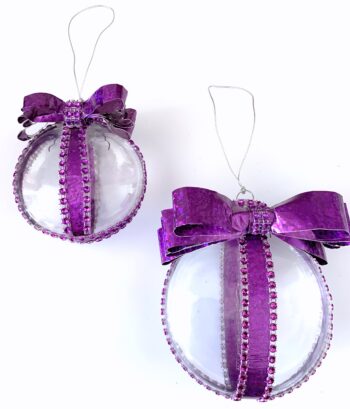
Isn’t this the most beautiful wrapping paper ribbon ornament? Make several for gifts using various wrapping papers colors and prints. Visit Bowdabra designer, Gail at her blog Purple hues and me for more of her amazing creations!