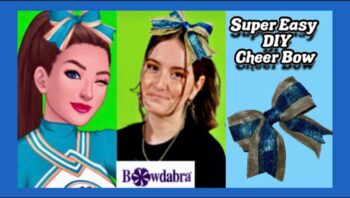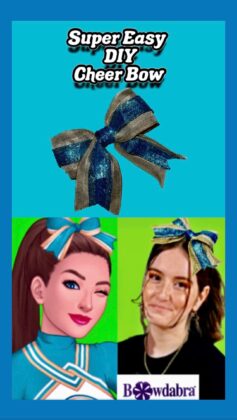
Hi there, it’s Lexi from the Bowdabra Design Team, and welcome to this fun video DIY how to make a Bowdabra Cheer Bow! Whether you’re a seasoned crafter or just starting out, this tutorial is perfect for kids of all ages who love crafting and cheerleading. So let’s grab our Mini Bowdabra and get started on making a bow that’s as unique and special as you are! Follow along with me as we create a beautiful cheer bow that will make you feel like a star on the cheer squad!
6” long 2.5” wide matching ribbon
Elastic ponytail holder
Double sided Fabric tape or
Peel N Stick

First cut a piece of Bowdabra bow wire. Then, fold it in half and insert it into the Bowdabra. You will have a loop on one side and two loose wires on the other side. This will serve as your slipknot. Tuck the ends under to stay out of the way while you are making your bow.
Next, attach two pieces of ribbon together with double sided fabric tape. Dovetail the ends. find the center of the ribbon and place it in the Bowdabra. Then fold a loop and bring it across and scrunch in the Mini Bowdabra. Do the same thing to the other side. You have your bow formed. Give everything a good scrunch with the Bowdabra wand.
To remove from the Bowdabra, thread the loose wires through the loop and pull tight while the bow is still in the Mini Bowdabra. Separate the wires and pull tight, turn to the back and tie a knot and a double knot.
Now, take the six in piece of ribbon and run double sided tape along one edge. Peel the backing off and fold it in half. Trim off any excess tape and set aside.
Wrap the prepared six inch piece of ribbon around the center of the bow and tie a knot in the back.
To finish, use the excess wire to tie the bow onto an elastic. Fluff and shape your bow and you have a personalized Bowdabra cheer bow that you made in just minutes
These cheer bows are so easy to make you can create enough for the entire cheer squad in no time. They make perfect gifts too!

Music: Rain Is Falling, Musician: Plain Strolls, Album: Plain Strolls, Source: VCG