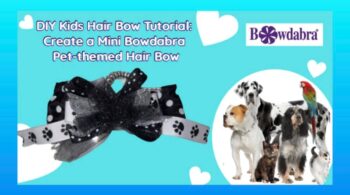
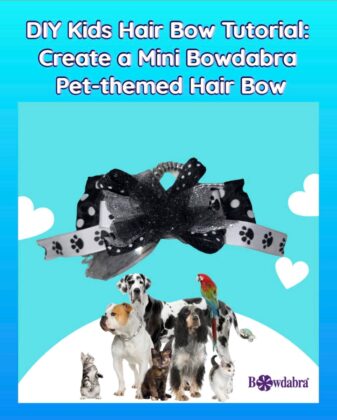
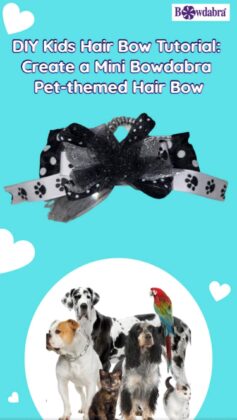
In this video tutorial, Lexi The Bowdabra Design Team, Teen Member will demonstrate how to make an easy pet themed hair bow. The step-by-step instructions are easy to follow and perfect for kids who want to create their own hair accessories. This DIY project is a fun activity for parents and children to do together, and the finished product is a cute and unique addition to any hairdo.

Overall, this DIY Kids Hair Bow Tutorial is a creative and engaging activity that encourages kids to explore their artistic abilities while also creating a practical and trendy accessory for their hair.
6” long piece of tulle, fold in half
12” long piece of tulle, pre- scallop the edges
1.5” wide, 12” long piece of wired polka dot ribbon
Two – 7.5” long, 7/8” wide paw non-wired paw print ribbon
Two – 8”long, 5/8” wide non-wired polka dot ribbon
3” long, 1.5” wide glitter ribbon
Ponytail holder

First, cut a piece of Bowdabra wire and fold it in half. Place it in the Mini Bowdabra and tuck the ends underneath to stay out of the way while creating the hair bow.
Next, take the longest piece of tulle, roll it up and scallop the edges. Then insert in the Bowdabra from the top scrunchy bow style.
Now, take the polka dot ribbon center it and place it in the Mini Bowdabra upside down, bring one side over and then the other side to create a two loop bow. Then, add the paw print ribbon in the Bowdabra for the tails. Repeat this step with the smaller polka dot pieces. Scrunch everything down.
Now, add the small piece of tulle and scrunch it in the Mini Bowdabra from the top scrunchy bow style.
Finally add the glitter ribbon on top just flat. Make sure everything is even.
Now, scrunch everything down with the Bowdabra wand. Then, insert the loose wires through the loop and pull tight while the bow is still in the Bowdabra. Then, remove the bow from the Bowdabra, separate the ends, turn to the back and tie a knot. Tie a double knot for extra security.

Music: Le Chat Noir, Musician: Lucas Pittman, Album: Lucas Pittman, Source: VCG