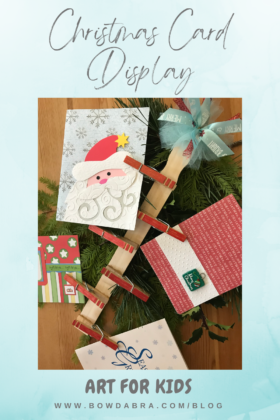
It’s almost that time when holiday greetings will be coming to your mailbox. Be ready to display those lovely cards with this Christmas card display.
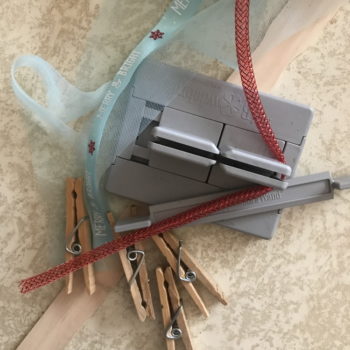
Here are the supplies you’ll need:

- Mini Bowdabra Bow Making and Design Tool
- 15″ length Bowdabra bow wire
- 2′ length 4″ tulle
- Three 4″ lengths 5/8″ patterned ribbon
- Three 4″ lengths mesh ribbon
- 1 paint stir stick
- 6 pinch clothespins
- Strong adhesive (i.e., wood glue, E6000, hot glue)
Let’s make the bow first:
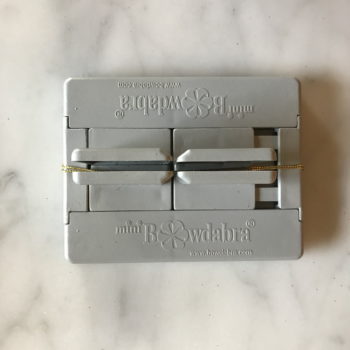
- Fold the 15″ bow wire in half and put it in the Mini Bowdabra. Tuck the ends of the wire under the Mini Bowdabra to keep them out of the way.

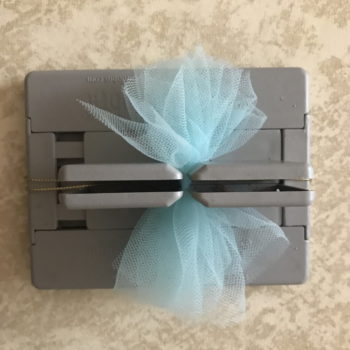
- Next, scrunch the tulle into the Mini Bowdabra with the narrow end parallel to the Bowdabra base.

- Next, layer the mesh ribbons on top of the tulle.
- Lay the patterned ribbon on top of the tulle and mesh ribbon.
- Compress the tulle and ribbons with the Mini Bowdabra wand.
- With the tulle and ribbons still in the Mini Bowdabra, pass the wire ends through the loop, and tighten. Bring the wires to the back side of the bow and tie a knot. Leave the wire ends long.
- Fluff the bow and arrange individual ribbons. Set the bow aside while we work on the rest of the Christmas card display.
Finishing the Christmas card display:
- Sand any images from the paint stir. Pierce or drill two hole near the top.
- Color one side of the clothespins with a marker.
- Glue the colored clothespins, equally spaced and alternately facing to the right and left, to the paint stir.
- Thread the bow wires through the top holes of the Christmas card display and tie the bow in place. The end of the additional length of bow wire can be tied together to form a loop for hanging.
- Now you’re ready to display your holiday greetings!!