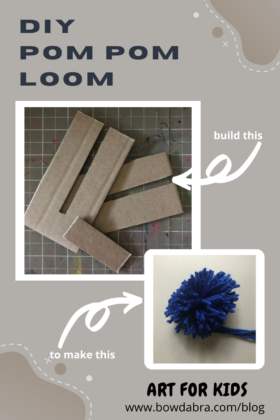
Pom poms are such a fun craft project!! There are so many things you can create from a yarn pom pom. Here’s a pattern for an easy, do-it-yourself pom pom loom.
Here’s what you’ll need to make your pom pom loom:
- Scraps of corrugated cardboard
- Pom Pom Loom template
- Craft knife or scissors
- Liquid glue or double-sided tape
Let’s make the loom!!
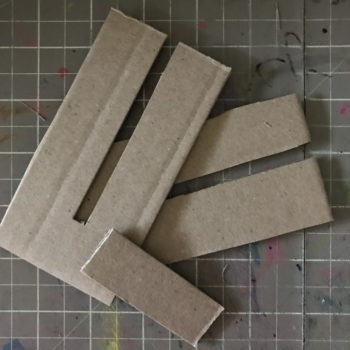
- Print the Pom Pom Loom templates and trace the shapes onto corrugated cardboard. Corrugated cardboard is a better choice for this project than cereal box cardboard because it’s stronger and doesn’t bend as easily.
- Use a craft knife or scissors to cut out the pieces—one spacer and two slotted loom pieces.

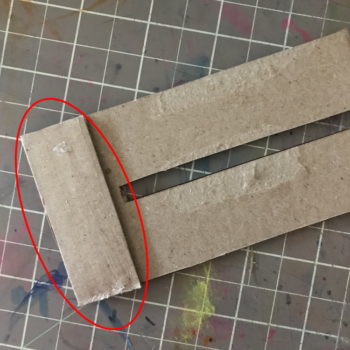
- Glue the spacer on the solid end of one of the loom pieces.

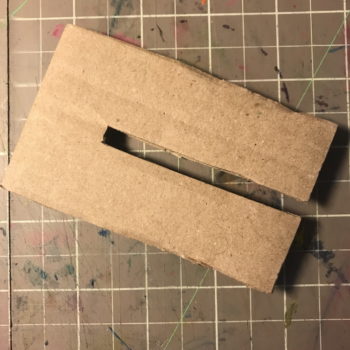
- Glue the second loom piece on top of the spacer, carefully aligning the center slot.

- There!! Your loom is all done. Now, let’s make a pom pom.
Let’s make a pom pom:
- Cut a 22″ length of yarn, and fold in half. Slide this tying cord into the slot on the loom. Using a double thickness helps to ensure that this cord doesn’t break when you’re tying the securing knot in place.
- Wrap yarn around the loom. The more wraps you make, the fatter your pom pom will be. The weight of the yarn also affects the number of wraps you’ll want. Thinner yarn requires more wraps.
- When you’re finished wrapping, bring the tying cord on the back side of the loom around the wraps and through the open slot. Tie a very tight, secure knot.
- Cut the loops at the top and bottom of the loom. Really sharp scissors will be a big help here.
- Fluff your pom pom, and give it a haircut if necessary to even out the shape. The tying cords can be trimmed if you don’t need them for attaching the pom pom to anything.
Keep an eye on this space!! We’ll be adding pom pom projects that will keep your loom busy.