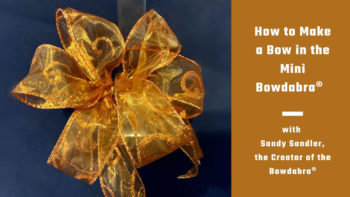
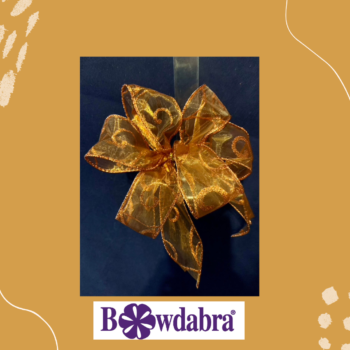
Sandy Sandler, the creator of the Bowdabra is here to show you how easy it is to make an adorable bow in the Mini Bowdabra. This bow would be perfect to add to any fall décor, wreaths, or gifts. Get a jump on your fall décor with this amazing bow. So, let’s get started.

Video DIY, How to make an adorable mini Bowdabra Bow
Materials:
- Mini Bowdabra
- Bowdabra Bow Wire
- 1.5×72″ Copper Swirl Ribbon (For Bow)
- 1.5×8″ Copper Swirl Ribbon
First, cut a piece of Bowdabra bow wire. Then, fold it in half and insert it into the Bowdabra. You will have a loop on one side and two loose wires on the other side. This will serve as your slipknot. Tuck the ends under to stay out of the way while you are making your bow.
Next, take the shorter piece of copper swirl ribbon and dovetail the ends. To dovetail, fold the ribbon in half and cut at an angle away from the fold. Fold the ribbon in half and lay it in the Mini Bowdabra.
Now, take the longest piece of Copper swirl ribbon and twist it so that the right side is facing up and place in the Mini Bowdabra. Continue folding and twisting making matching loops on each side till you reach the end of the ribbon.
Finish your Mini Bowdabra bow
Scrunch down with the Bowdabra wand. insert the loose wires through the loop and pull tight while the bow is still in the Bowdabra. Then, remove the bow from the Bowdabra, separate the ends, turn to the back and tie a knot. Tie a double knot for extra security.
Finally, shape and arrange your bow and loops. Now you can use this adorable bow in a variety of projects, gifts and more.

Thanks for visiting today and be sure to return to the Bowdabra blog for new videos weekly. Don’t forget our new Tik Tok channel for even more ideas!
