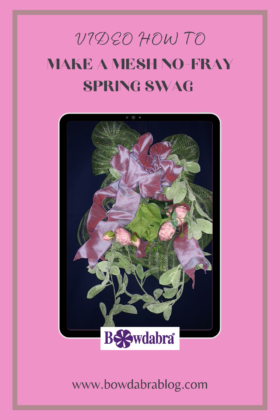
In this super easy video DIY, Sandy Sandler, the creator of the Bowdabra shows you how you can make a mesh no-fray spring swag in minutes. Sandy shows you how to hide the fraying on the mesh ribbon. You can display this amazing swag during spring and summer! So let’s get started.

First, cut a piece of Bowdabra bow wire. Then, fold it in half and insert it into the Bowdabra. You will have a loop on one side and two loose wires on the other side. This will serve as your slipknot. Tuck the ends under to stay out of the way while you are making your bow.
Next, start with the center of the mesh. Lay it down into the Bowdabra. Now, fold the mesh over and make a loop. Let the tail hang down. Then, with the side fold over and make another loop.
Now, in order to hide any frayed ends, take all the ends and group them equally together. Then, take a piece of Bowdabra bow wire and make a slip knot one the joined ends. Pull tight, separate the ends and tie a knot.
Take the garland and lay that in the Bowdabra.
Take the two smaller pieces of Emilia lavender ribbon and dovetail the ends. Keep the ends from fraying by running a lighter quickly over the ends to seal. Optionally you can use clear nail polish or fray check. To dovetail, fold the ribbon in half and cut at an angle away from the fold. Lay them in the Bowdabra. (tails)
Now, take the peonies and lay them into the Bowdabra. Add the last piece of Emilia Lavender ribbon in the Bowdabra. Fold back and forth twisting and making loops.
Now scrunch everything down with the Bowdabra wand. Then, insert the loose wires through the loop and pull tight while the bow is still in the Bowdabra. Then, remove the bow from the Bowdabra, separate the ends, turn to the back and tie a knot. Tie a double knot for extra security.

To finish, adjust your loops and tails. Then using glue dots attach some to the ends where you tied the mesh together and fold under to hide any fraying! Perfect to use as is as a swag or attach to a wreath!
