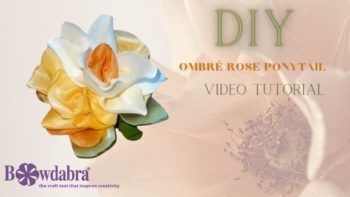
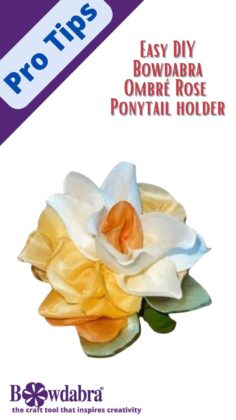
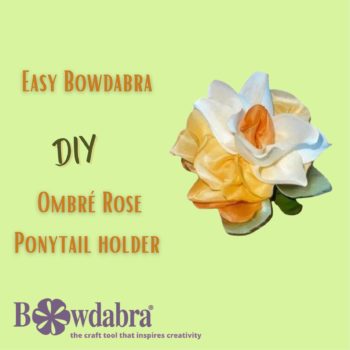
Bowdabra designer, Joette shows you how to make this gorgeous ombre ribbon rose ponytail holder with Bowdabra. How gorgeous is this rose? And you will not believe how easy it is to create with the Bowdabra!


First, choose the tones of your colors so they will shade into each other for the Ombre look.
Next, load the Bowdabra Bow Wire in whichever Bowdabra you choose to use. (In my opinion, I like using the Large Bowdabra better for this project.) Then disassemble the rosebud. If the calyx/sepal part of the silk rosebud is silk, cut it in half for the first piece to be added to the Bowdabra. If it’s plastic, thread it on once this rose has been removed from the Bowdabra and tied off.
Cut the rosebud petals into 2 pieces if there are 4 attached petals. Now that the prep work is done, let’s build this rose.
Add the silk calyx if applicable, next add the 3 pointed strips of green ribbon or whatever you’re using to represent the leaves. Scrunch them down with the Bowdabra wand and go ahead and straighten/angle them to the position you’ll eventually want them to be in. (They probably won’t stay in place, but it will be helpful at the end when you do the final fluffing.)
Next, repeat this same process with your choice of the darker color tone with the 5 rounded-edged strips. Repeat again with the next Lighter color tone of 5 rounded strips.
Then, add the silk rose petals and the final, smaller ribbon strip. Fluff and scrunch real good and tie the rose off with the Bowdabra Bow Wire. Fluff until it’s shaped like a rose and you’re happy with it and tie it to the ponytail elastic. Cut off the excess Bowdabra Bow Wire and now you have this adorable Ombre Rose Ponytail Holder.

The rose is also great for gift wrapping! Pro Tip: When prepping and pre-cutting the ribbon for his project, you may want to seal the ends of your ribbon to prevent any fraying. I use a lighter and run the flame real quick across the cut ends to melt them. You could also apply some clear nail polish to the ends as well.