Kids can make the perfect coffee mug gift with just a couple supplies. And, it can be done for under $5!!
Here are the supplies that you’ll need:
- Coffee mug—These are usually available from a dollar store, but do scope out local thrift shops for some great mugs.
- Sharpie oil-based paint marker—While regular Sharpies will work, this oil-based Sharpie is much more durable.
- Alcohol and cotton ball
- Alphabet Stencils A to P
- Alphabet Stencils Q to Z
- Holly Stencil
Let’s decorate a coffee mug:
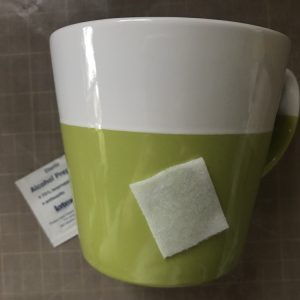
- Clean the design area with an alcohol soaked cotton ball to remove any residual oils.

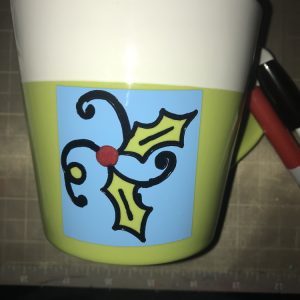
- Select your design. There are many options here. You can doodle or draw your own design directly on the mug. Kids can freehand whatever they like. You can print and cut one of the suggested stencils. The easiest way to use a stencil is to cut it from vinyl if you have the capability. If not, you can cut it from plain paper, and adhere to the mug with double-sided tape. It’s always a good idea to practice your design on paper before you commit it to the coffee mug.
- When you apply the stencil be sure to rub all the edges well so there are no mini-gaps where marker can ooze beneath the stencil. I’m using a vinyl stencil, but the same goes for a paper one with double-sided tape.

- Color the design onto the mug. Set aside for half an hour or so to allow the marker to thoroughly dry. Carefully peel the stencil from the mug.

- Put the mug in a cold oven. Bake at 350°F for 45 minutes. Turn the oven off and allow it to completely cool before removing the mug. I’ve never had a mug shatter in the oven, but I’m also very risk-adverse, so I put a sheet pan on the shelf below the mug to catch any fragments if the worst happens.
- Enjoy gifting your perfect decorated coffee mug. Let the recipient know that this hand decorated mug is hand-wash only. These designs are not dishwasher safe.