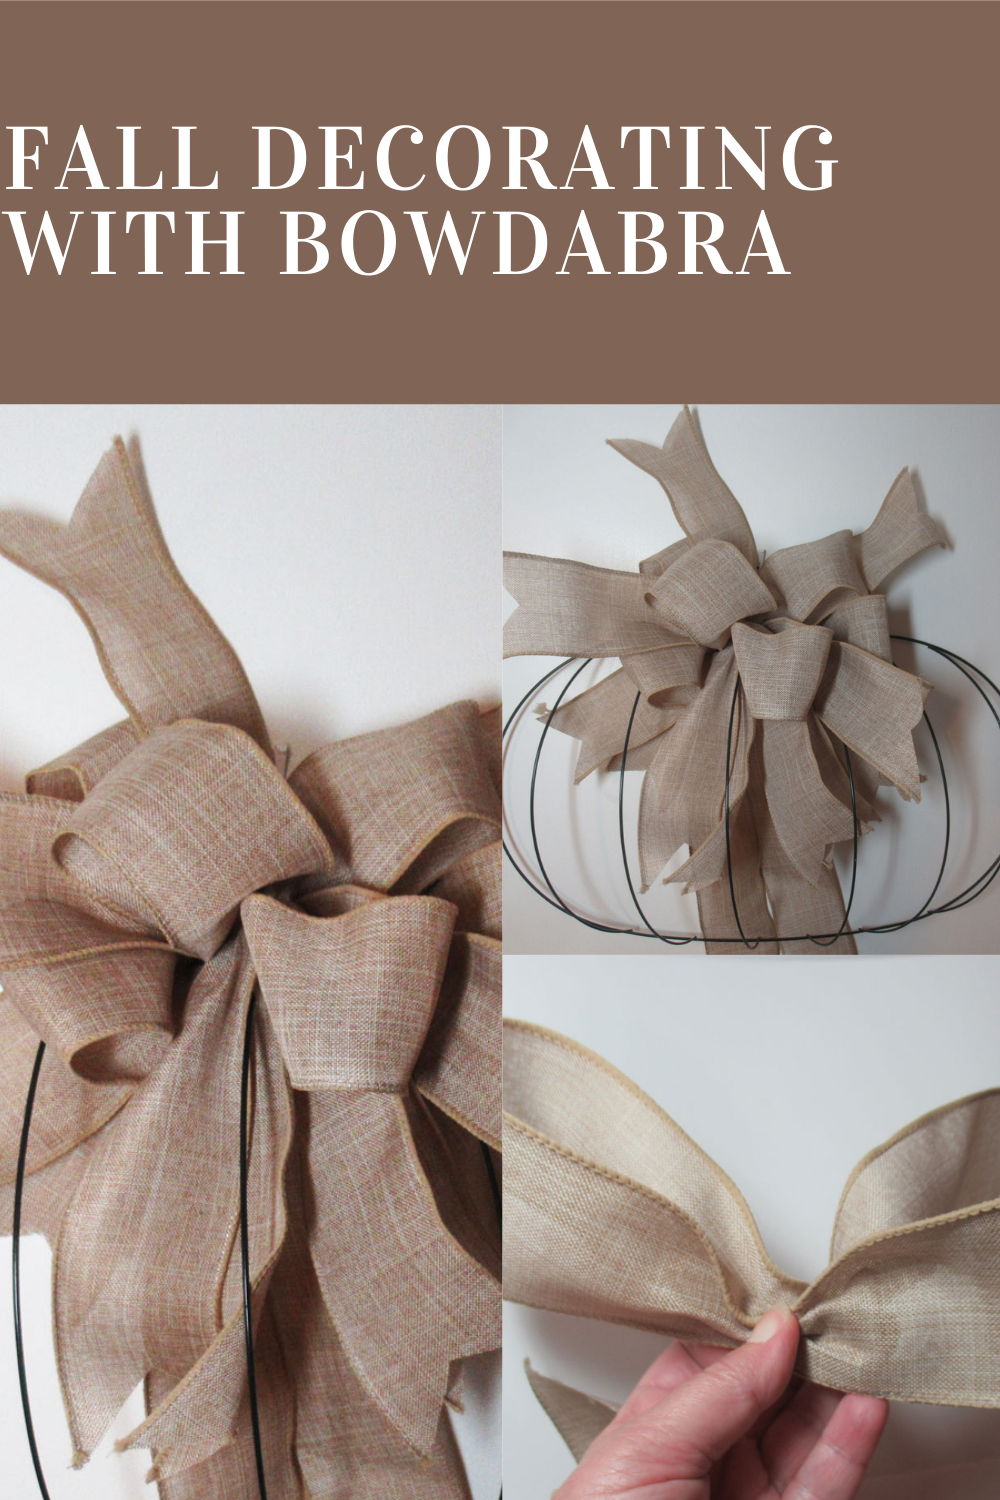
Hi everyone, Steph Ackerman here with a Halloween project created with Bowdabra. Follow this easy tutorial and learn how to add a beautiful bow to a wire pumpkin frame for perfect fall wall decor!
Bowdabra Bow Making Tool
Bow Wire
Ribbon
Wire Pumpkin
Begin by placing bow wire in the Bowdabra, placing it underneath while working on the bow. Cut a strip of ribbon (approximately 24″ long) and place it in the Bowdabra.
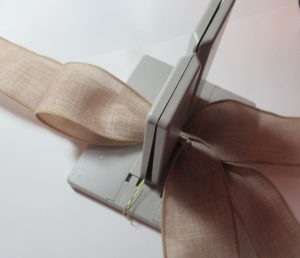
Cut 6 lengths of ribbon each approximately 18″ long.
Fold each strip of ribbon in half and pinch approximately 4″ from the loop.
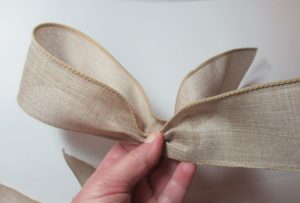
Place each piece in the Bowdabra, alternating the loops on each side of the channel.
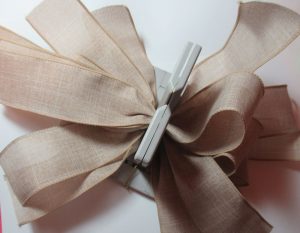
Continue adding each strip so there are 3 loops on each side.
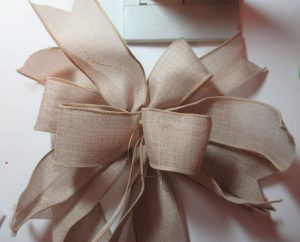
Pull up on the bow wire and tie off.
Fluff out the loops and cut the ends of each strip.
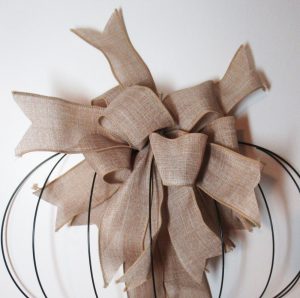
Using the excess bow wire, tie the bow to the wire pumpkin.
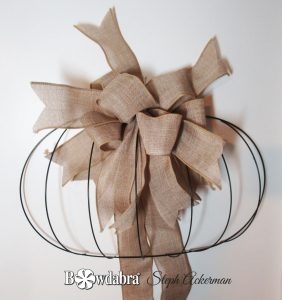
Arrange the loops as desired.
Arrange the tails so they sit both on top and behind the pumpkin.
Thanks for stopping by.
Steph
For another great Bowdabra DIY on how to decorate a wire pumpkin wreath check out this tutorial too!