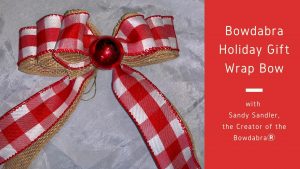
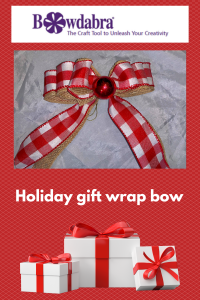
Sandy Sandler the creator of the Bowdabra is here to show you how you can easily create a beautiful Bowdabra holiday gift wrap bow in just minutes. This bow is perfect for a gift, hair bow, tree bow, and more. Glamorize your gifts with this gorgeous gift wrap keepsake bow your recipient can use over and over again!
#7382 Red Gingham Ribbons, 1 ½” wide in lengths of 10 ½”, 12”, 16 ½”, and 14”
#1252 Natural Burlap, 1 ½” wide in lengths of 10 ½”, 12 ½”, 14”, and 16 ½”
1 Christmas Ornament

First, measure and cut a piece of Bowdabra bow wire. Then, fold it in half and insert it into the Bowdabra. You will have a loop on one side and two loose wires on the other side. This will serve as your slipknot. Tuck the end under to stay out of the way while you are making your bow.
Next, work with the gingham ribbon and the burlap ribbon together which you have already dovetailed the ends. (To dovetail, fold the ribbon in half and cut at an angle away from the fold.) Then, lay them into the Bowdabra.
Now take two more pieces of gingham and burlap ribbon together and with the right side facing down place them into the Bowdabra. Bring the other side across and again, lay the right side down into the Bowdabra. Scrunch down in the center and you have a perfect bow.
Repeat with two more pieces of ribbon, graduating the lengths to be smaller as you add ribbon. You can make this bow with any ribbon you choose but we are making this with a gorgeous Morex ribbon. Repeat one last time with the shortest pieces of ribbon.
Finally, lay the ornament to which you have added some Bowdabra bow wire, into the Bowdabra.
Now, scrunch everything down with the Bowdabra wand. Then, insert the loose wires through the loop and pull tight while the bow is still in the Bowdabra. Then, remove the bow from the Bowdabra, separate the ends, turn it to the back and tie a knot. Tie a double knot for extra security. You have a gorgeous Bowdabra gift wrap bow!

Shape and arrange the loops on your bow and your bow is ready to display.