Bring fall colors alive with melted crayon autumn art. Kids of all ages will love watching the magic happen when the crayon crumbles begin to melt. 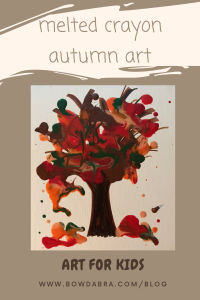
Here’s the supplies you’ll need: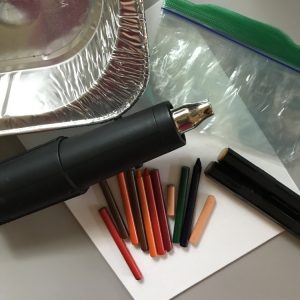

- Card stock or artist canvas
- Crayon Art prints
- Crayons or crayon pieces
- Markers
- Disposable aluminum pan
- Plastic sandwich bags
- Heat gun or blow dryer
Let’s make Melted Crayon Autumn Art:
- You can use this technique on card stock or art canvas. We’ll explore both.
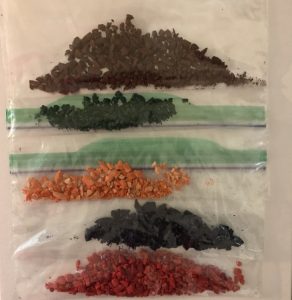
- Crush your crayons. I like to keep my colors separate. Put a crayon in a plastic sandwich bag and use a hammer or block of wood to crush the crayon. The finer you crush the crayon, the more control you’ll have when building your art piece.
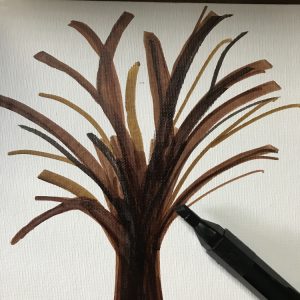
- If you’re using an art canvas, begin by drawing a bare tree on the canvas using black or brown markers. Don’t use crayons for this.
- If you’re going to make cards, print out the Crayon Art prints on white or light-colored card stock.
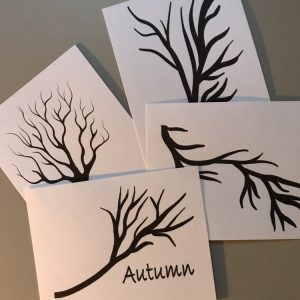
- Lay your canvas or card in the disposable aluminum pan. This will help to contain any crayon crumbs.
- Sprinkle your crayon crumbles a pinch at a time. A little goes a long way. You can always add more after you’ve melted the first batch, but you can’t take any away once the crayon crumbs are melted.
- Hold the heat gun or blow dryer about 12″ above the art piece and slowly move the heat gun across the piece. Soon you will notice that the crumbles are softening, then melting. If necessary, gradually move the heat gun closer to the work. Note: If you’re using a hair dryer, lower the fan setting as far as possible, or turn off the fan completely. You might also get better results by using a diffuser with a hair dryer.
- Let the melted crayon art piece cool before moving. The crayons are still liquid and need to re-harden.
- Here are my finished cards.
- Enjoy your melted crayon autumn art.