Pencil toppers are fun anytime, but especially when it’s time to go back to school. 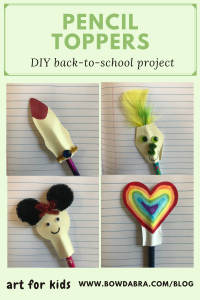
Gather these supplies:
- Pencil Topper Patterns
- Markers, crayons, or colored pencils
- Scissors
- Liquid adhesive
- Chenille Stems
- Googly eyes
- Rhinestones
- Other embellishments of your choice
Let’s make the Pencil Toppers:
Begin by printing and cutting out the pencil topper patterns. Then, glue the two pattern pieces together leaving the bottom edge unglued.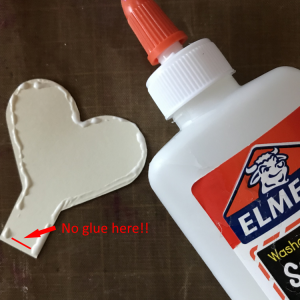
You can decorate the pencil toppers now, but let the glue dry thoroughly before putting them on pencils.
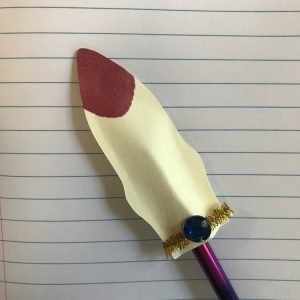
- Finger Pencil Topper: Color the fingernail. Glue a chenille stem and rhinestone in place for a ring.
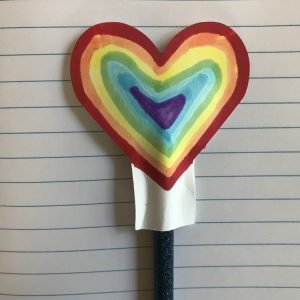
- Heart Pencil Topper: Beginning at the outer edge, use markers to draw rainbow stripes.
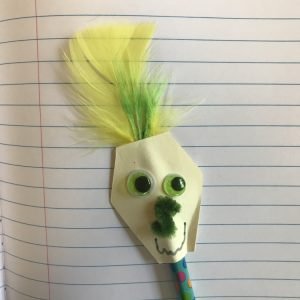
- Monster Pencil Topper: Googly eyes can be colored with Sharpie markers if desired. Glue the eyes in place. Glue a chenille stem in place for a nose. Draw a monster mouth. Glue feathers or yarn scraps in place for hair.
- Mouse Pencil Topper: Coil two 3″ strips of chenille stem for the ears, and glue in place. For a girl mouse, twist a 4″ chenille stem into a bow, and glue between ears. Draw eyes or glue googly eyes in place. Draw the mouth.
Have fun with your back-to-school pencil toppers!!
Join us at the Bowdabra blog every Friday for another great kid’s activity and craft. You will find suggestions on how to put together a basic art kit for kids and easy DIY crafts to enjoy with the whole family!