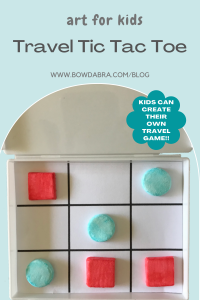
Kids can create their own travel tic tac toe game.
Here’s what you’ll need for the Travel Tic Tac Toe:
- Small box
- Copy paper
- Colored markers or acrylic paints
- Ruler
- Craft knife
- Air-dry clay (purchased or homemade)
- Liquid glue
- Advertising magnets (optional)
Let’s make the Travel Tic Tac Toe:
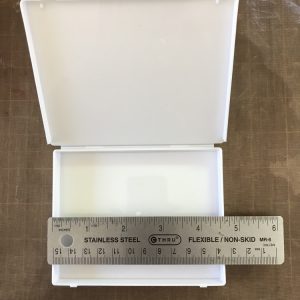
- Measure the inside dimension of the small box. The one I used started its life as a dollar store first aid kit.

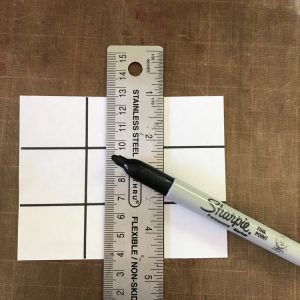
- Cut out a piece of paper the same size as the measurements from Step 1. Using a ruler and marker, draw the game grid.

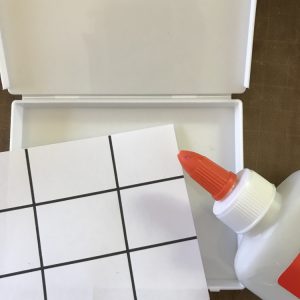
- Glue the grid into the box.

- If you want to kick this project up a notch, you can make the grid magnetic. Cut old advertising magnets to cover the back of the game grid. Glue the game grid to the magnet pieces, then glue it into the box. You’ll need to glue small pieces of magnets to the bottom of each of the game pieces, too.

Make the game pieces
- To make the game pieces, roll out the clay to about ¼” thick. You can get an even thickness by placing a skewer at each side of the clay. Roll over the clay and flatten it until the rolling pin touches the skewers.
- Cut the clay into strips. The width will depend on the size of your game grid. The pieces should be a bit smaller than the space on the grid.
- Now, cut each strip into small game pieces.
- Alternatively, you can make round pieces by forming a small ball of clay and flattening it with your thumb. You don’t really need round and square pieces—you just need to have two different sets of pieces and these can be simple squares that are different colors.
- Paint or color the pieces. You’ll need five of each set.
- You can take it to the next level by adding the Xs and Os, but this is optional.
- If you’re making a magnetic version (see Step 4) don’t forget to add magnets to the game pieces.
If you enjoyed this tutorial for a fun travel tic tac toe game, you will love visiting the Bowdabra blog each Friday for another great kid’s craft idea like this recycled bandana picture frame.