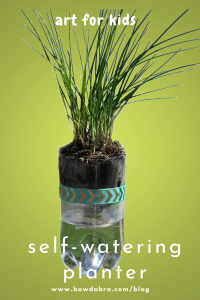
A self-watering planter can be used for outdoor or indoor gardening. Self-watering planters can conserve on water usage and help to retain soil nutrients for the benefit of the plant. The planter is made from a plastic bottle that has been cut in half. The top of the bottle holds the plant and gets inverted into the bottom section which hold the water.
You’ll only need a few supplies:
- Plastic bottle (any size works—from mini water bottles to large soda bottles)
- String or kitchen twine (length depends on the size of your container)
- Coffee filter or USED dryer sheet
- Craft knife
- White glue
Let’s Make the Self-watering Planter:
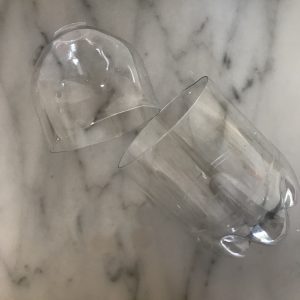
- Use a craft knife to cut the bottle in half. Optionally, you can also cut away the threaded spout area of the bottle. This is definitely an adult step.

- Invert the top section into the bottom section, and measure the distance from the bottom to about half way up the side of the top section. This is how long a length of string or twine you’ll need for the wick. This isn’t exact mathematics, but it’s always easier to trim away any extra than to add to a too-short piece.
- Let your young artist decorate the planter. You can use Sharpie markers, paints, ribbons, fabric—let your creative imagination go wild. You can see I kept my planter on the minimalist side, and just added a band of ribbon.
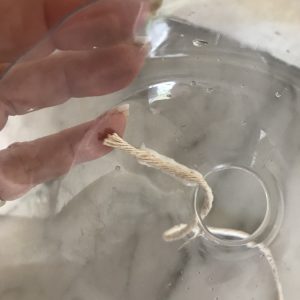
- Glue the wick in place on the inside of the top section with the tail extending through the opening that was the top of the bottle. Let dry.

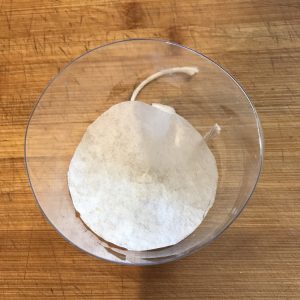
- Trace around the bottom section of the bottle on a coffee filter or used dryer sheet. Cut out this circle and use to line the bottom of the top section. This keeps the dirt from falling out :)

- Plant your seeds, seedling, or plant in the top section. Add water to the bottom section. Place the top section into the water reservoir with the wick in the water. Success!! You did it!!
Visit the Bowdabra blog every Friday each week for more crafts for kids. On the blog, you will find videos and more fun spring crafts for kids