A ribbon band is an easy way to transform any ordinary greeting card into a spectacular presentation. Sometimes these bands are referred to as belly bands since the go around the center of the card. Add a ribbon band to any Mother’s Day card—whether handmade or purchased—for a instant pizzazz.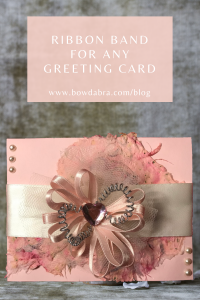
Here are the supplies that you’ll need: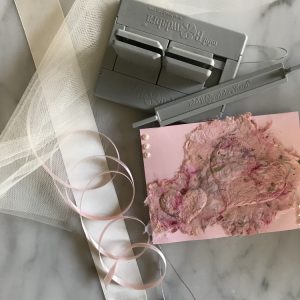

- 40″ length ¼” satin ribbon
- 15″ length 6″ tulle
- 1½” wide ribbon for band (length will depend on card size)
- 18″ length Bowdabra bow wire
- Mini Bowdabra
- Hot glue
- Double-sided tape
- Embellishment for center of bow
- Greeting card
First, let’s make the bow:
- Cut ¼” ribbon to length and quickly passing the ends through a flame to seal them.
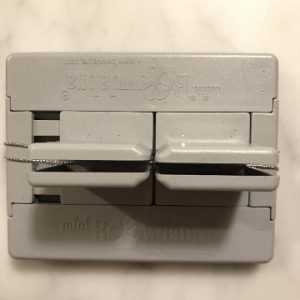
- Fold the bow wire in half and place it in the Mini Bowdabra. You can tuck the wire ends under the Mini Bowdabra so they are out of the way.
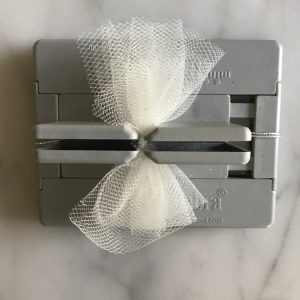
- Fold the tulle in half lengthwise, and scrunch into the Mini Bowdabra.
- Add the satin ribbon and make a fold bow.
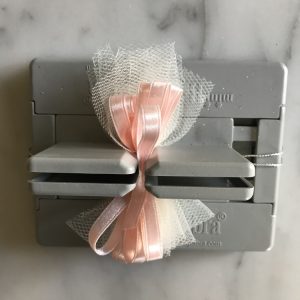
- Compress the tulle and ribbon with the Mini Bowdabra wand.
- With the tulle and ribbon still in the Mini Bowdabra, pass the ends of the bow wire through the loop, and tighten. Tie a secure knot leaving the wire ends long.
- Coil the wire ends around a skewer or small knitting needle. Carefully slide the coils from the skewer.
- Hot glue the ends of the coiled wire to the center of the bow.
- Hot glue an embellishment to the center of the bow, covering the wire ends.
Now, let’s make the ribbon band:
- Measure the width of the greeting card. Double that measurement and add at least 1½”. This is the length of the 1½” wide ribbon that you’ll need for the band.
- Overlap the ribbon ends and use double-sided tape to secure the ends of the ribbon band. You want the band to be snug around the card, but still loose enough to easily slide off the card.
- Hot glue the bow to the center front of the ribbon band.
- Slide the ribbon band onto the greeting card, and it is ready for presentation!