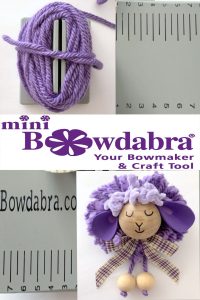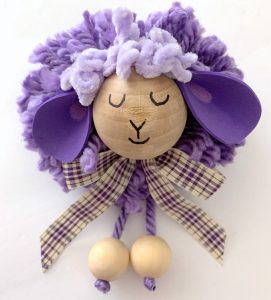
With Spring and Easter just around the corner, how fun would it be to make a pompom sheep using your Mini Bowdabra! And you won’t believe how easy it is to create.
Let’s begin by using the Mini Bowdabra to make the pompom for the sheeps’ body. You can use any color yarn you like to make the sheep. I’m using my favorite color purple! First, cut a 12″ length of yarn and insert it into the Mini Bowdabra. Then lay the tip end of the yarn to make the pompom into the Mini Bowdabra.
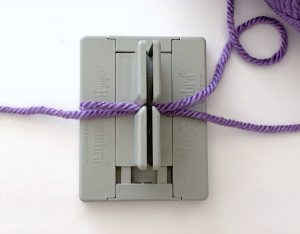
Next, begin wrapping the yarn around the Mini Bowdabra tower. It’s actually easier if you pick up the Mini Bowdabra, holding it as you wrap.
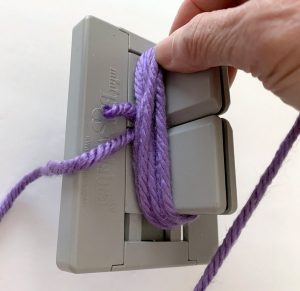
As the yarn is getting larger as you wrap around the Mini Bowdabra tower, insert the Bowdabra wand to hold the yarn down and in place. Continue wrapping for a total of sixty times.
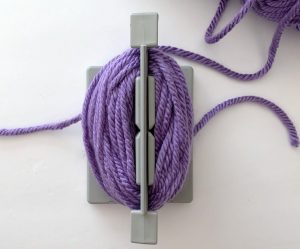
Then use the first yarn piece inserted to tie the wrapped yarn together.
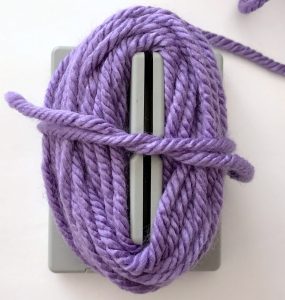
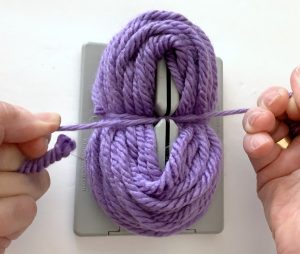
Tying as tightly as you can in a double knot to secure.
Then insert scissors into the loops, pulling loops as straight as possible to cut, first one side,
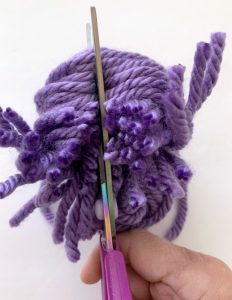
and then the other side.
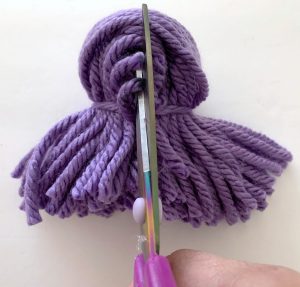
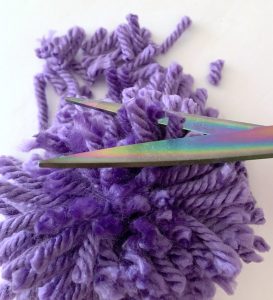
Fluff out the pom pom and trim to shape into a ball.
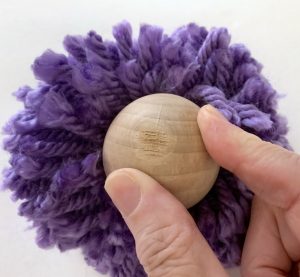
Next, glue on the wooden ball head to the center of the pompom, holding in place until the glue dries.
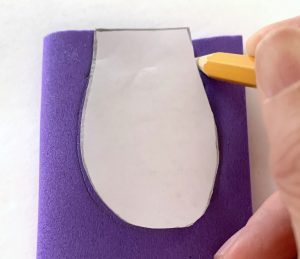
Then draw a template of a sheep’s ear on a folded piece of foam sheet and cut it out.
Use a Q-tip to shade the inner portion of the sheep ears.
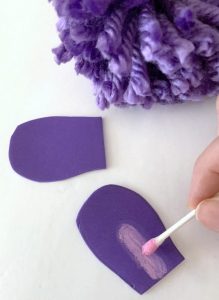
And glue the top ends together. The glue ears onto the top side of the ball head.
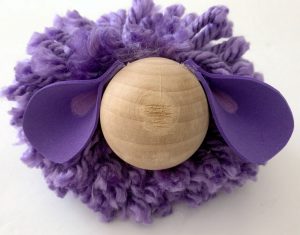
To make the sheep’s hair – wrap yarn around fingers about 4-5 times and tie together in the center.
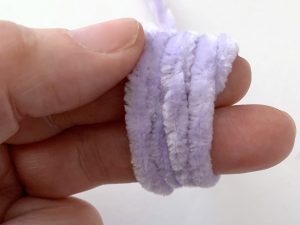
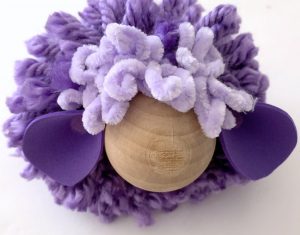
Glue yarn loops on top of the head!
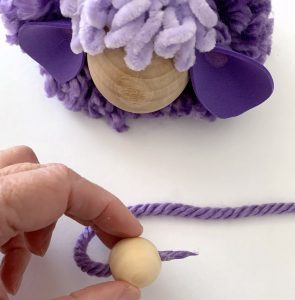
To make the legs – Cut a piece of yarn about 14 inches long. Add a dab of glue to the ends and twist, forming a point. Insert through-hole of smaller balls. Then tie the end in a knot to prevent balls from coming off.
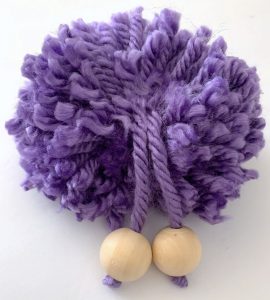
Next, fold yarn together and glue it at the fold into the middle bottom of the pompom.
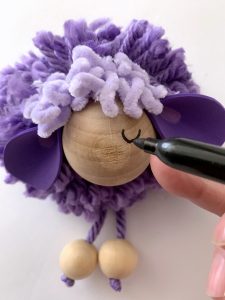
Draw on the eyes, nose, and mouth using a fine line magic marker.
To make a decorative bow – insert a 10″ strip of ribbon for tying, into the Mini Bowdabra. Then pinch the tip of a 12″ length ribbon and insert it into the Mini Bowdabra.
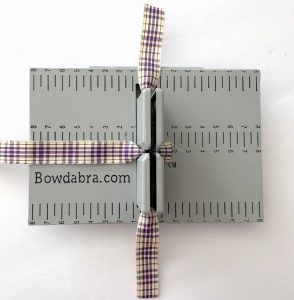
Pinch the opposite end of the ribbon and carry it over the tower and down into the Mini Bowdabra.

Next, pinch the center ribbon and press down into the Mini Bowdabra, adjusting the loops to match. Then lift the ribbon and tie the loops together . . .
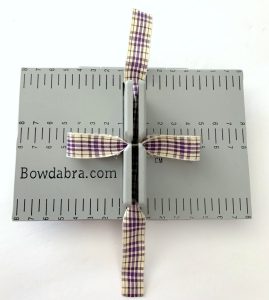
forming a bow with tails. Cut the tail ends slanted for a finished look.
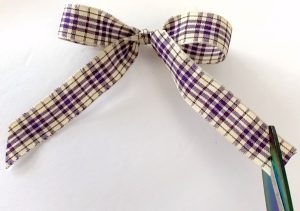
Attach the bow to sheep using hot glue.
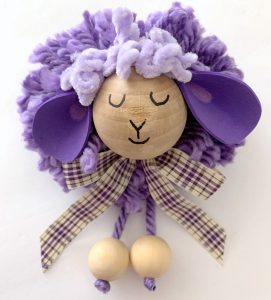
How adorable is this pompom sheep! Perfect for Spring and Easter, too! Kids will love to make one!
