Make a DIY spring bow wreath for this year’s spring decoration! Take a look through our DIY ideas to find seasonally-appropriate bows and wreath that best matches your home’s overall spring decor. Watch Nick from Nick’s Seasonal Décor on Bowdabra Facebook Live, with funky and traditional bows, and a spring wreath, teaching us the process from scratch.Tune in to learn just how to make these gorgeous bows that you can add to your Wreaths or any décor!
Materials required:

Process:
1. Nick folds the bow wire in half and tucks it underneath the Bowdabra.
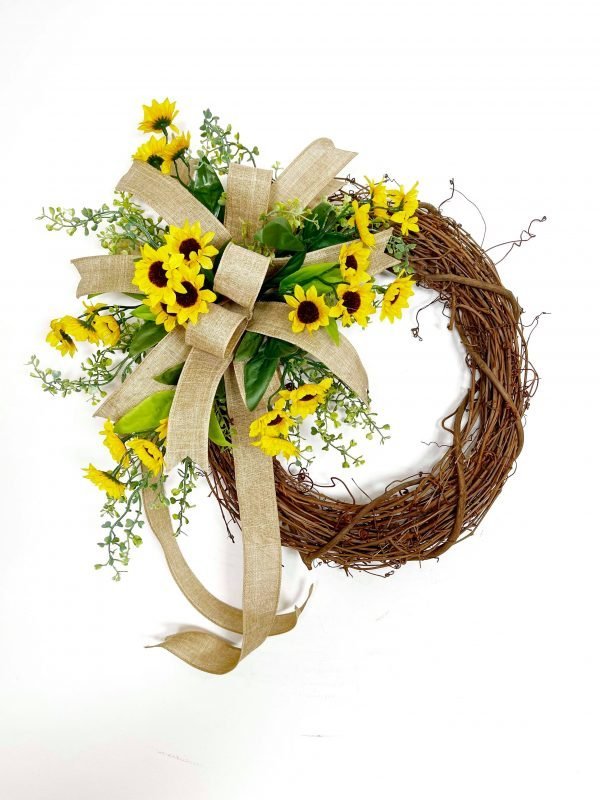
2. After cutting off the tails (24”), he creates one loop and places it right into the Bowdabra with the burlap ribbon.
3. Using the same ribbon, he creates multiple loops (5 loops,4½”) and tails on the Bowdabra.
4. He secures the bow with several wire knots in the back and finishes off by fluffing the loops and cutting the dovetail pattern on the tail ends.
5. In the end, he sticks the bow securely to the wreath and adds some greenery and sunflower decorative picks with hot glue.
Materials required:

Process:
1. Nick folds the bow wire in half and tucks it underneath the Bowdabra.
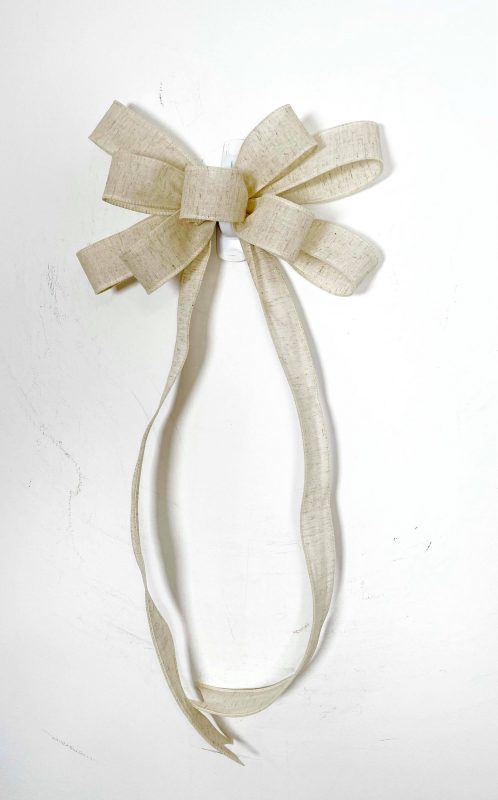
2. After cutting the tails (22”), he places the Canvas Burlap Ivory ribbon right into the Bowdabra.
3. Using one ribbon, he creates 4 loops (3½”-4”) on either side of the Bowdabra and 1 button loop.
4. He pulls the bow wire from one end to the other and ties the bow.
5. He finishes off by fluffing all the loops and cutting the dovetail pattern on all the tail ends.
Materials required:
Process:
1. Nick folds the bow wire in half and tucks it underneath the Bowdabra.
2. After cutting off the tails, he places both the ribbons right into the Bowdabra.
3. Using two ribbons, he creates 6 loops on the Bowdabra.
4. He pulls the bow wire from one end to the other and ties the bow.
5. He finishes off by fluffing all the loops and cutting the dovetail pattern on all the tail ends.
Materials required:

Sheer Ribbon Bow
Process:
1. Nick folds the bow wire in half and tucks it underneath the Bowdabra.
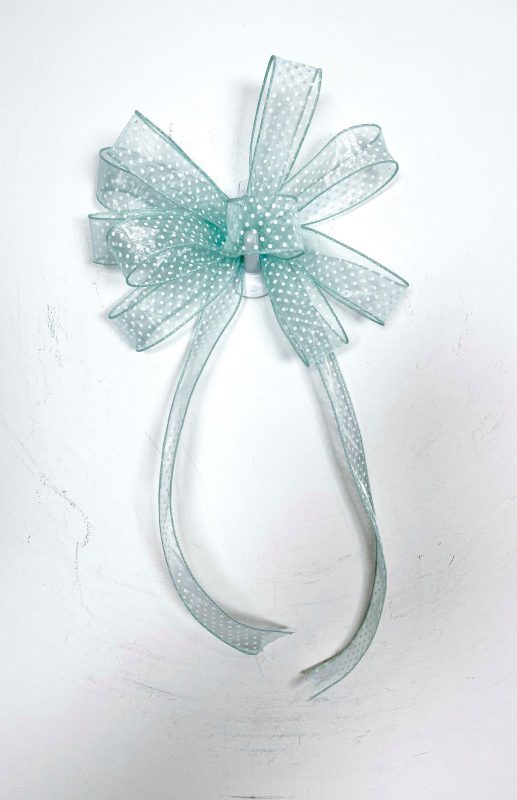
2. After cutting off the tails, he places the sheer ribbon right into the Bowdabra.
3. Using the same ribbon, he creates 5 loops on either side of the Bowdabra.
4. He pulls the bow wire from one end to the other and ties the bow.
5. He finishes off by fluffing all the loops and cutting the dovetail pattern on all the tail ends.
Materials required:
Process:
1. Nick folds the bow wire in half and tucks it underneath the Bowdabra.
2. After cutting off the tails (8”-10”), he places the tail right into the Bowdabra.
3. Using the gingham ribbon, he adds 2 loops on the Bowdabra and 1 button loop.
4. To secure the bow he brings the wire from one side to another and put a slip knot.
5. He finishes off by fluffing all the loops and cutting the dovetail pattern on all the tail ends.

Make DIY Spring Bow Wreath with Bowdabra