There are so many fun ways to make DIY bows –Whether it’s a summer bow, a DIY gift bow, Valentine’s day bow, or a spring bow! You can choose the ribbon and color scheme yourself to make your holiday decorations extra special. If you’ve ever wondered how to make a bow or a bow wreath like you see in pictures, look no further!
Watch Nick from Nick’s Seasonal Décor on Bowdabra Facebook Live, with funky and traditional bows, valentine’s day bow, and a summer wreath, teaching us the process from scratch. Tune in to learn just how to make these amazing bows that you can add to your Wreaths or any décor!
Materials required:

Follow these steps:
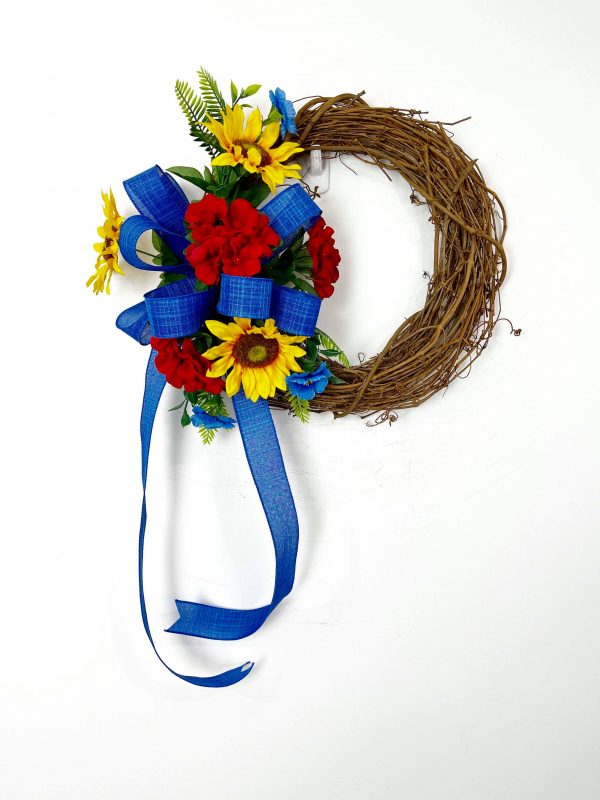
1. Nick folds the bow wire in half and tucks it underneath the Bowdabra.
2. Using the blue ribbon he cuts off a long tail (28” on either side) and places the tail right into the Bowdabra.
3. Nick creates 4 big loops on either side of the Bowdabra.
4. He secures the bow with several wire knots in the back and finishes off by fluffing
the loops and cutting the dovetail pattern on the tail ends.
5. Finally, he sticks the bow securely with the wire to the wreath and adds the Summer bush flowers with hot glue.
Voila! You made a beautiful Summer wreath!
Materials required:
Follow these steps:
1. Nick folds the bow wire in half and places it underneath the Bowdabra.
2. After cutting off the tail, he places the burlap ribbon right into the Bowdabra and keeps adding multiple loops and tails.
3. In this fashion, he adds 4 loops and 8 tails on the Bowdabra.
4. To secure the bow he brings the wire from one side to another and puts a slip knot.
5. He finishes off by fluffing the loops and cutting the dovetail pattern on the tail ends for an amazing gift bow.
Materials required:

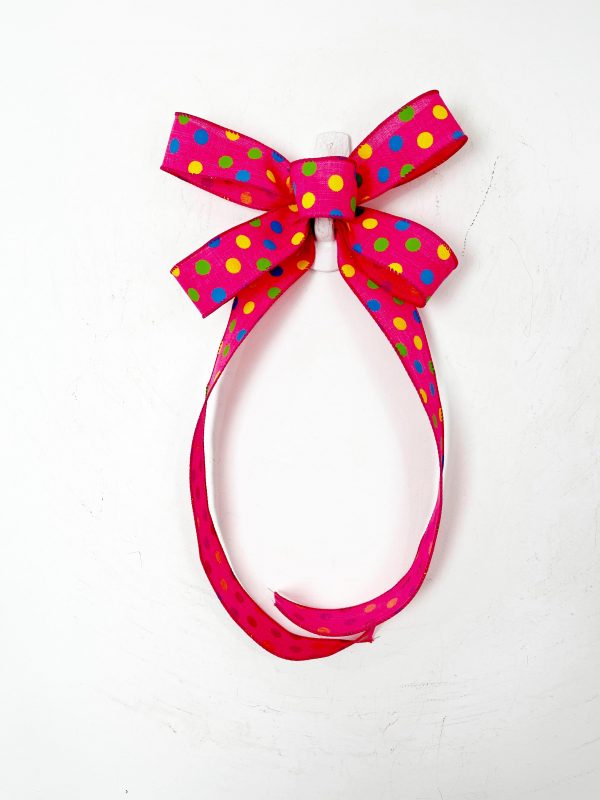
Polka dotted hot pink ribbon bow
Follow these steps:
1. Nick folds the bow wire in half and tucks it underneath the Bowdabra.
2. After cutting the tails, he places the Polka-dotted hot pink ribbon right into the Bowdabra.
3. Using one ribbon, he creates 2 big loops on either side of the Bowdabra and 1 button loop.
4. He pulls the bow wire from one end to the other and ties the bow.
5. He finishes off by fluffing all the loops and cutting the dovetail pattern on all the
tail ends.
Materials required:

Follow these steps:
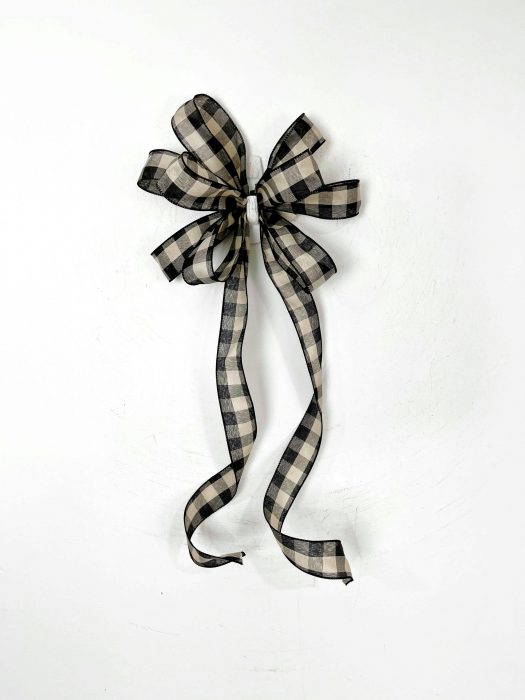
1. Nick folds the bow wire in half and tucks it underneath the Bowdabra.
2. After cutting off the tail, he places the black white buffalo plaid ribbon right into the Bowdabra.
3. To create the perfect loops, flip the Bowdabra with each turn while placing the
loop.
4. He creates 4 loops on both sides of the Bowdabra to give it a traditional bow
design.
5. He secures the bow with several wire knots in the back and finishes off by fluffing
the loops and cutting the dovetail pattern on the tail ends.
Materials required:

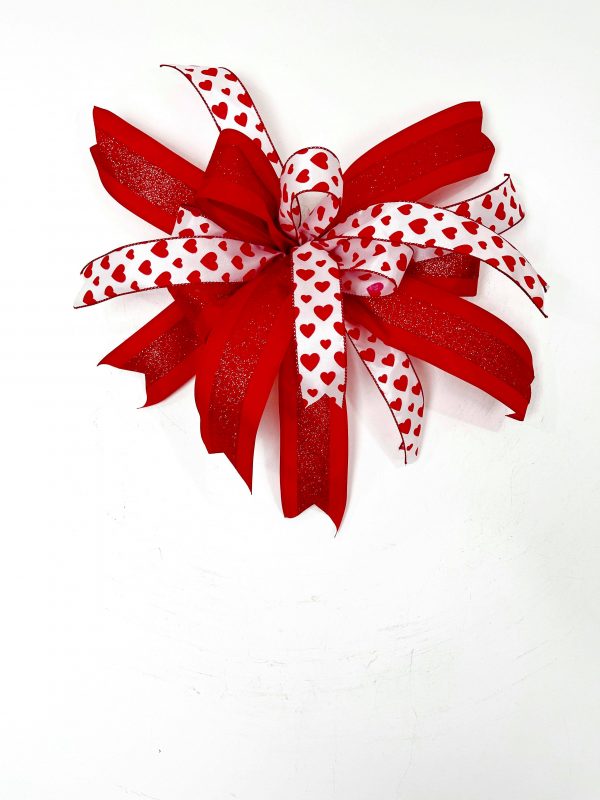
Valentine’s day bow with two ribbons
Follow these steps:
1. Nick folds the bow wire in half and tucks it underneath the Bowdabra.
2. After cutting the tail, he places the red ribbon right into the Bowdabra and creates 1 loop on one side of the bowdabra.
3. He places the red-white ribbon right into the Bowdabra and creates 1 loop on another side of the bowdabra.
4. In this fashion, he adds 6 loops (3 each) on the Bowdabra.
5. To secure the bow he brings the wire from one side to another and put a slip knot.
6. He finishes off by fluffing the loops and cutting the dovetail pattern
on the tail ends
Don’t forget to like us on Facebook so you never miss a live DIY event. Bowdabra goes live every Monday at 4:00 p.m. PST, 5:00 p.m. MST, 6:00 p.m. CST, and 7:00 p.m.